Ever wonder why some people’s box braids still look fresh on day fourteen, while yours are already frizzing up by day three? It’s not because they got some secret braider or paid double what you did , it’s because they actually know how to make box braids that hold up: the prepping, the parting, the little maintenance tricks most of us were never taught. And once you know them too, it changes everything.
Here’s the truth: neat, long-lasting box braids aren’t about luck or “good hair.” It’s all in the details, how your hair is prepped before you even start, how clean your parts are, how the braiding itself is done, and how you take care of them once they’re in. Get those right, and you’ll have braids that stay crisp, fresh, and frizz-free for way longer than you’d expect. So if you’ve been wondering what you’re missing, let’s break it down.
Which Braids Are Trending?
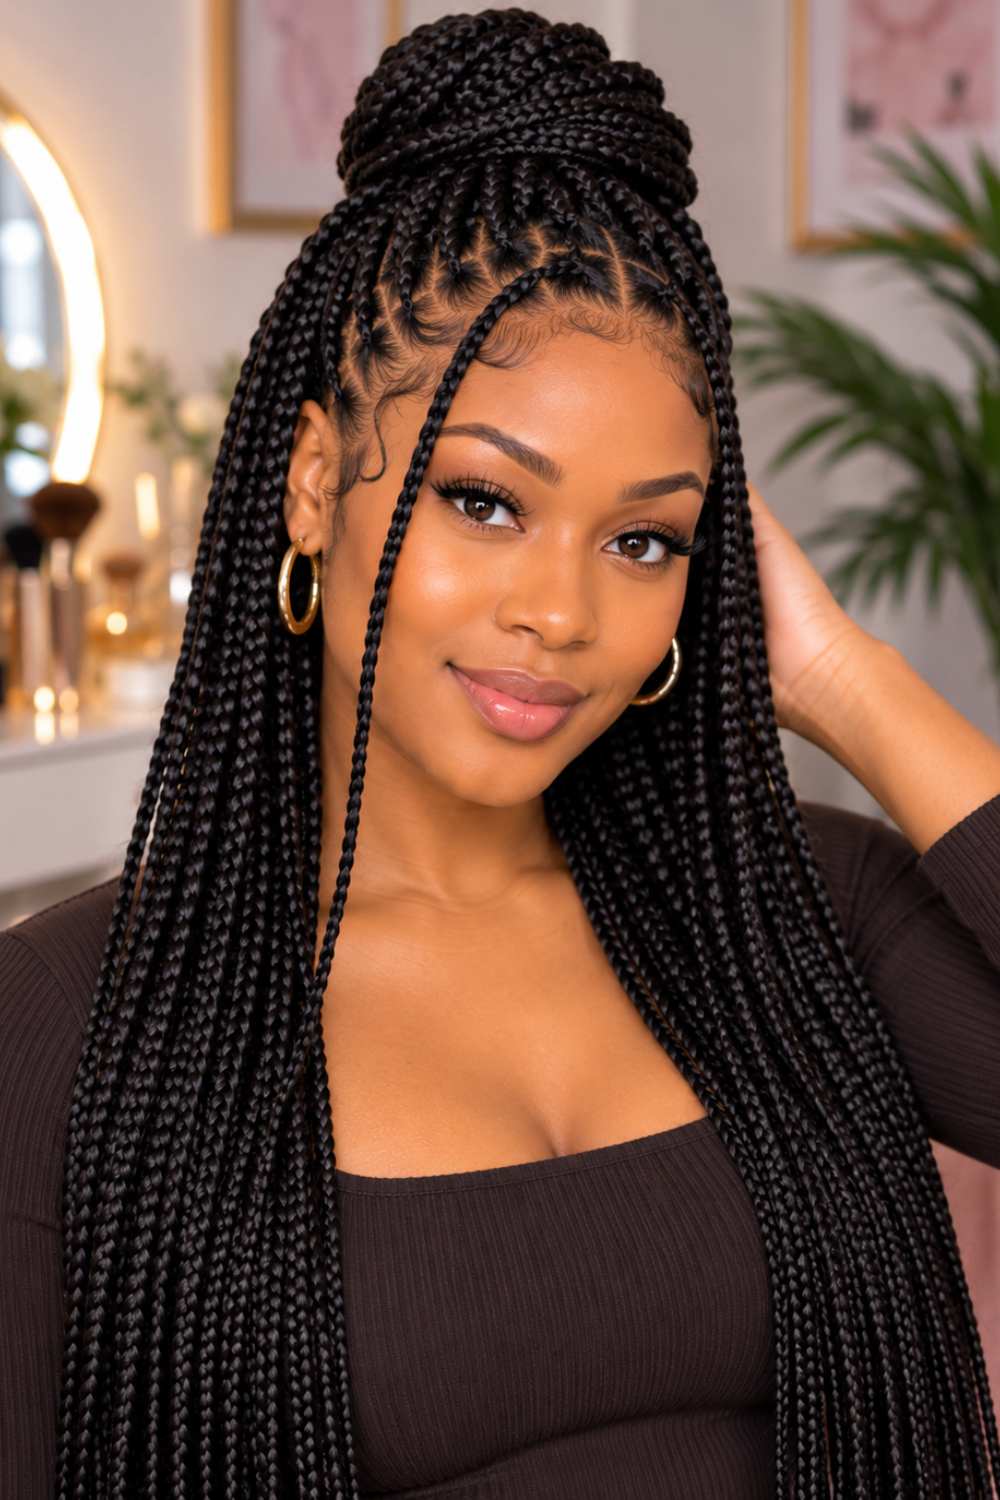
Some of the most popular braided styles right now include knotless box braids, boho braids, goddess braids, Fulani braids, and feed-in cornrows. Knotless and feed-in styles are especially appealing because they can create a beautiful look with less tension when installed properly. Boho braids are also having a major moment, thanks to their soft, curly finish and effortless appearance.
For a stylish and more edge-friendly option, knotless braids or lightweight boho braids are great choices. Just make sure your braids aren’t installed too tightly, especially around your hairline.
Steps on how to make Box Braids
Start With Clean, Well-Prepared Hair
Before you start making your box braids, it’s important to give your natural hair a good foundation. Clean and well-prepared hair is easier to part, handle, and braid, which can make a big difference in how neat the final style looks.
Wash and Condition Your Hair
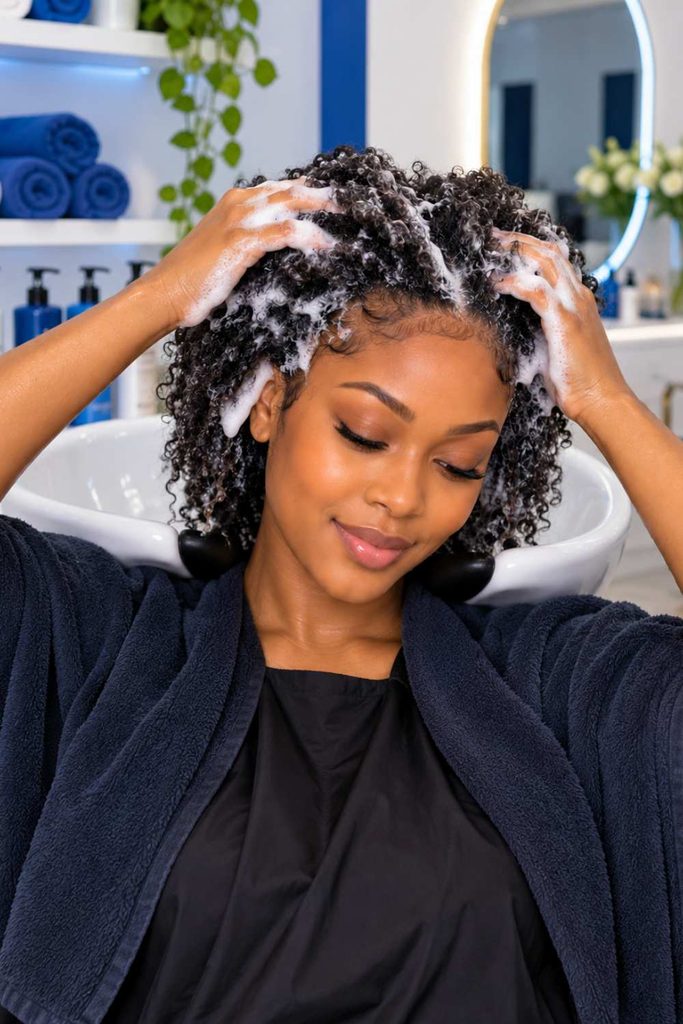
Start by washing your hair to remove dirt, sweat, and product buildup. Follow up with a conditioner to leave your hair soft and easier to manage. You don’t want to braid hair that feels dry, stiff, or weighed down with old products.
Moisturize and Detangle Properly
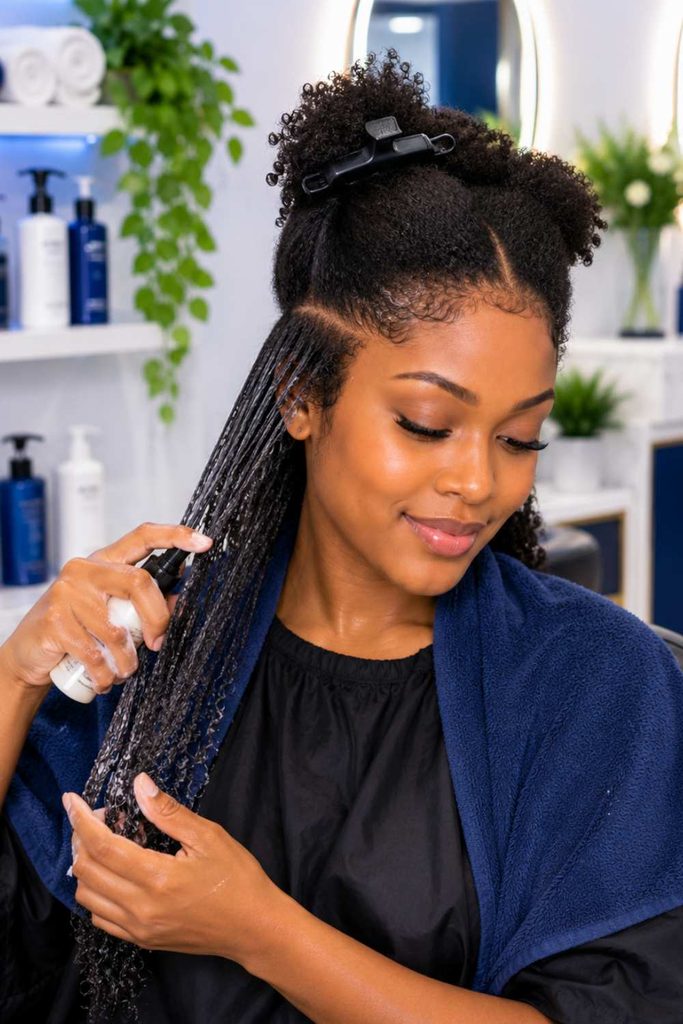
After washing, apply a lightweight moisturizer or leave-in conditioner to keep your hair soft. Gently detangle your hair, starting from the ends and working your way up to the roots. This helps reduce unnecessary pulling and makes the braiding process much easier.
Stretch Your Hair for Easier Parting and Braiding

If your hair shrinks a lot, stretching it before braiding can make sectioning much easier. You can gently blow-dry it on a low-heat setting or use a heat-free stretching method such as threading or banding. The goal is simply to make your hair easier to work with without putting unnecessary stress on it.
Gather Your Braiding Tools and Products

Before you start braiding, it helps to have everything you need within reach. This saves you from stopping halfway through because you can’t find a comb or your styling product. You don’t need a huge collection of products just a few basics can help you create cleaner, neater box braids.
Rat-Tail Comb

A rat-tail comb is useful for creating clean and even sections. The pointed end makes it easier to separate your hair into the square parts needed for box braids.
Check next : How to install glue-less wig for natural looks
How to Create neat Bantu Knot-out Hairstyle with Natural Hair Step by Step
Hair Clips
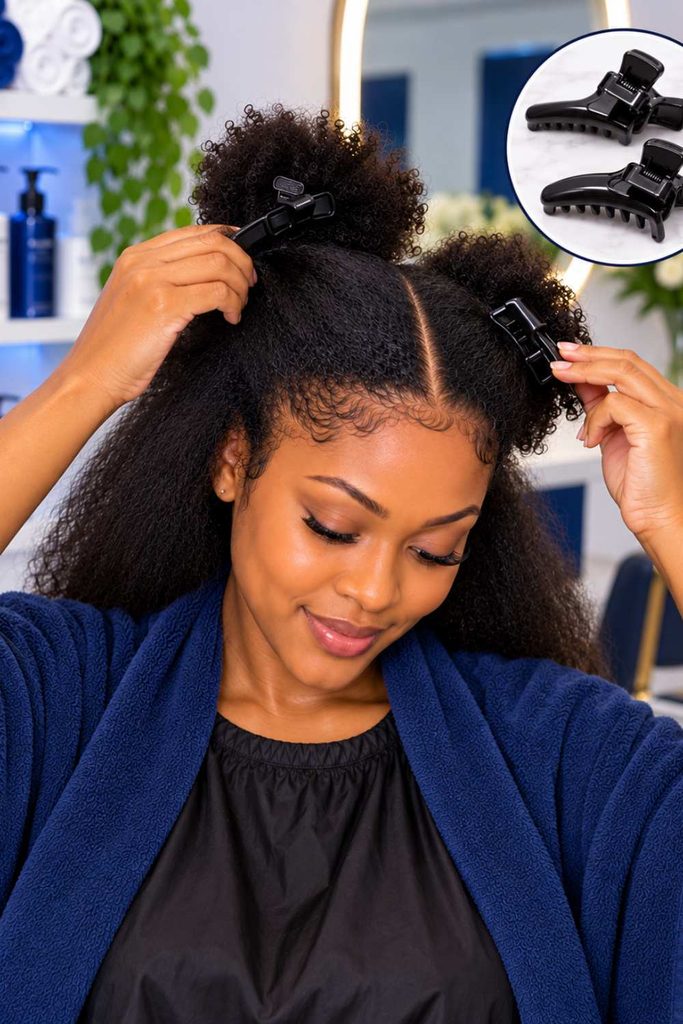
Use hair clips to hold the sections you aren’t working on. This keeps your hair organized and prevents loose strands from getting mixed into the section you’re braiding.
Braiding Attachment
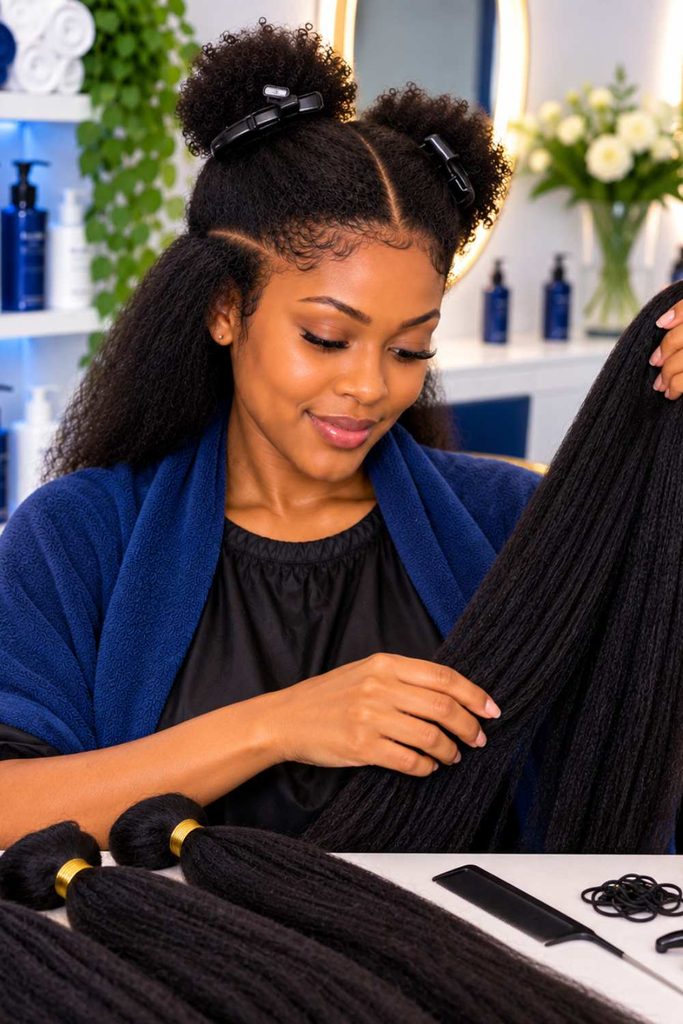
Choose a braiding attachment that suits the length and thickness you want. Make sure you have enough hair to complete the style, but avoid using more attachment than your natural hair can comfortably support.
Edge Control or Styling Gel
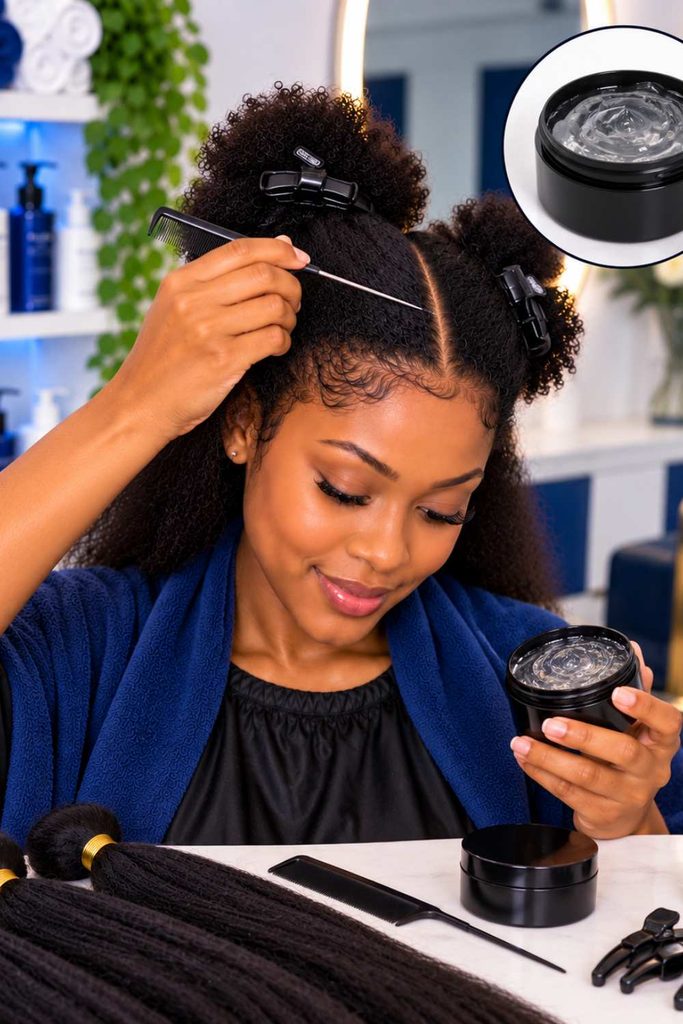
A small amount of edge control or styling gel can help smooth the roots and keep your parts looking clean. You don’t need to apply too much a little product is usually enough.
Lightweight Moisturizer

Keep a lightweight moisturizer nearby to prevent your natural hair from feeling dry while you braid. Apply a small amount when needed, especially if your hair starts feeling rough or difficult to handle.
Hair Mousse
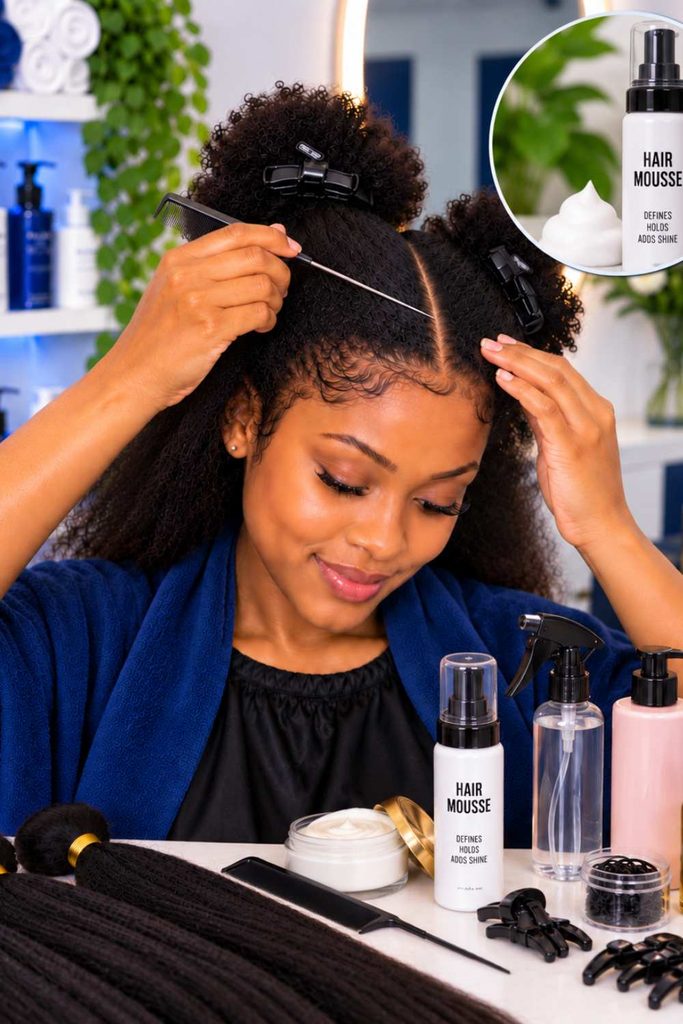
Hair mousse is useful toward the end of the process for taming fly aways and giving your finished braids a smoother, fresher appearance.
Choose the Right Braiding Hair
Choosing the right braiding hair can make your box braids look neater and feel more comfortable.
Choose the Right Length and Thickness
Pick a length and thickness that suits the look you want. Longer or thicker braids may require more hair, but they can also add extra weight.
Pick Lightweight Attachment
Whenever possible, choose lightweight braiding hair. It puts less pressure on your natural hair and can make the style more comfortable to wear.
Match the Hair to Your Desired Style
Consider the size and finish you want before choosing your attachment. This helps you get the exact box braid look you have in mind.
Avoid Using Too Much Attachment
You don’t need a large amount of hair for every section. Using too much can make your braids bulky and place unnecessary weight on your roots.
Create Clean and Even Parts
Clean parting is one of the easiest ways to make your box braids look neat and professional. Take your time with this step because uneven sections can make the finished style look messy.
Decide the Size of Your Box Braids
Choose whether you want small, medium, or large box braids before you start. This helps you keep the sections consistent throughout your hair.
Make Neat Square Sections
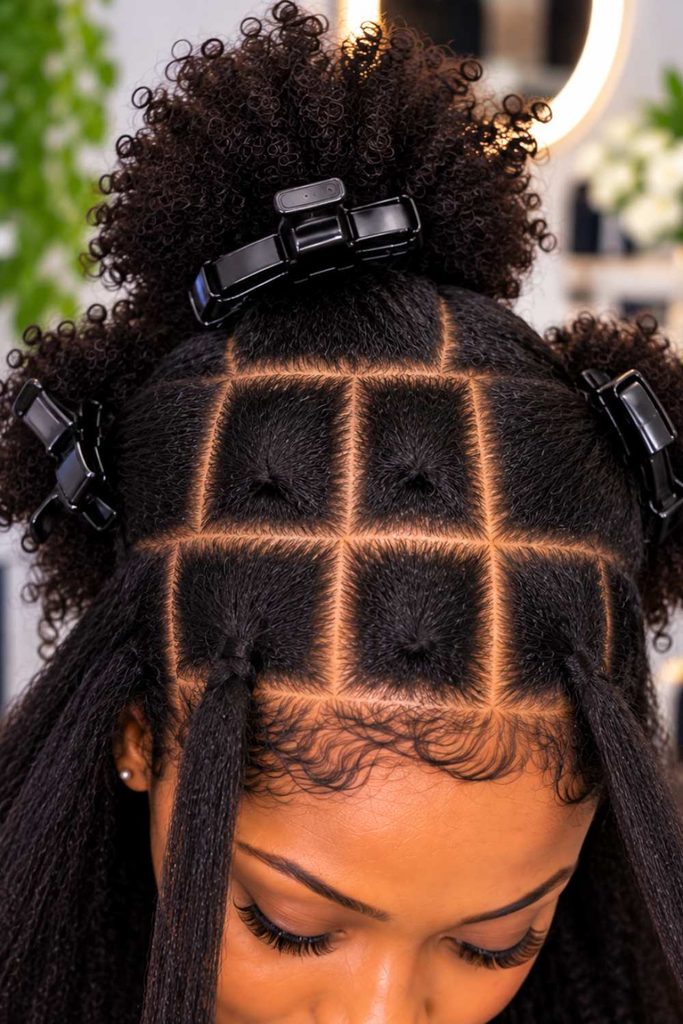
Use your rat-tail comb to create clean square sections. Keep the lines straight and gently smooth away any stray hairs before you begin braiding.
Keep the Sections Similar in Size
Try to make each section roughly the same size. Consistent sections give your braids a more uniform and polished appearance.
Use Clips to Separate Unfinished Sections
Clip away the hair you’re not working on. This keeps everything organized and prevents loose hair from getting mixed into your next section.
Prepare Each Section Before Braiding
Preparing each section properly helps your box braids come out smoother and neater. You don’t need a lot of product or force; just make sure each section is clean, smooth, and easy to work with.
Apply a Small Amount of Styling Product

Use a small amount of styling gel or edge control around the roots. This helps keep the section smooth and makes it easier to start the braid.
Smooth the Roots Gently

Use your fingers or a soft brush to gently smooth the roots. Avoid pulling too hard, especially around your hairline.
Make Sure the Section Is Properly Detangled
Before braiding, gently detangle the section from the ends upward. This helps prevent knots and makes the braiding process easier.
Avoid Using Too Much Gel
Keep the product light. Too much gel can leave your hair stiff, sticky, or covered in buildup. A small amount is enough to create a clean and smooth base.
Attach the Braiding Hair Properly
How you attach the braiding hair can affect both the neatness and comfort of your box braids. Take your time at the root and make sure the attachment feels secure without putting too much tension on your natural hair.
Divide the Attachment Evenly
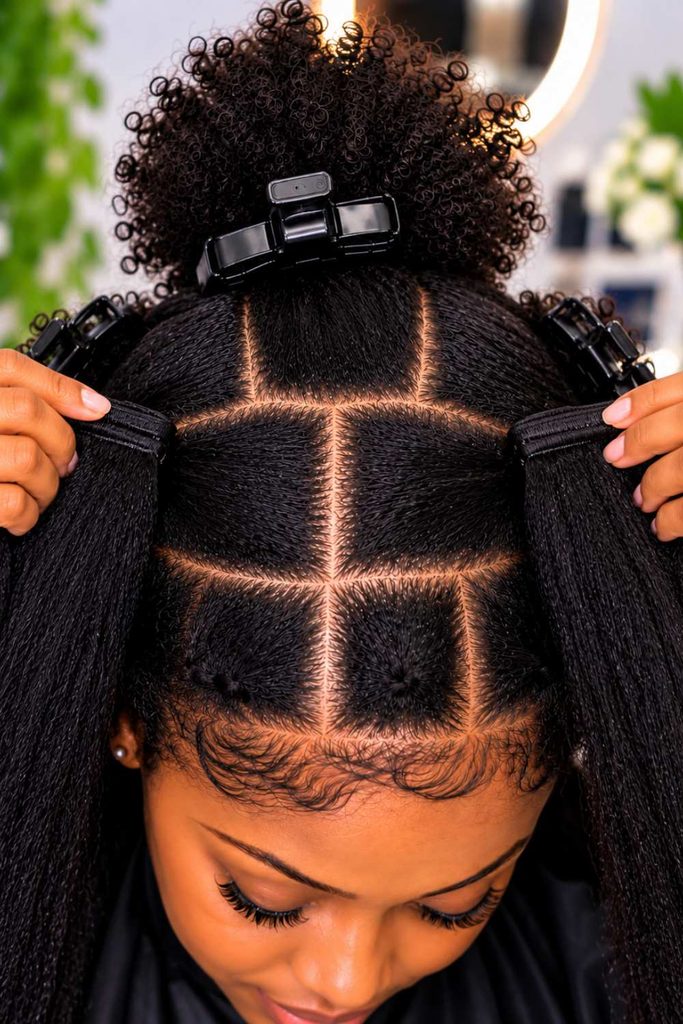
Separate the braiding hair into even portions based on the size of each braid. Using too much hair can make the braid bulky and heavy.
Blend It With Your Natural Hair

Place the attachment with your natural hair and divide them into sections for braiding. Make sure your natural hair is blended evenly into the extension for a smooth finish.
Start the Braid Securely at the Root
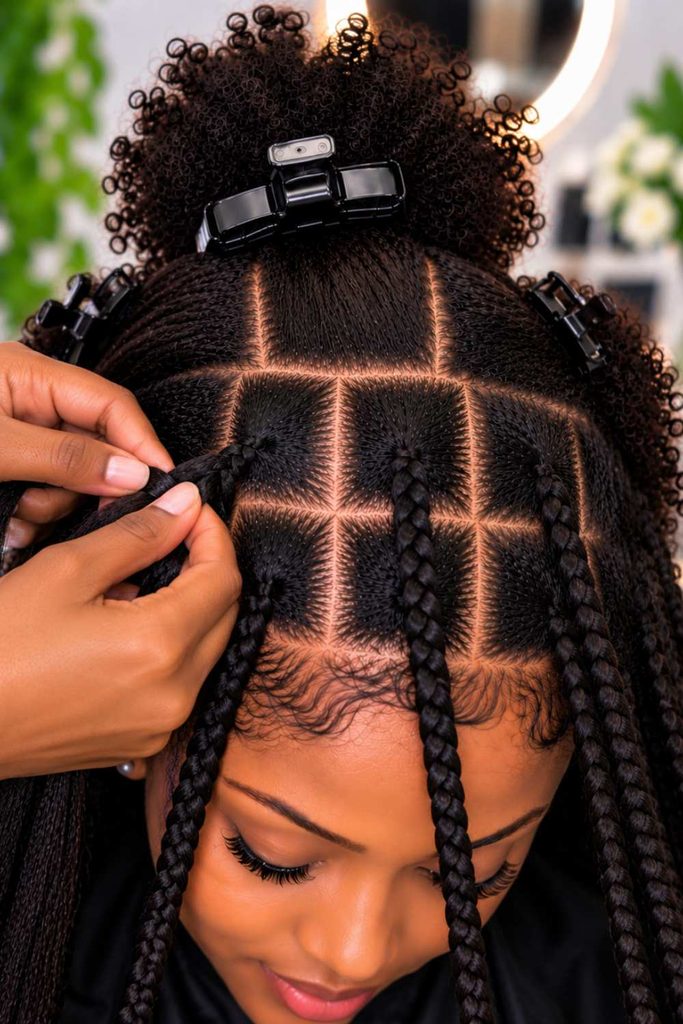
Begin braiding close to the root so the attachment stays in place. Keep your grip firm enough to prevent slipping, but avoid making the root excessively tight.
Avoid Pulling the Hair Too Tightly
Don’t sacrifice comfort for a super-tight finish. Excessive tension can put stress on your scalp and hairline. The braid should feel secure while still allowing your roots to feel relaxed.
Braid Each Section Neatly

Once the braiding hair is attached, braid the section with a steady and gentle grip. Keep the tension consistent from the root to the ends so the braid looks smooth and even. Avoid making some areas too tight, bulky, or loose, as this can affect the overall appearance. As you reach the end, keep the braid neat and secure it properly for a clean finish.
How to Make Your Box Braids Look Fresh
Keeping your box braids fresh doesn’t have to be complicated. A few simple habits can help them stay smooth, clean, and presentable for longer.
Use Mousse to Control Frizz
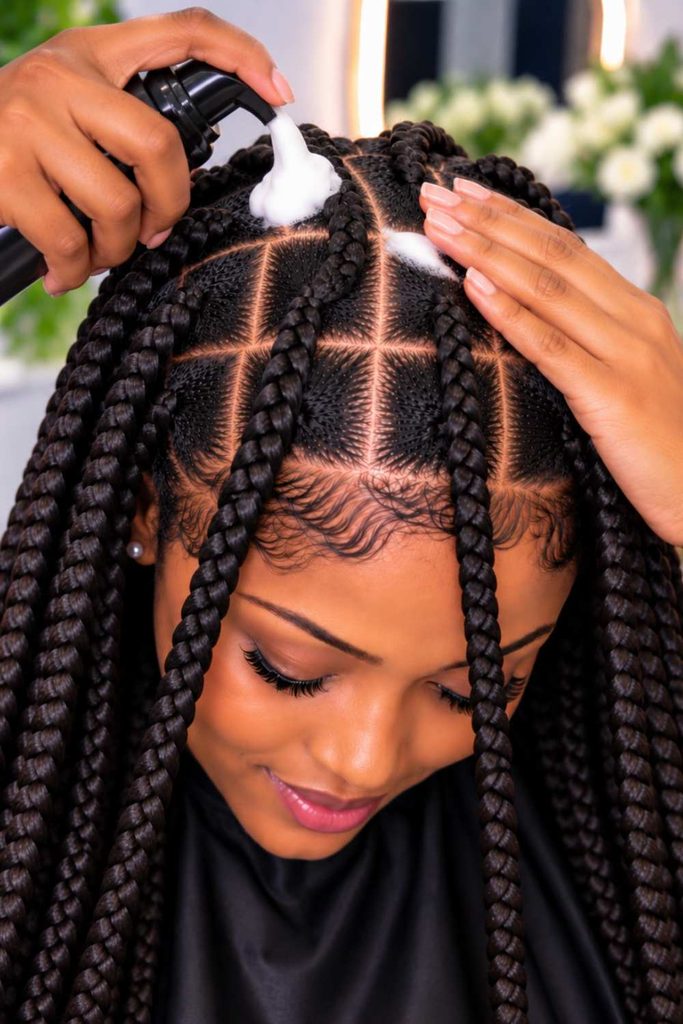
Apply a small amount of hair mousse over your braids to tame frizz and give them a smoother finish. Avoid using too much, as it can leave your hair sticky or weighed down.
Smooth Flyaways When Necessary
If you notice loose strands or flyaways, gently smooth them down with a little mousse or styling product. You don’t need to keep touching your braids throughout the day.
Keep Your Scalp Clean
A clean scalp helps your braids feel and look fresher. Gently cleanse your scalp when needed, especially if you notice sweat or product buildup.
Avoid Excessive Product Buildup
Try not to layer too many products onto your braids. Heavy buildup can make them look dull and dirty, so use only what you need to maintain a neat finish.