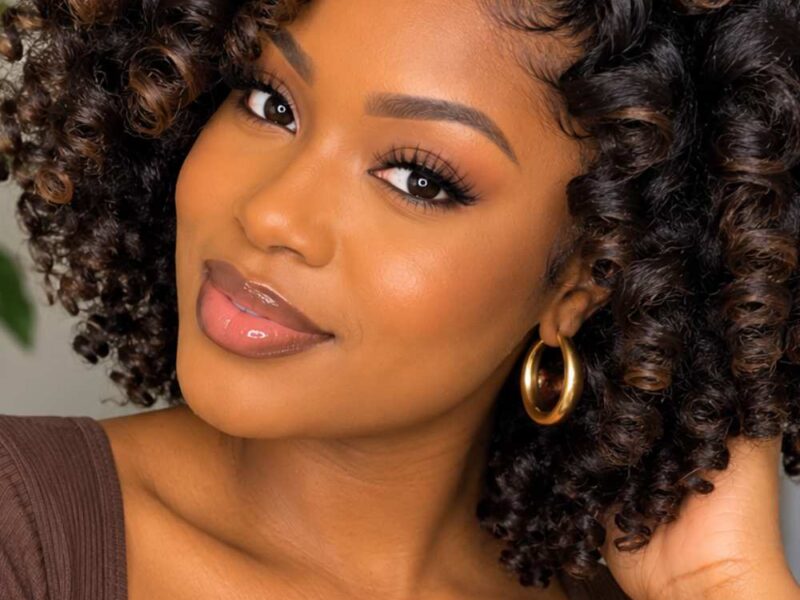
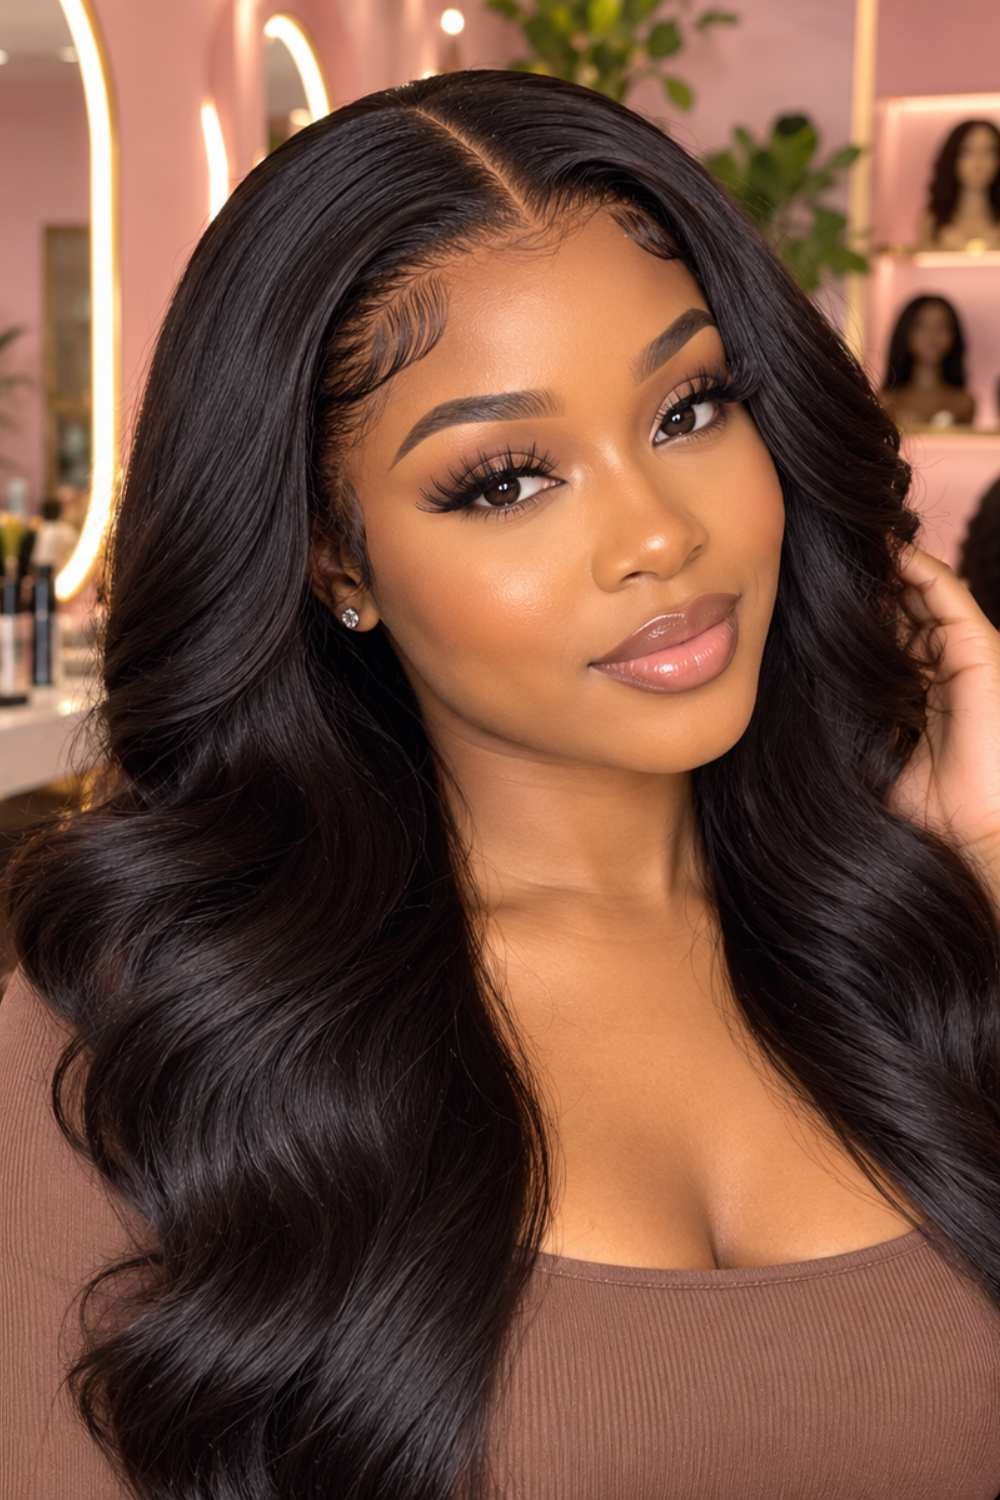
Ever wonder how some people slay a glue-less wig install so well you’d swear it was their real hair growing straight out of their scalp? No lace floating, no obvious “wig line,” just a flawless, natural finish and no glue in sight. If you’ve been team glue-less but haven’t quite nailed that undetectable look yet, I promise it’s not because glue-less wigs “just don’t look as natural.” It’s because there’s a technique to it that most people never get shown.
Here’s the good news: getting a natural, seamless glue-less install is 100% doable and honestly, way easier than fighting with glue and adhesives every time. From how you prep your hair and lace to how you customize the fit and blend your edges, every step makes the difference between “obviously a wig” and “wait, is that your real hair?” So if you’re ready to get that natural, laid-back-but-still-slayed look without any glue, let’s get into exactly how to do it.
How Do Glue-less Wigs Stay On?
Glue-less wigs stay on through a combination of adjustable straps, combs, wig grips, and a snug-fitting cap. These features help keep the wig secure without needing glue or adhesive. For extra hold, you can wear a wig grip underneath, especially if you’ll be moving around a lot. The key is making sure the wig fits comfortably not so tight that it puts unnecessary pressure on your scalp or edges
Prepare Your Natural Hair
Before putting on your glueless wig, take a little time to prepare your natural hair. A smooth, flat base will help the wig sit better and give you a more natural-looking finish.
Wash and Moisturize Your Hair if Needed
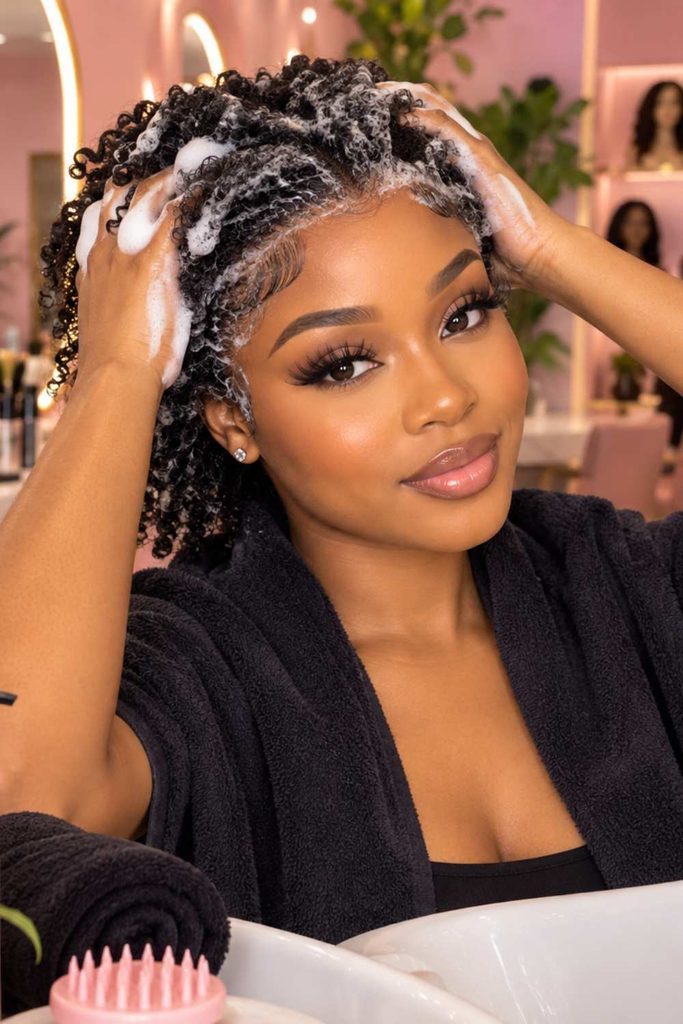
If your hair needs a refresh, wash it and follow with a light moisturizer or leave-in conditioner. You want your hair to feel clean and manageable without loading it with heavy products.
Detangle It Properly
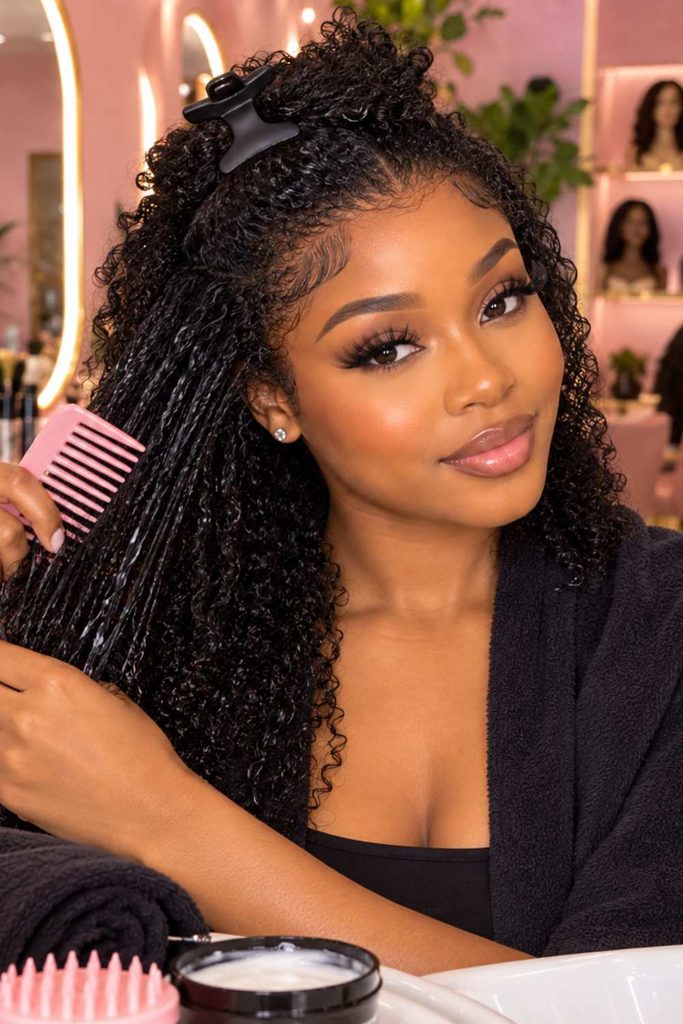
Gently detangle your hair from the ends upward using a wide-tooth comb or detangling brush. Removing knots beforehand makes it easier to flatten your hair underneath the wig.
Braid or Flatten Your Hair Underneath the Wig

If you have longer or thicker hair, create a few flat braids or cornrows to keep everything close to your scalp. For shorter hair, you can simply smooth it back and secure it neatly. The flatter your base, the better the wig will sit.
Make Sure Your Hair Is Completely Dry
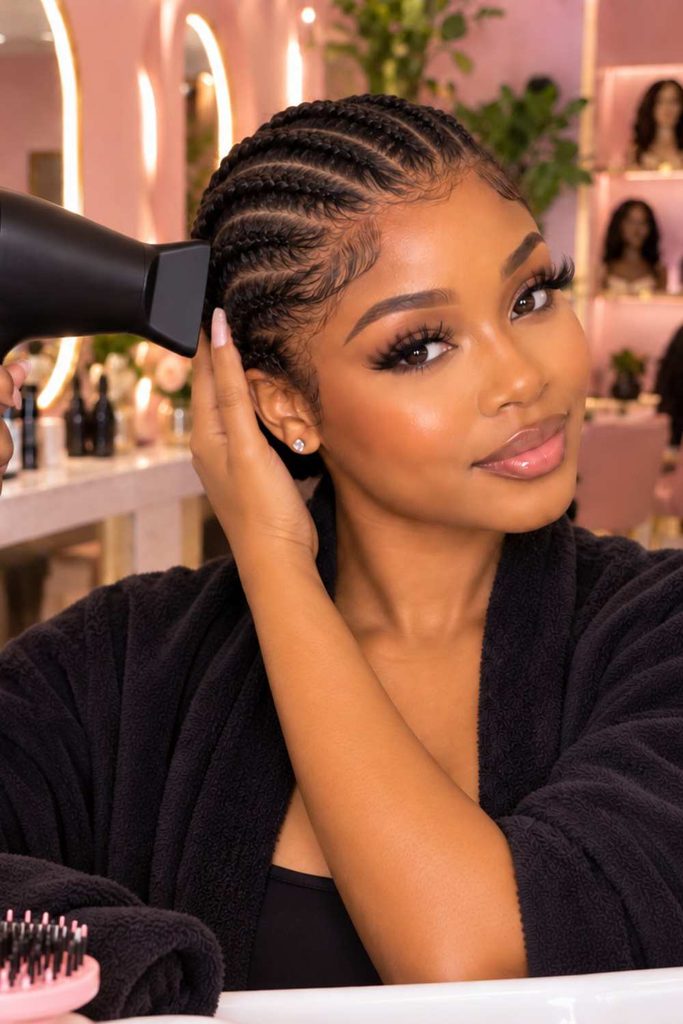
Before installing the Glue-less wig, make sure your natural hair is completely dry, especially if you braided it after washing. Wearing a wig over damp hair for an extended period can leave your hair and scalp feeling uncomfortable.
Gather Your Wig Installation Tools

Before you start, gather everything you’ll need so you don’t have to stop halfway through the installation. You really don’t need a lot of tools just a few basics can help you achieve a neat and natural-looking result.
Glueless Wig
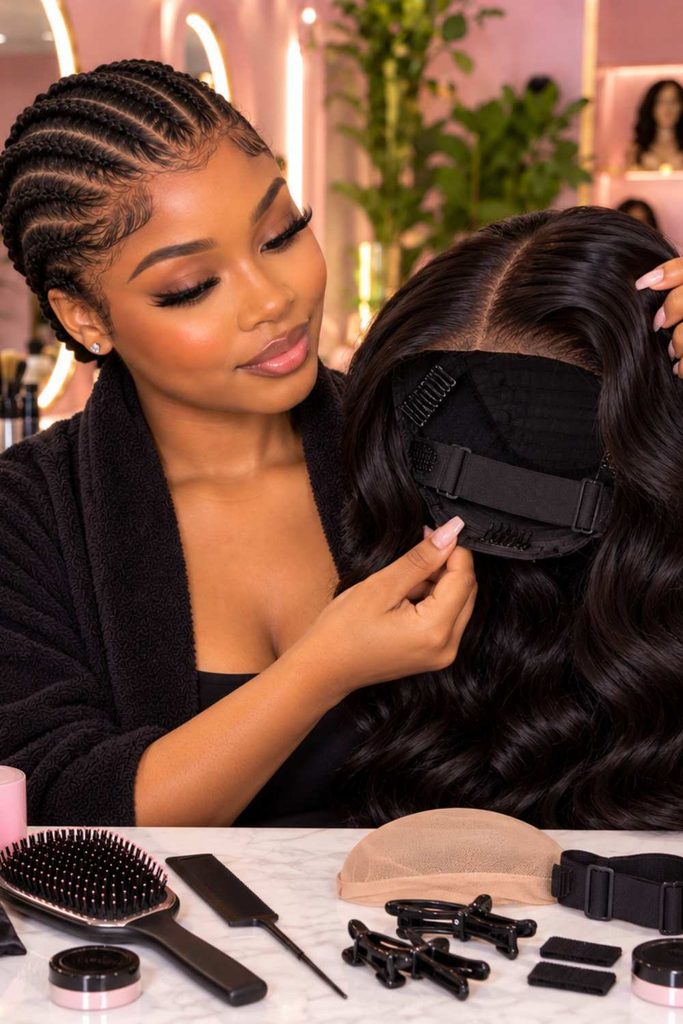
Choose a glueless wig that fits your head comfortably. Check that it has adjustable straps or other features that help keep it secure without adhesive.
Wig Cap
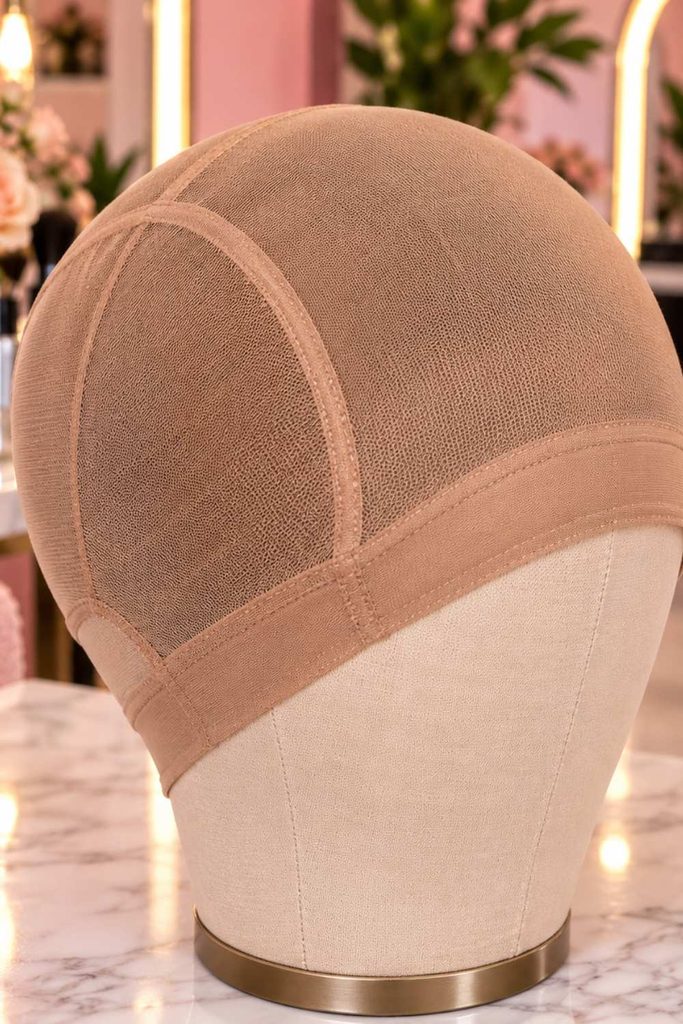
A wig cap can help keep your natural hair in place and create a smoother base underneath the wig.
Wig Grip if Needed

If your Glue-less wig moves around easily, a wig grip can provide extra security. It’s especially useful when you want to wear your wig without glue.
Rat-Tail Comb
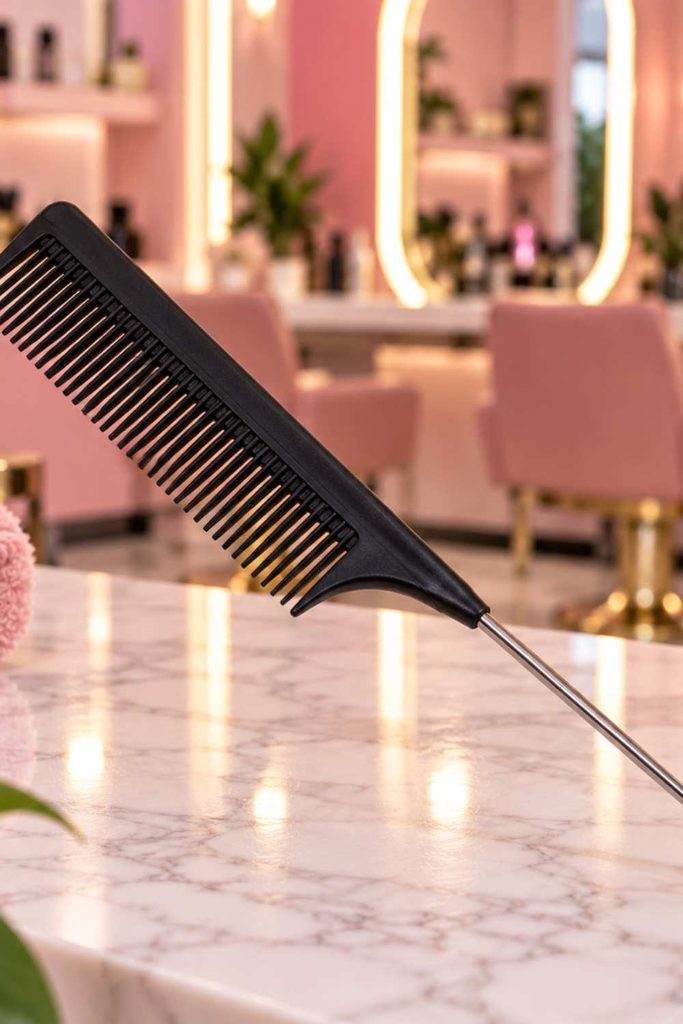
Use the pointed end to create clean parts and gently arrange your natural hair before putting on the wig.
Hair Clips
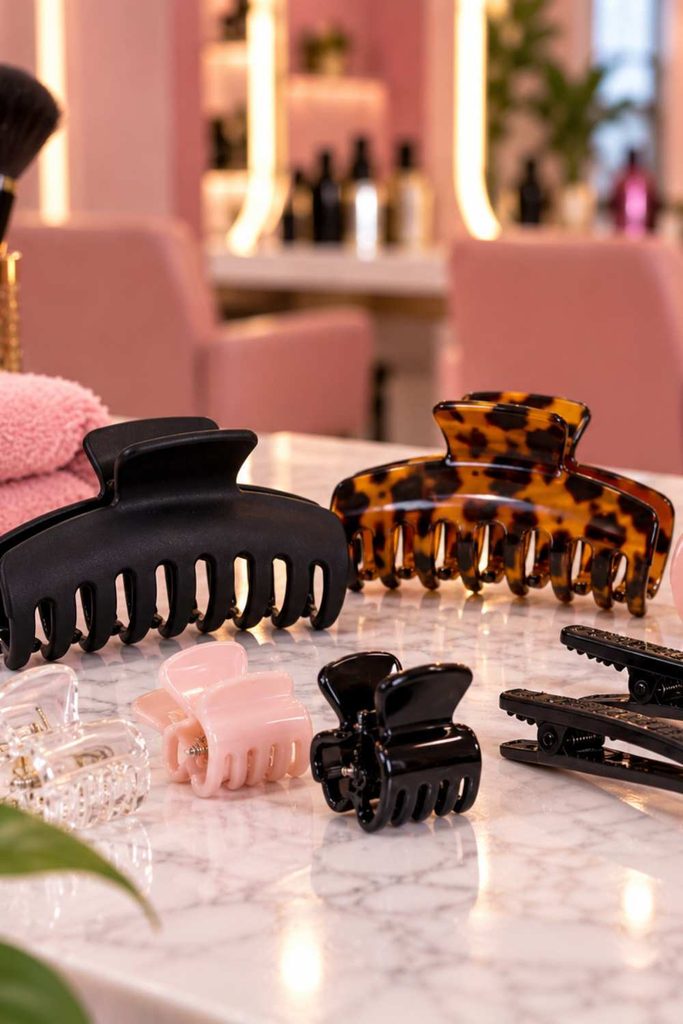
Clips are useful for holding sections of your hair out of the way while you prepare your base.
Edge Brush
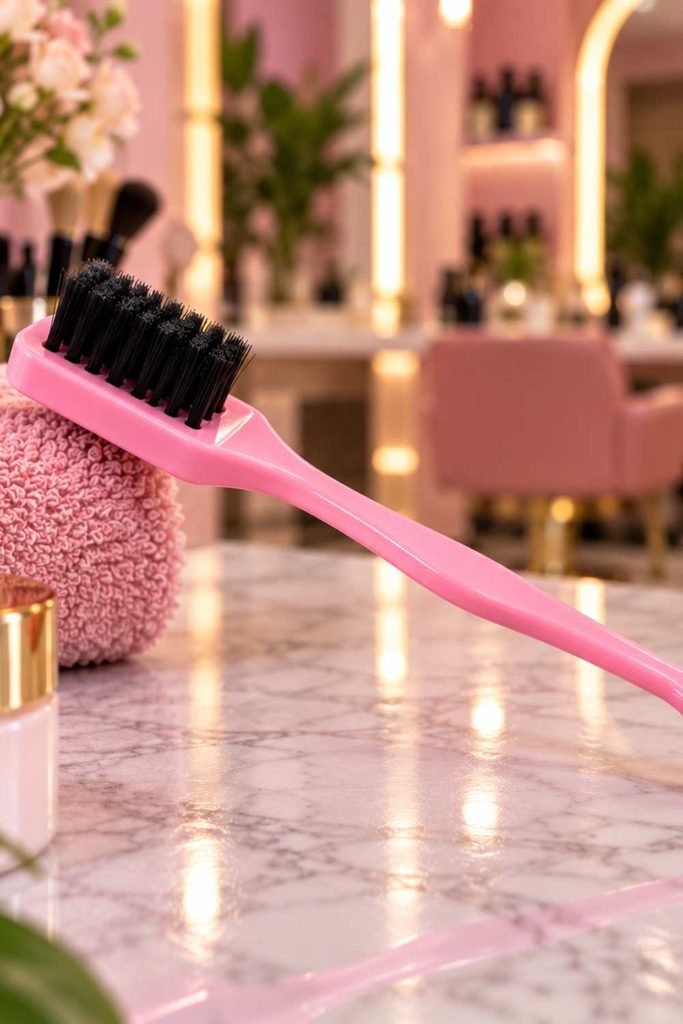
An edge brush can help you gently smooth your hairline and tidy up any loose hairs before positioning the wig.
Scissors for Minor Lace Trimming

If your wig comes with excess lace, you may need small scissors to carefully trim it. Take your time and avoid cutting too close to the hairline.
Prepare the Wig

Before putting the Glue-less wig on, take a moment to check and adjust it. Proper preparation helps the wig sit comfortably and makes the final look more natural.
Check the Wig’s Adjustable Straps and Combs

Look inside the wig and check the adjustable straps and combs. Make sure they are secure and in good condition before you put the wig on.
Adjust the Cap to Fit Your Head Comfortably
Adjust the straps until the wig feels snug but comfortable. It should stay in place without feeling too tight or putting pressure on your scalp.
Put on a Wig Cap
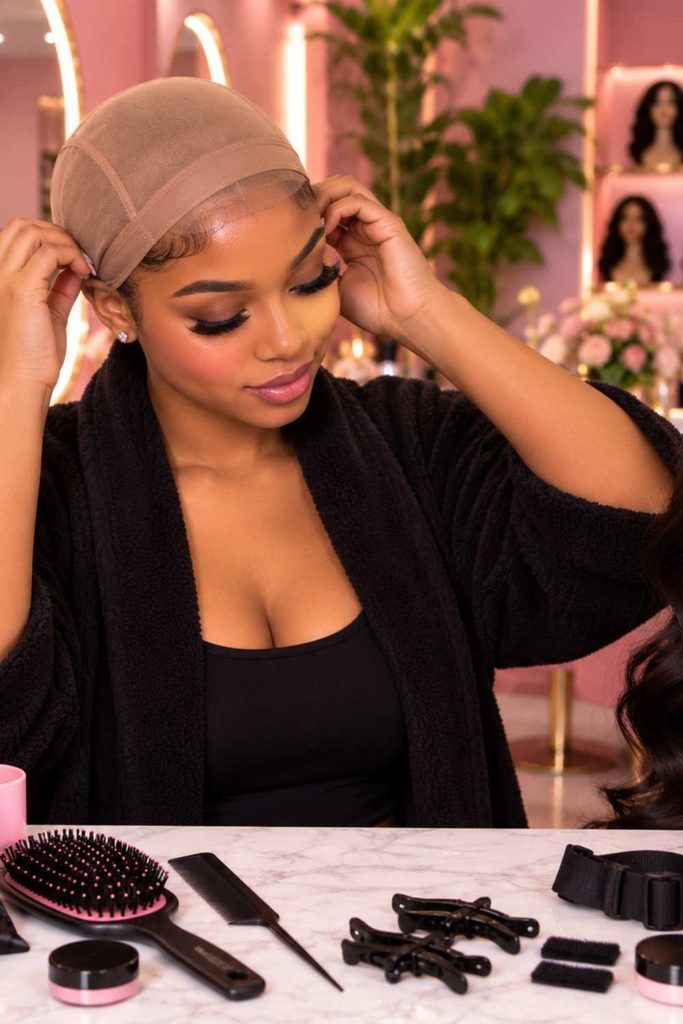
A wig cap helps keep your natural hair in place and gives you a smoother base for your glueless wig. It only takes a few minutes, but it can make the installation much neater.
Choose a Wig Cap That Matches Your Preferred Look
Pick a wig cap that works well with your wig and the finish you want. A lightweight, breathable cap is usually a comfortable choice for everyday wear.
Smooth Your Natural Hair Underneath
Place the cap over your head and make sure all your natural hair is tucked neatly underneath. Smooth down any bumps so the wig can sit flat.
Make Sure the Cap Sits Comfortably
The cap should stay in place without feeling tight or causing pressure around your hairline. If it feels uncomfortable, adjust it before putting on the wig.
Also Try out: How to make packing gel hairstyle for beginners
How to create eye-catching box braid style that looks neat
Position the Glueless Wig
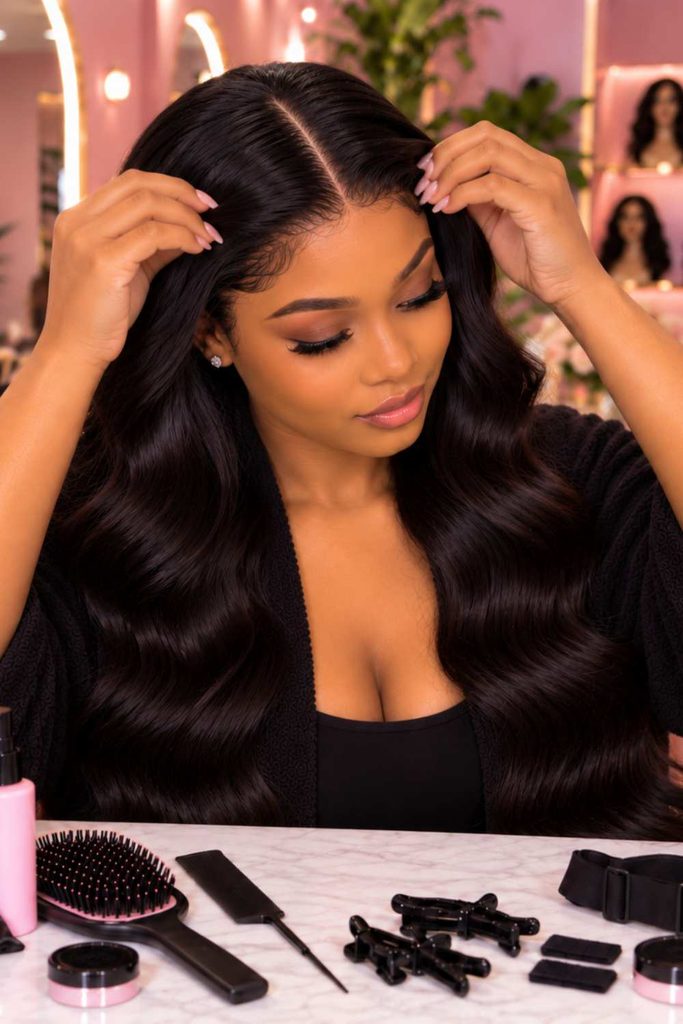
Now that your hair and wig cap are ready, it’s time to put on the wig. Take your time with this step because proper positioning is what helps the wig look natural and stay comfortably in place.
Place the Wig From Front to Back

Hold the glue-less wig at the front and gently place it over your head, then pull it toward the back. Avoid dragging it roughly across your hairline.
Align the Wig With Your Natural Hairline
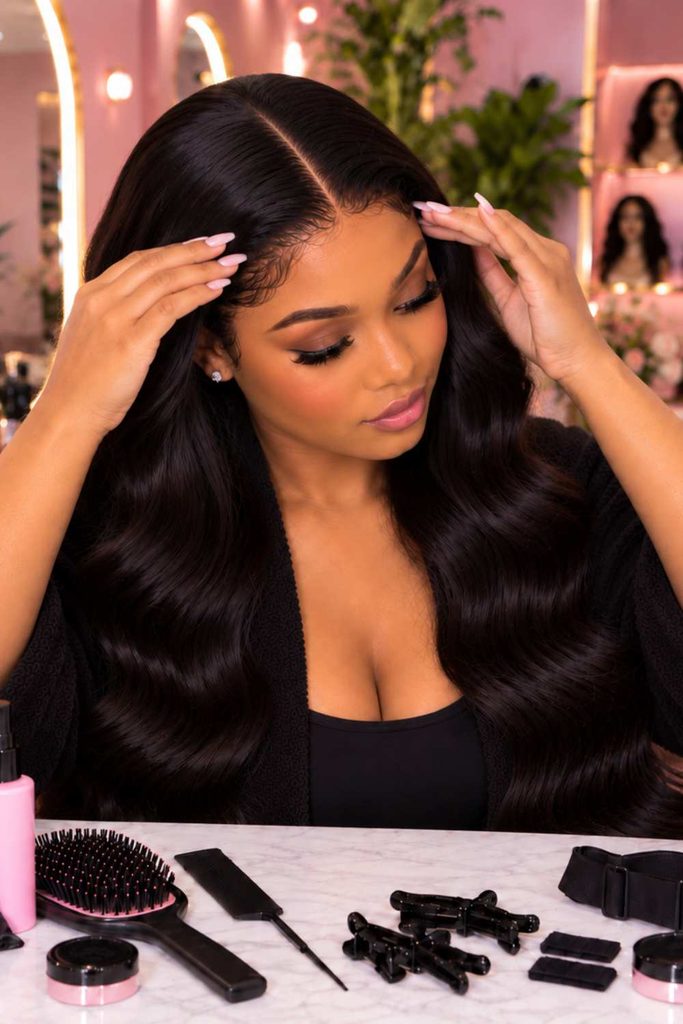
Position the front of the glue-less wig close to your natural hairline without pulling it too far forward. Make small adjustments until it looks like the hair is growing naturally from your scalp.
Adjust the Straps Until It Feels Secure

Check the adjustable straps at the back and tighten or loosen them as needed. The glue-less wig should feel snug enough to stay in place but never so tight that it causes discomfort.
Trim Excess Lace Carefully

If your Glue-less wig has lace, carefully trim away any excess around the hairline. Work slowly and avoid cutting into the lace or the hair attached to it.
Use the Combs Carefully if the glue-less Wig Has Them

If your glue-less wig has built-in combs, gently tuck them into your hair or wig cap for extra security. Don’t force the combs into your scalp or use them in a way that creates unnecessary tension.
Create a Natural-Looking Hairline
The hairline can make a big difference in how realistic your glueless wig looks. Once the wig is positioned correctly, take a few moments to blend the front and make it look as natural as possible.
Gently Position the Lace Along Your Hairline
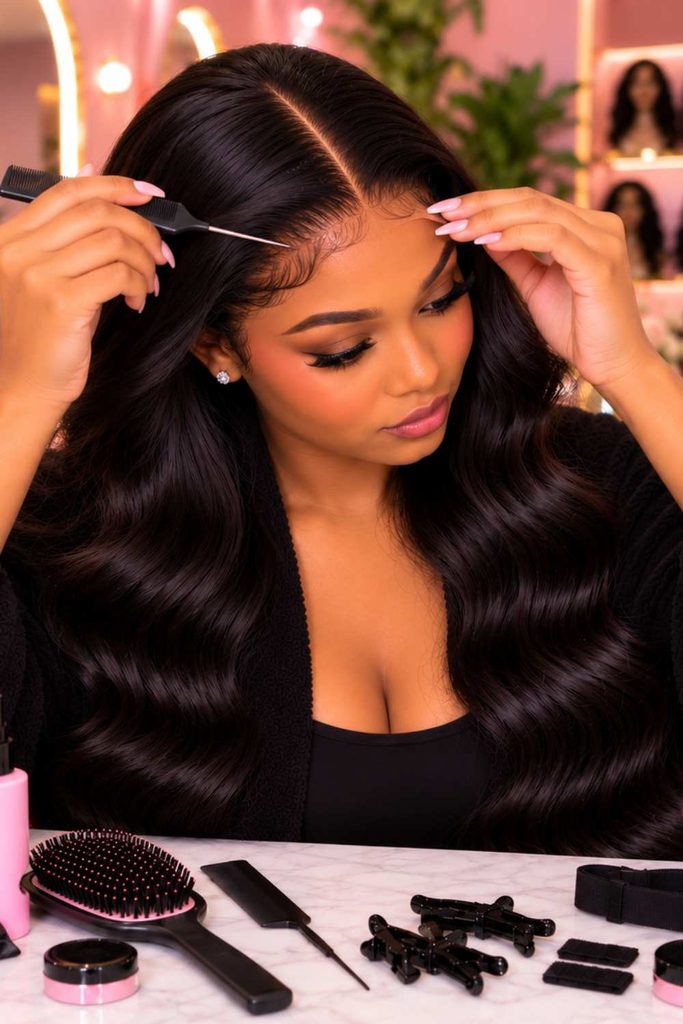
Place the lace close to your natural hairline and gently smooth it into position. Avoid tugging or pulling the lace, especially around your edges.
Avoid Pulling the Wig Too Far Forward
Don’t place the glue-less wig too far down on your forehead. Leave it close to where your natural hairline would normally sit so the installation looks more realistic.
Blend the Lace With Your Skin
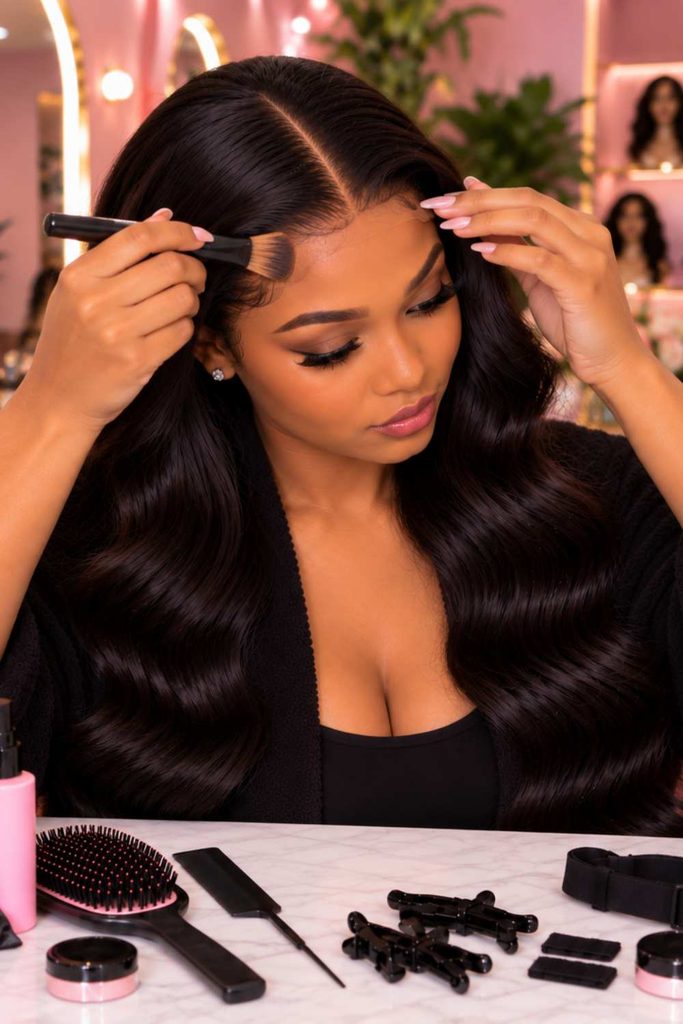
If needed, use a small amount of foundation or powder that matches your skin tone to help the lace blend in. Apply it lightly rather than using too much product.
Lightly Style the Baby Hairs if Desired

You can gently style a few baby hairs around the hairline for a softer finish. Keep the styling simple and avoid excessive brushing or pulling, especially if you want to protect your edges.
Style the Wig for a Natural Finish
Once your wig is securely in place, it’s time to give it a little styling. You don’t need to do too much the goal is to make the wig look effortless and natural.
Choose a Parting That Suits Your Face
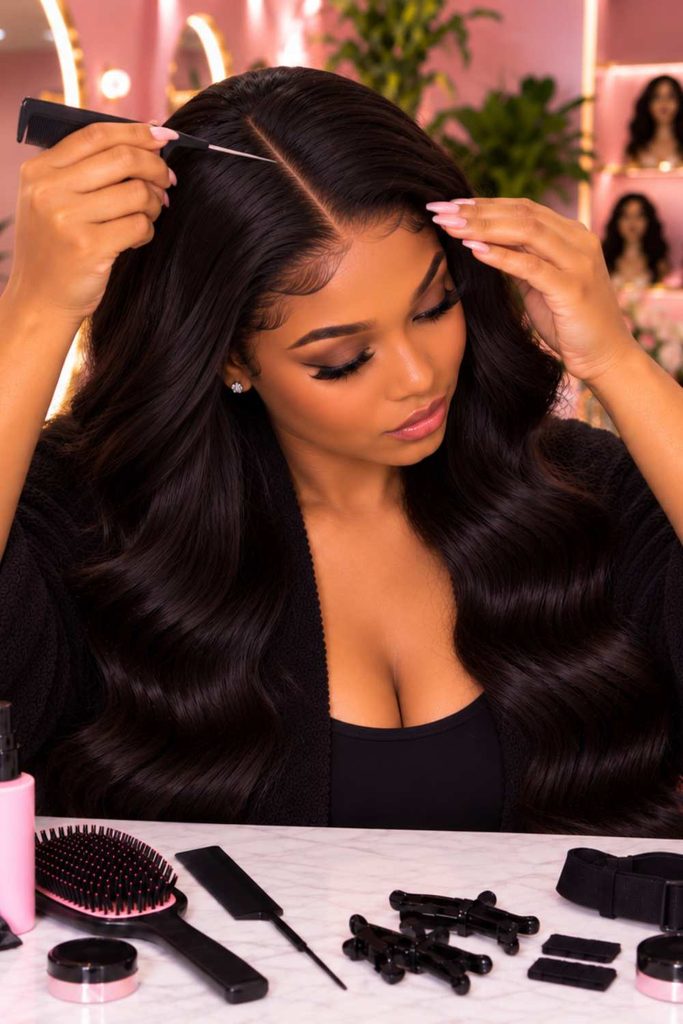
Try a middle, side, or slightly off-center part and see which one looks most natural on you. A simple change in the part can completely change the appearance of the wig.
Use a Flat Iron or Styling Tools if the Wig Allows

If the glue-less wig is heat-friendly, you can use a flat iron or other styling tools to smooth or shape it. Always check that the wig can handle heat and use a suitable temperature to avoid damaging the fibers or hair.
Add Gentle Waves, Curls, or Keep It Straight

You can keep the wig straight for a clean, polished look or add soft waves or curls for something more relaxed. Choose a style that works with the texture of the wig and feels easy for you to maintain.
Avoid Over-Styling the Hairline
Be gentle around the front of the wig. Too much brushing, heat, or manipulation can make the hairline look unnatural. Keep it simple and allow the hair to fall naturally.
Make the Glue-less Wig Look More Natural
Now that your glue-less wig is styled, take a moment to check the small details. A few simple adjustments can make the difference between a wig that looks obvious and one that looks naturally blended.
Flatten Any Bulky Areas
If you notice bumps under the wig, gently smooth them down. Make sure your natural hair is lying flat underneath so the glue-less wig sits evenly on your head.
Adjust the Part for a Realistic Appearance
Check your part and adjust it slightly if needed. A natural-looking part should sit comfortably and blend with the shape of your face rather than looking too perfectly placed.
Use a Small Amount of Powder or Foundation
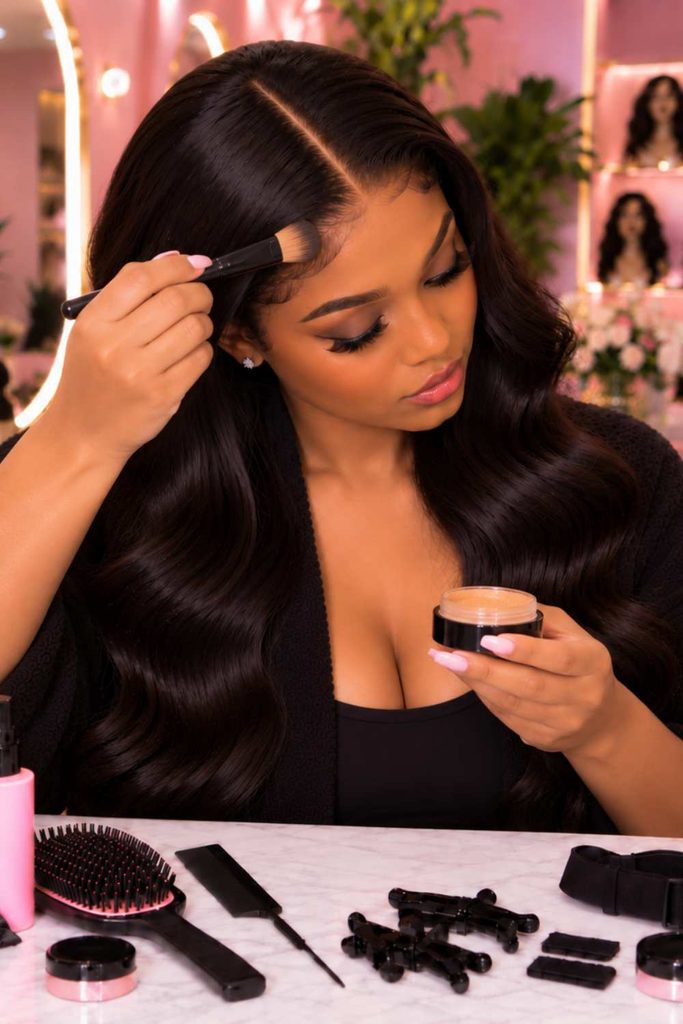
If the lace is still noticeable, lightly apply a small amount of powder or foundation that matches your skin tone. Blend it gently into the lace without overdoing it.
Check the Wig From Different Angles
Finally, look at the glue-less wig from the front, sides, and back. This helps you spot any visible lace, bumps, or areas that need a little adjustment before you head out.
Secure the Wig Without Glue
One of the best things about a glueless wig is that you can keep it secure without using adhesive. The key is getting a comfortable fit that holds the wig in place without putting unnecessary pressure on your scalp or edges.
Adjust the Straps for a Snug Fit
Use the adjustable straps inside the wig to create a secure fit. Tighten them gradually until the wig stays in place without feeling uncomfortable.
Use a Wig Grip for Extra Security
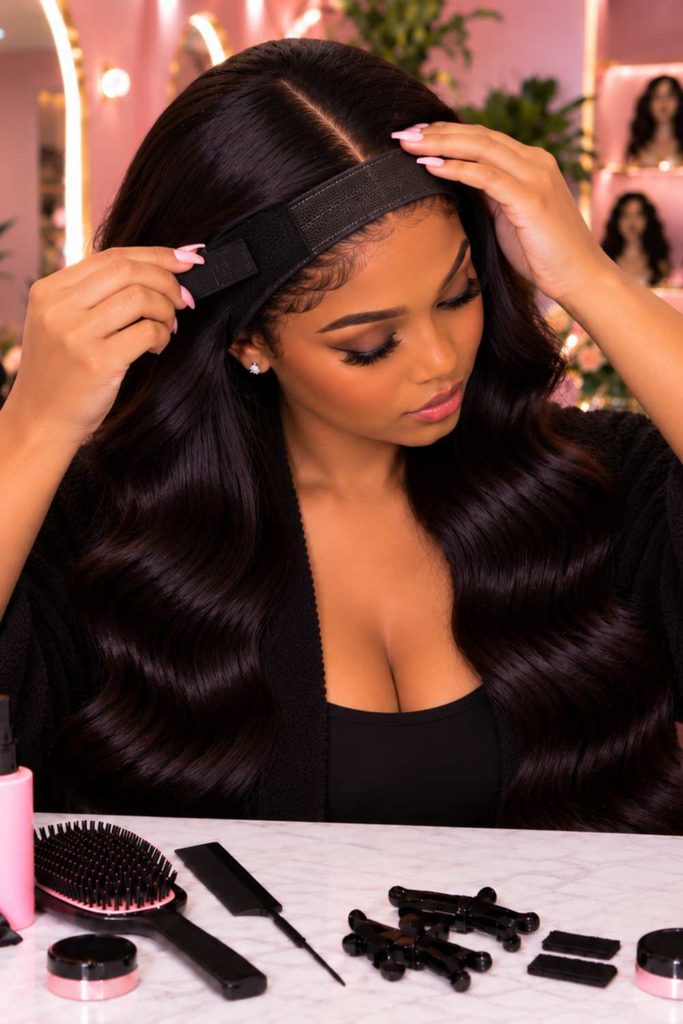
If you need more hold, a wig grip can help prevent the wig from shifting as you move. It’s especially useful if you plan to wear the Glue-less wig for several hours.
Tuck Away Any Visible Natural Hair
Check around the front, sides, and back for any natural hair sticking out. Gently tuck it underneath the wig or cap for a cleaner finish.
Make Sure Nothing Feels Too Tight
Finally, move your head around and check how the wig feels. It should stay secure without causing pressure, headaches, or discomfort. If it feels too tight, loosen the straps slightly.