Ever wondered how to design simple acrylic nail for beginners at home, we have you covered.
And If you’ve always admired a beautiful set of acrylic nails and thought, “I wish I could do that myself,” you’re not alone. For many beginners, acrylic nails can seem a little intimidating at first. The powders, the brushes, the shaping it can look like something only professionals in a salon can handle. But the truth is, creating simple acrylic nail designs at home is much easier than most people think on how to design simple. acrylic nails
You don’t need a fancy setup or years of experience to get started. . In fact, doing your nails at home can be a fun and relaxing way to experiment with different colors and simple designs while also saving money on salon visits.
In this post, I’ll walk you through how to design simple acrylic nail designs that are perfect for beginners. Whether you’re trying acrylic nails for the very first time or just looking for easy designs you can manage at home, you’ll find practical tips and straightforward steps to help you get started with confidence.
What Are Acrylic Nails?
Acrylic nails are artificial nail enhancements that are created by combining a liquid monomer with a powder polymer to form a hard protective layer over your natural nails. Once these two products are mixed together, they form a soft bead that can be shaped on the nail. Within a few minutes, the mixture hardens and creates a strong surface that can be filed, shaped, and polished just like natural nails (how to design simple acrylic nails)
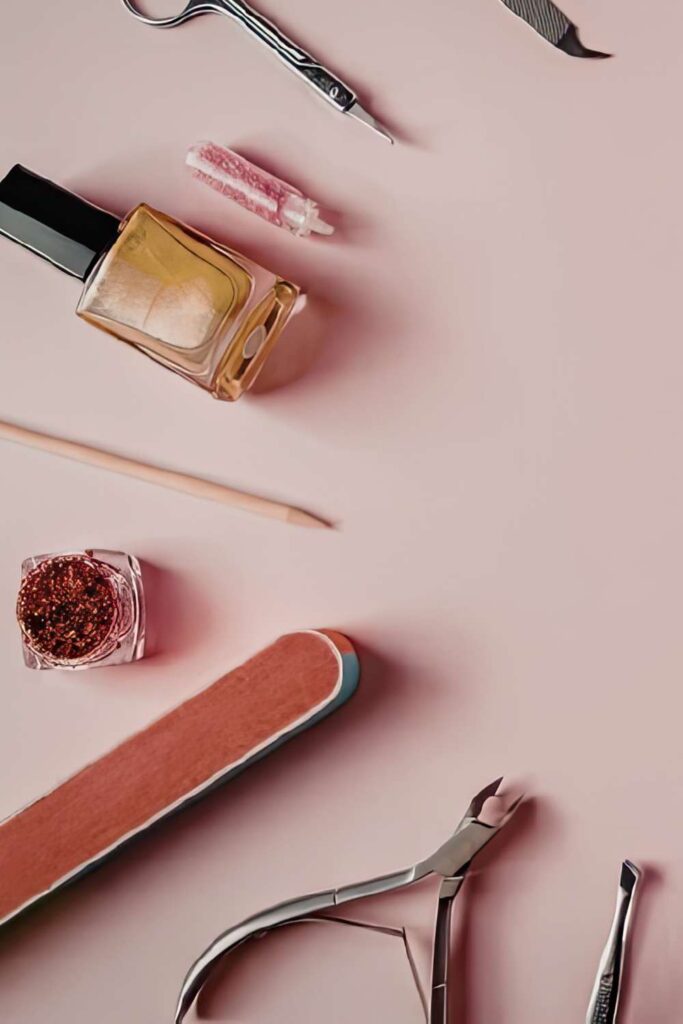
Tools and Materials You Need on how to design simple acrylic nail for beginners at home
Before you start on how to design simple acrylic nails at home, it’s important to gather the right tools and materials. Having everything ready not only makes the process easier, but it also helps you achieve cleaner and more professional-looking results. The good news is that beginners don’t need an overly complicated setup just a few basic items to get started.
Essential Tools for Beginners( how to design simple acrylic nails)
Acrylic Powder
Acrylic powder is one of the main products used to create acrylic nails. When combined with acrylic liquid, it forms the solid layer that strengthens and shapes the nail. Acrylic powders come in different shades, including clear, pink, and natural tones, but beginners often start with clear or natural powder because it’s easier to work with.
Acrylic Liquid (Monomer)
The acrylic liquid, also known as monomer, is what activates the acrylic powder. When your brush picks up the liquid and then dips into the powder, it creates a small bead of acrylic that you can place on the nail and shape before it hardens. A good quality monomer helps the acrylic apply smoothly and cure properly.
Acrylic Brush
An acrylic brush is specially designed to pick up and control the mixture of acrylic liquid and powder. These brushes usually have soft bristles that allow you to shape the acrylic bead neatly on the nail. For beginners, a medium-sized brush often offers the best control while learning the application process.
Nail Tips or Nail Forms
If you want to extend the length of your nails, you’ll need nail tips or nail forms. Nail tips are small plastic extensions that are glued to the edge of your natural nails before acrylic is applied. Nail forms, on the other hand, are placed under the natural nail and used as a guide to build the acrylic extension(how to design simple acrylic nails).
Nail Glue
Nail glue is used to attach nail tips securely to your natural nails. A strong adhesive ensures the tips stay in place while you apply and shape the acrylic.
Nail File and Buffer
After the acrylic hardens, you’ll need a nail file to shape the nails and smooth out uneven areas. A buffer is used afterward to refine the surface and create a smooth base before applying polish or nail designs.
Cuticle Pusher
A cuticle pusher helps gently push back the cuticles and clean up the nail bed before applying acrylic. Proper nail preparation is essential because it helps the acrylic adhere better and last longer.
Base Coat and Top Coat
A base coat prepares the nail surface before applying nail polish, while a top coat seals the design and adds shine. The top coat also protects your nail art from chipping and helps your manicure last longer.
Nail Polish or Gel Polish
Once the acrylic nails are shaped and smooth, you can finish them with your favorite nail polish or gel polish. This is where you can add color and start experimenting with simple designs.
Optional Tools for Nail Designs( how to design simple acrylic nails)
Once you feel comfortable with basic acrylic application, you can add a few extra tools to create simple nail art designs.
Dotting Tool
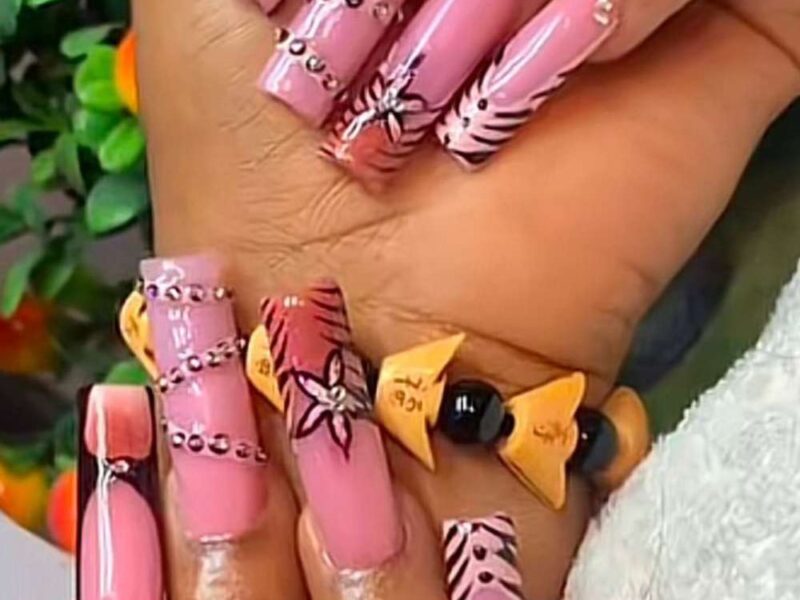
A dotting tool makes it easy to create small dots, flowers, or patterns on your nails. It’s one of the simplest tools beginners can use to add decorative details.
Nail Art Brush
Nail art brushes are thinner and more precise than regular brushes. They help you draw lines, swirls, or other simple designs on the nail surface.
Nail Stickers
Nail stickers are perfect for beginners who want decorative nails without complicated techniques. You simply apply them to the nail and seal them with a top coat as the best way on how to design simple acrylic nails.
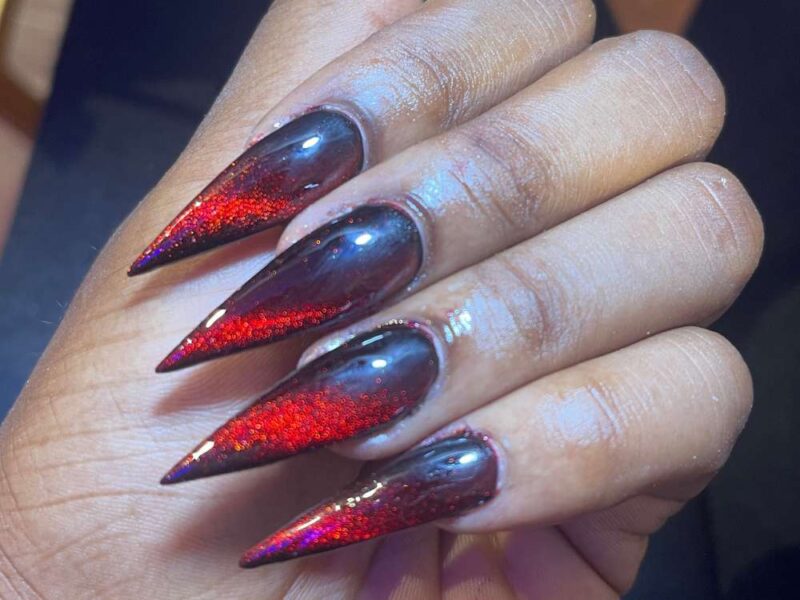
Glitter
Glitter is a fun and easy way to add sparkle to acrylic nails. You can mix it with acrylic powder, sprinkle it onto wet polish, or apply it to accent nails for a simple but eye-catching design.
Preparing Your Natural Nails on ( how to design simple acrylic nails as a beginner at home)
Before applying acrylic, the condition of your natural nails matters more than most beginners realize. Proper nail preparation is what helps acrylic nails stick well, look smoother, and last longer without lifting or breaking. Skipping this step can cause the acrylic to peel off quickly, even if the application itself is done correctly.
Here’s how to properly prepare your natural nails before applying acrylic on how to design simple acrylic nail for beginners at home.
Cleaning Your Nails
Start by making sure your nails are completely clean. Remove any old nail polish, oils, or dirt from the nail surface. You can use nail polish remover or rubbing alcohol to wipe each nail thoroughly.
Clean nails create a better surface for acrylic to adhere to. Even small traces of oil or lotion can prevent the acrylic from sticking properly, which may lead to lifting after just a few days.
You might also enjoy: Natural hairstyle with attachment for girl
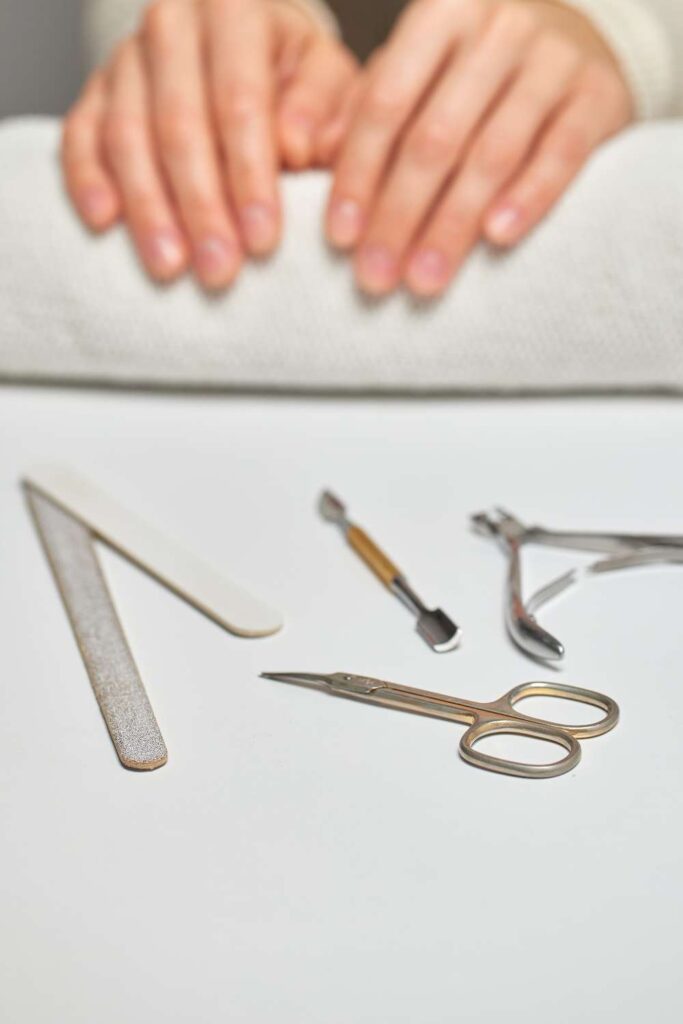
Pushing Back Your Cuticles
Next, gently push back your cuticles using a cuticle pusher. This exposes more of the nail plate and creates a clean area for the acrylic to sit on.
Be gentle during this step. The goal is simply to move the cuticle away from the nail surface not to force or cut too deeply. When acrylic is applied over cuticles, it can lift easily and may not look as neat.
Buffing the Nail Surface
After pushing back the cuticles, lightly buff the surface of your nails using a nail buffer. This removes the natural shine from the nail and creates a slightly rough texture.
That slight roughness is actually helpful because it allows the acrylic to grip the nail better. Avoid over-buffing thoughyou only need to remove the shine, not thin the nail.
Applying Nail Tips (If You Want Longer Nails)
If you want to extend the length of your nails, this is the stage where you apply nail tips. Choose a tip that fits each nail properly from side to side, then attach it with nail glue( how to design simple acrylic nails.
Once the tips are secure, trim them to your desired length and lightly file the edges to blend them with your natural nails. This creates a smooth base before the acrylic is applied.
Why Nail Preparation Matters
Many beginners focus mostly on applying the acrylic itself, but preparation is actually one of the most important parts of the entire process. Well-prepared nails help acrylic adhere properly, prevent lifting, and create a smoother foundation for shaping and polishing.
Step-by-Step Guide on how to design simple acrylic nail for beginners at home.
Once your tools are ready and your natural nails are properly prepared, you can start applying the acrylic. If you’re a beginner, the key is to take your time and work carefully through each step. Acrylic application becomes easier with practice, so don’t worry if it’s not perfect the first time here are how to design simple acrylic nails.
1. Prepare Your Natural Nails
Start by cleaning your nails thoroughly and removing any old polish or oils. Push back your cuticles gently and lightly buff the surface of your nails to remove the natural shine. This step helps the acrylic adhere better and prevents lifting later on.
Make sure your nails are dry and free of dust before moving on to the next step on how to design simple acrylic nails.
2. Apply Nail Tips or Nail Forms
If you want longer nails, attach nail tips to the edge of your natural nails using nail glue. Choose tips that fit your nails properly from side to side. Once they are secure, trim them to your desired length and lightly file them to blend with your natural nails.
If you prefer using nail forms instead of tips, place the form under your natural nail so it acts as a guide for building the acrylic extension.
3. Mix Acrylic Powder and Liquid
Pour a small amount of acrylic liquid (monomer) into a dappen dish. Dip your acrylic brush into the liquid first, then lightly dip it into the acrylic powder.
This will create a small bead of acrylic on the tip of the brush. The bead should not be too wet or too dry it should look smooth and slightly rounded. Getting the right consistency may take a little practice.
4. Apply the Acrylic Bead to the Nail(how to design simple acrylic nails)
Place the acrylic bead gently onto the nail, usually starting near the middle of the nail. Use the brush to spread and guide the acrylic across the nail surface.
Work quickly but carefully, because acrylic begins to harden after a short time. Smooth it out so it covers the nail evenly while avoiding the cuticle area.
you may also consider: how to apply makeup for beginner
How to make Step by Step Cornrow Style for ladies with Natural Hair.
How to make Gel Nail Style on Step by Step Guide for great looks.
How to design nails at home step by step-guide
5. Shape and Smooth the Acrylic
Use the brush to gently press and guide the acrylic into the shape you want. Make sure the acrylic layer is even across the nail and slightly thinner near the cuticle area.
A smooth application at this stage will make filing and shaping much easier later.
6. Let the Acrylic Dry
Allow the acrylic to fully harden before touching or filing it. Acrylic usually takes a few minutes to dry, depending on the product you’re using.
You can lightly tap the nail with your brush handle if it makes a solid clicking sound, it usually means the acrylic has hardened on how to design simple acrylic nails.
7. File and Shape the Nails
Once the acrylic is fully dry, use a nail file to shape the nails to your desired style. You can create shapes like square, oval, or coffin depending on your preference.
After shaping, use a buffer to smooth the surface of the nails so they are ready for polish or simple nail designs.
Common Mistakes Beginners Should Avoid
When you’re just starting out with acrylic nails, it’s normal to make a few mistakes along the way. Acrylic application takes practice, and even small errors can affect how your nails look or how long they last. Knowing some of the most common beginner mistakes can help you avoid frustration and improve your results much faster.
Using Too Much Acrylic
One of the most common mistakes beginners make is using too much acrylic at once. Large acrylic beads can spread unevenly across the nail and make the nails look bulky or unnatural.
Instead, start with smaller beads of acrylic and build the nail gradually. This gives you more control and helps you create a smoother, more natural-looking finish.
Not Preparing the Nail Properly
Skipping nail preparation is another mistake that can cause acrylic nails to lift or fall off quickly. If the nail surface still has oils, dirt, or leftover polish, the acrylic won’t stick properly.
Taking a few extra minutes to clean your nails, push back your cuticles, and lightly buff the surface can make a huge difference in how well your acrylic nails last on how to design simple acrylic nail
Applying Acrylic Too Thick
Thick layers of acrylic might seem stronger, but they often make the nails look bulky and uneven. Thick acrylic is also harder to file and shape later.
A better approach is to apply thin, controlled layers and shape them carefully. This creates a more natural appearance and makes the finishing process much easier.
Filing Too Aggressively
Filing is necessary to shape acrylic nails, but filing too aggressively can damage both the acrylic and your natural nails underneath. It can also create uneven shapes or thin spots that weaken the nail.
Use gentle, controlled strokes when filing and focus on refining the shape rather than removing large amounts of product at once on how to design simple acrylic nails.
Not Sealing with a Top Coat
After spending time applying and shaping your acrylic nails, skipping the top coat is a mistake many beginners make. Without a top coat, nail polish can chip more easily and the design may lose its shine.