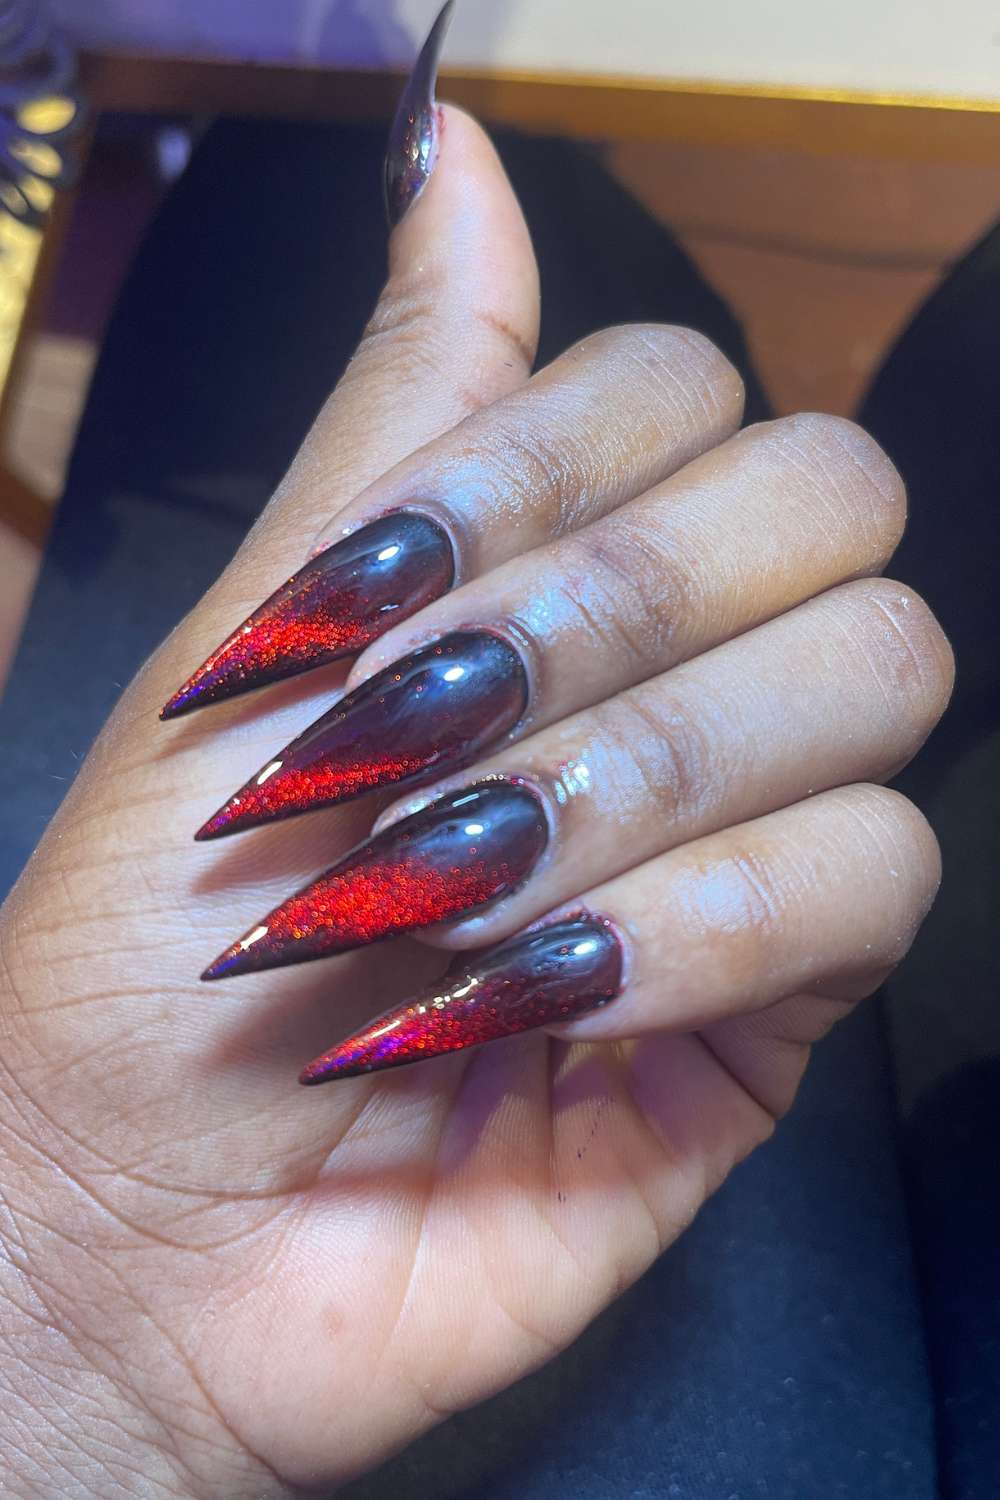
The first time I saw cat-eye nails, I genuinely thought you needed some kind of magic to make them happen. Like, how is there a glowing streak just floating inside the nail like that?! It looked so expensive, so professional, so out of reach. I scrolled past at least fifty different designs before I finally said okay fine, let me just try this thing. And honestly? It’s the best decision ever.
If you’re sitting here thinking “this looks stunning but there’s no way I can do this myself, babe I was you. I completely understand that feeling of wanting something so bad but being lowkey scared to mess it up, especially when your nails are involved. But here’s what I wish someone had told me earlier, cat-eye nails are actually one of the more beginner-friendly nail trends out there once you understand how they work. No crazy skills needed. Just the right products, the right steps, and a little bit of patience.
So today in this blog post, I’m breaking it down for you, A simple, honest, and straight to the point. By the end of this post, you’re going to look at your nails and wonder why you ever paid salon prices for this.
Are Cat Eye Nails in Style in 2026?
Absolutely and not just in style, they’re one of the biggest nail trends of the year.
Magnetic cat eye nails are one of the biggest manicure trends of 2026, especially in soft pastel shades for spring. Cat eye gel nails continue to dominate nail trends in 2026, with the magnetic shimmer creating a soft glowing effect that looks luxurious yet subtle.
Tools & Materials You’ll Need
Before you even think about picking up a brush for cat-eye nails, make sure you have everything you need. The best news is? You don’t need a professional nail salon’s worth of supplies. Just a handful of the right tools makes all the difference between a result that looks polished and one that falls flat.
Cat Eye Gel Polish (Magnetic Formula)
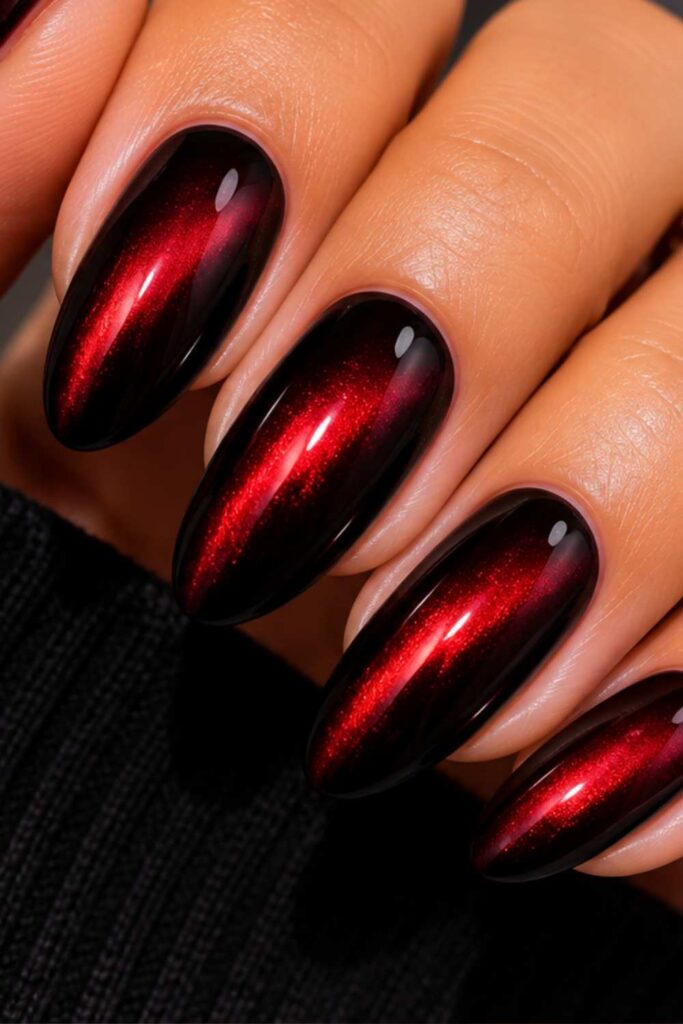
This is the star of the whole show, so don’t cut corners here. Cat eye gel polish isn’t your regular gel, it contains tiny magnetic particles suspended in the formula that react when a magnet is held over them, creating that signature streak of light. When you’re shopping for one, make sure the label specifically says “cat eye” or “magnetic gel polish.” A regular gel polish, no matter how pretty the color, simply won’t give you the effect. Brands like Born Pretty, Beetles, and Mode lones are great starting points for beginners and won’t break the bank.
Magnetic Nail Tool (Wand or Card)
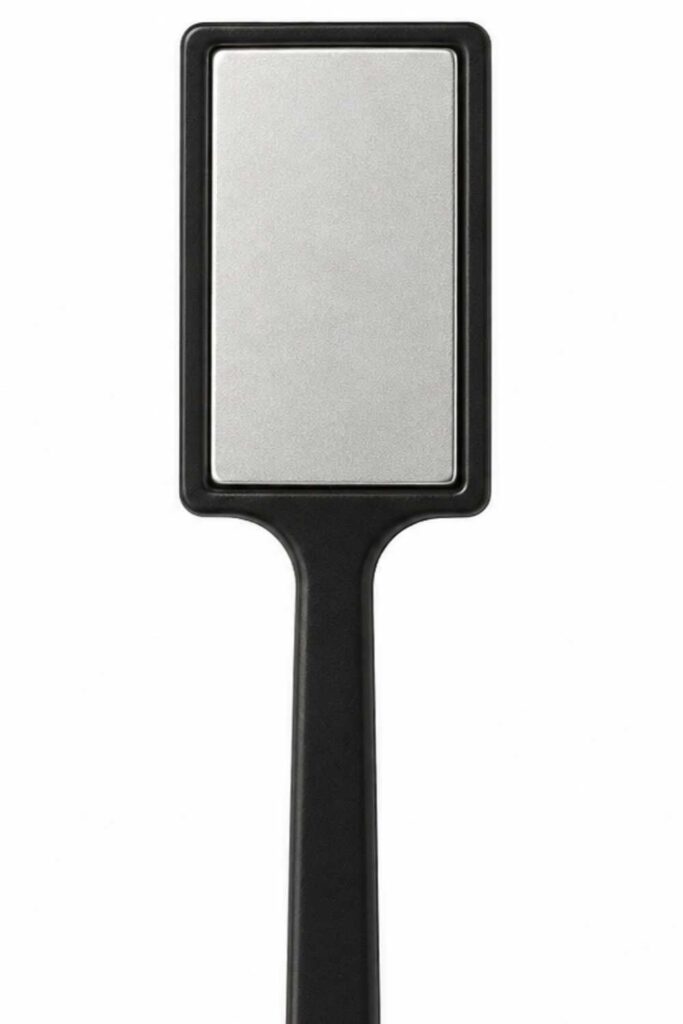
Think of this as your magic wand literally. The magnet is what pulls those metallic particles into the streak pattern that gives cat eye nails their mesmerizing, 3D appearance. They come in a few styles: a simple bar magnet creates a clean, classic single line; a double-ended magnet gives you two streak options in one tool; and specialty cat eye magnets can create fan shapes, starbursts, or diagonal effects. As a beginner, a basic double-ended wand is your best friend versatile, easy to handle, and inexpensive.
UV/LED Nail Lamp
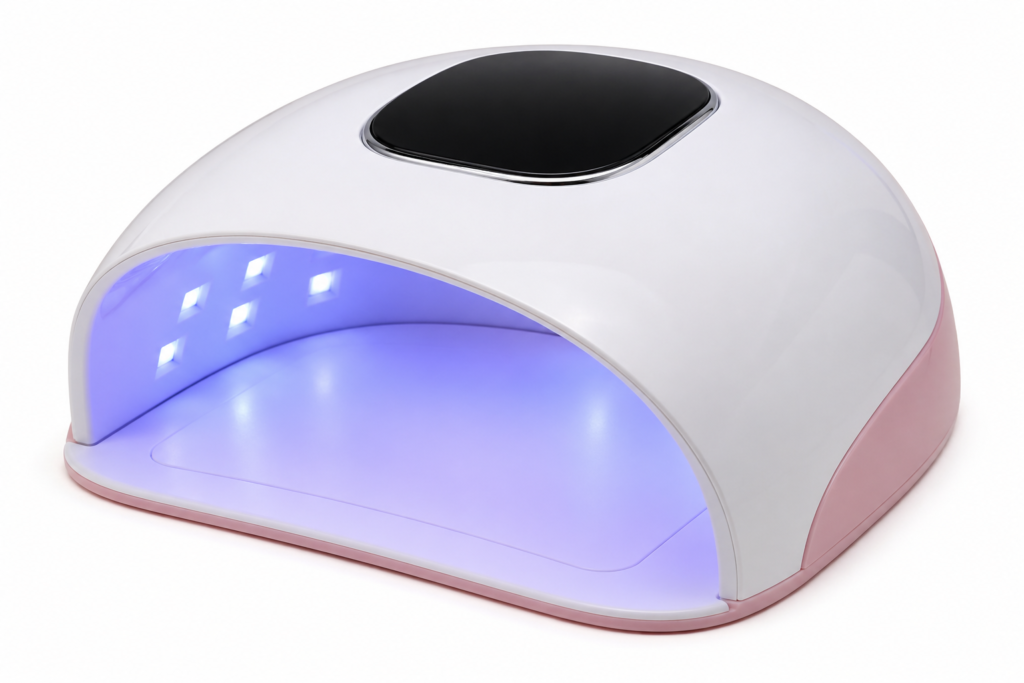
Your gel polish isn’t going anywhere without this. Unlike regular nail polish that air-dries, gel polish needs to be cured essentially hardened under a UV or LED lamp. LED lamps are the better choice for beginners: they cure faster (usually 30-60 seconds per coat), last longer, and are energy efficient. A lamp with at least 36 watts is ideal for even, thorough curing. This is one tool worth investing a little more in, because an underpowered lamp leads to tacky, soft nails that chip almost immediately.
Gel Base Coat
Never skip the base coat , it’s the foundation everything else builds on. A good gel base coat does two important things: it helps the colored polish bond properly to your nail so it doesn’t lift or peel, and it protects your natural nail from staining. Apply it thin, cure it fully, and your cat eye polish will have something solid to grip onto.
Top Coat (No-Wipe Gel)
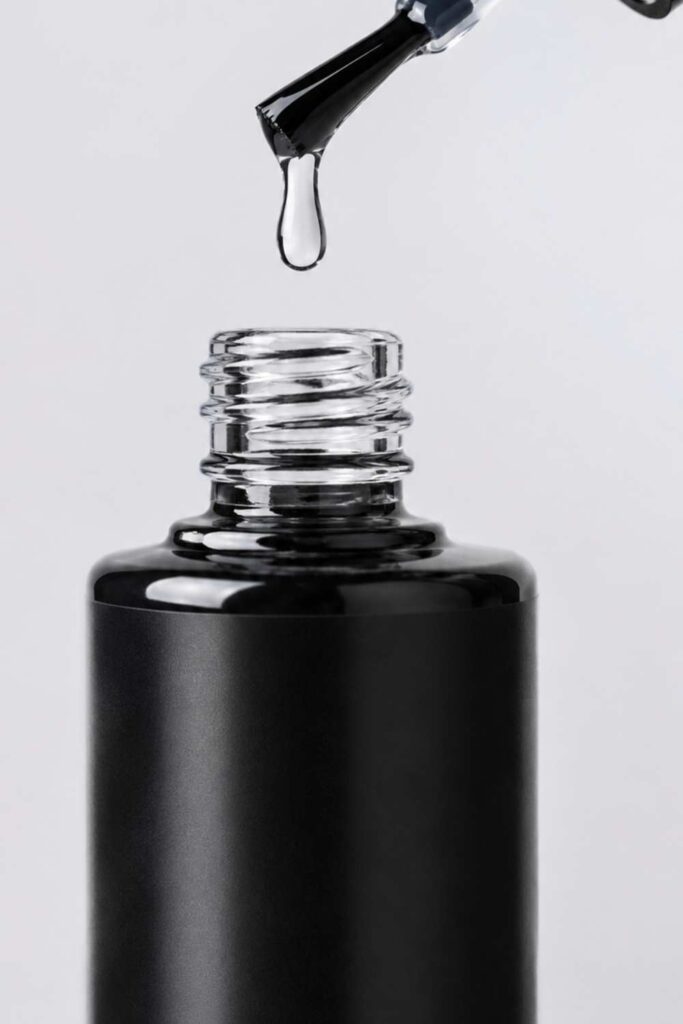
Once your cat eye effect is set, a top coat is what locks it all in and gives you that gorgeous, glass-like finish. Go for a no-wipe gel top coat if you can it cures to a completely smooth, shine-ready surface without needing to be wiped down with alcohol after. This keeps things simple and beginner-friendly. A good top coat also adds a layer of protection that keeps your design looking fresh for weeks.
Nail Prep Essentials
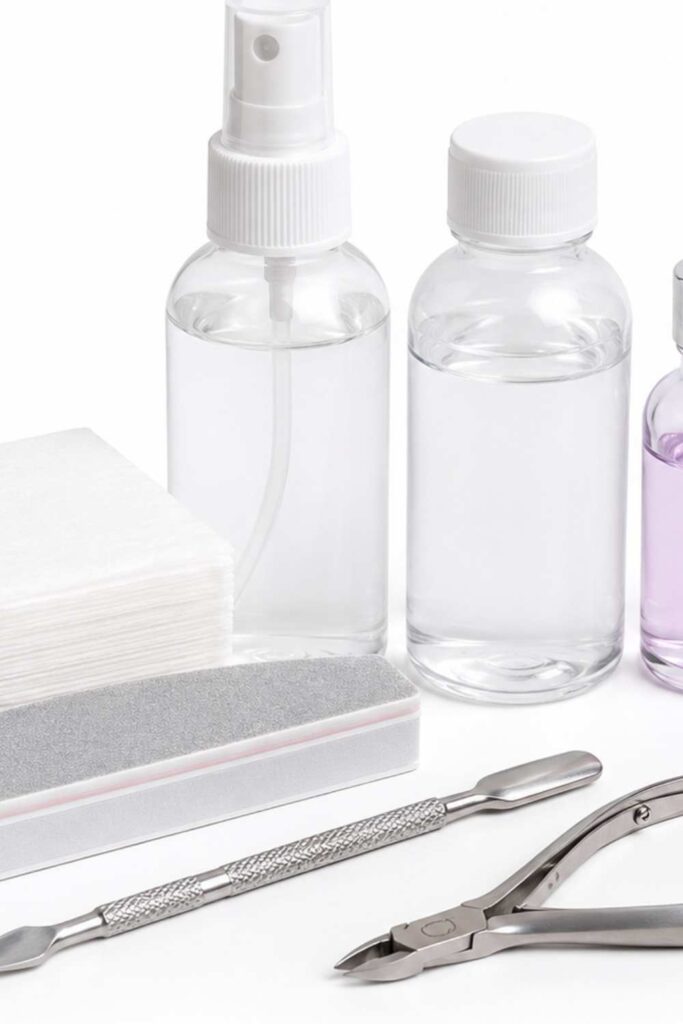
These might seem like the boring part, but they’re honestly what separates a long-lasting manicure from one that chips by day two. Here’s what you’ll need:
- Nail file – to shape your nails before you start. Oval and almond shapes tend to show off the cat eye effect beautifully.
- Buffer – a light buff of the nail surface removes shine and gives the base coat something to adhere to.
- Cuticle pusher – gently pushing back your cuticles keeps the polish application clean and professional-looking.
- Alcohol wipe or nail dehydrator – this is the last step before you apply any polish. It removes any oils, dust, or moisture from the nail surface. Skipping this is one of the most common reasons gel manicures lift prematurely, so don’t rush past it.
Choosing the Right Colors for Beginners
Here’s something a lot of beginners don’t realize, the color you choose matters just as much as the technique itself. Pick the right shade and your cat eye effect will look like it jumped straight off a magazine cover. Pick the wrong one and you might barely see the streak at all. So before you reach for whatever color catches your eye first, let’s talk about what actually works.
Best Starter Shades: Go Dark, Go Dramatic
If you’re just starting out, dark colors are your absolute best friends. Shades like black, deep navy, burgundy, and forest green are the go-to recommendations for beginners and for good reason. The cat eye effect works by creating a contrast between the dark base of the polish and the shimmery, light-catching streak the magnet pulls through it. The darker your base color, the more that streak pops. It’s basically the same reason stars look brightest against a pitch-black sky the contrast does all the heavy lifting for you.
Black is probably the most popular starting point because the silver or gold shimmer streak stands out dramatically against it, making even an imperfect attempt look intentional and striking. Deep navy gives you something a little softer but still incredibly elegant especially with a blue or silver shimmer running through it. Burgundy adds a rich, moody feel that works beautifully in autumn and winter, while forest green has a gemstone quality to it that photographs incredibly well.
How Shimmer-to-Base Contrast Affects the Streak
Let’s break this down simply. Every cat eye gel polish has two visual components working together the base color (what the nail looks like overall) and the shimmer particles (the metallic streak the magnet creates). The bigger the difference between these two, the more visible and dramatic your cat eye effect will be.
Think of it this way: if you draw a silver line on a white piece of paper versus a black piece of paper, the one on the black paper is going to grab your attention immediately. The same principle applies here. A silver shimmer streak on a black base? Stunning. A gold shimmer streak on a deep navy? Gorgeous. But a light pink polish with a barely-there shimmer? You’ll squint to see the effect, and as a beginner still perfecting your magnet technique, that’s the last thing you want.
This is also why it’s worth paying attention to the shimmer color in your chosen polish, not just the base. Some cat eye polishes have a shimmer that closely matches the base tone these tend to give a more subtle, sophisticated finish. Others have a high-contrast shimmer that creates a bold, eye-catching streak. Neither is wrong, but as a beginner, high contrast is more forgiving, it makes the effect visible even if your magnet angle isn’t perfect yet.
Popular Color Combinations for a Stunning Look
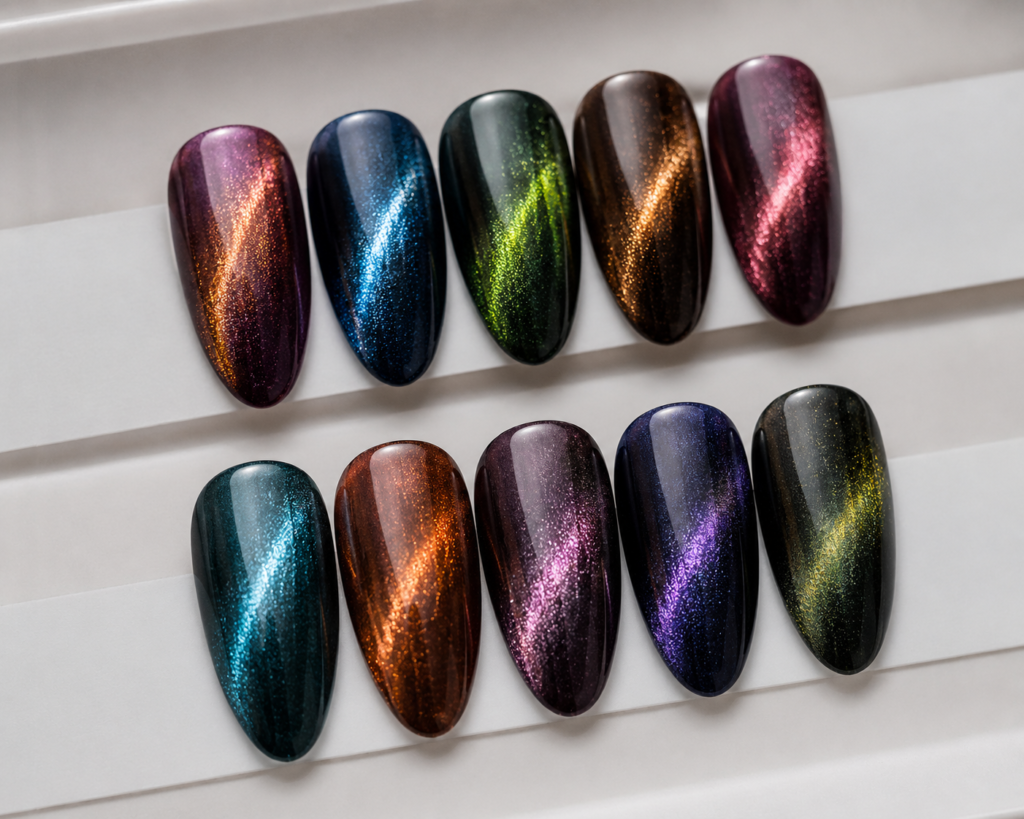
Once you understand contrast, you can start thinking about pairings that look genuinely impressive. Here are some combinations that beginners love and that consistently deliver stunning results:
Black with silver shimmer– the classic. Timeless, versatile, and works for every nail shape. This is the combination most people picture when they think of cat eye nails, and it never disappoints.
Deep navy with blue or gold shimmer – this combination has a luxurious, almost oceanic quality to it. The gold shimmer especially gives it a jewel-toned richness that feels elevated without being over the top.
Burgundy with copper or rose gold shimmer – This cat-eye nails is warm, romantic, and perfect for anyone who wants something a little less edgy and a little more refined. This combo is especially popular for events, date nights, or the colder months.
Forest green with gold shimmer – This cat-eye nails is a showstopper. There’s something about deep green and gold together that feels expensive and editorial. It photographs beautifully and gets a lot of compliments in real life too.
Plum or deep purple with silver shimmer – purple cat-eye nails have a mystical, almost galaxy-like quality. The silver streak through a rich plum base looks like something out of a fantasy, and it’s surprisingly easy to pull off.
Prepping Your Nails (The Foundation)
Here’s the truth that most beginners skip over in their excitement to get to the fun part nail prep is everything. You could have the most expensive cat eye polish on the market, the perfect magnet technique, and a professional-grade lamp, but if your nails aren’t properly prepped, your manicure will lift, chip, or peel within days. Think of this section as laying the groundwork. A little patience here pays off massively in how long your nails stay looking stunning.
Let’s walk through it step by step.
Shape and File Your Nails
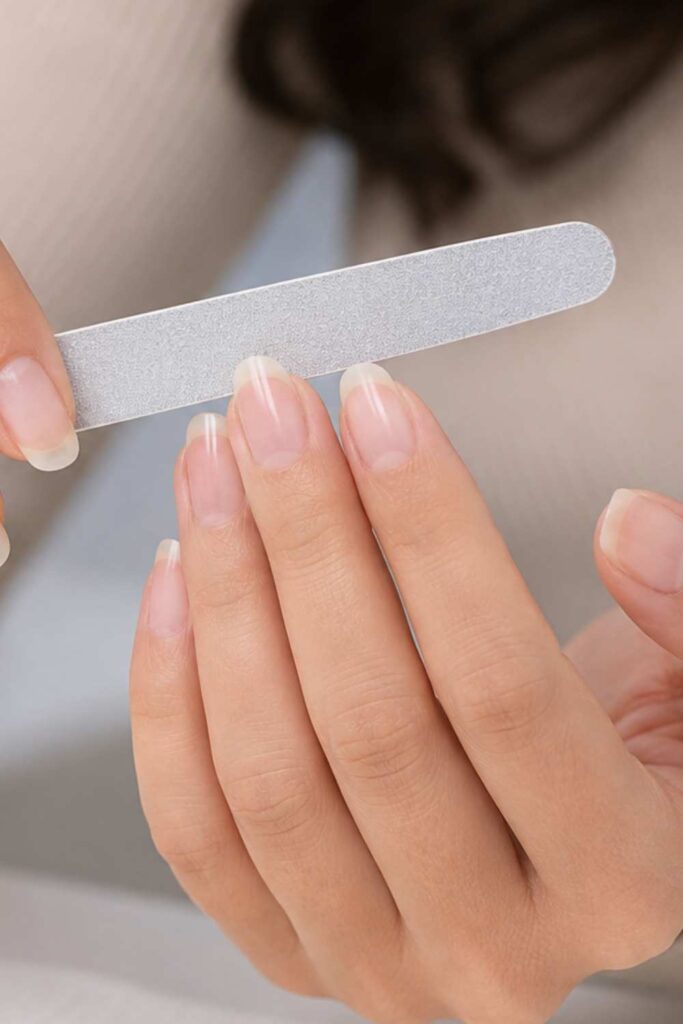
Start by deciding on your nail shape and filing everything to match for the cat-eye nails. This sounds simple, but it sets the tone for the entire look. For cat eye nails specifically, oval and almond shapes are highly recommended and here’s why. The elongated, curved edges of these shapes naturally complement the streak of light that the magnet creates, giving the whole nail a sleek, elegant appearance. Square or squoval shapes can work too, but oval and almond just have a way of making the cat eye effect look more intentional and sophisticated.
Push Back Your Cuticles
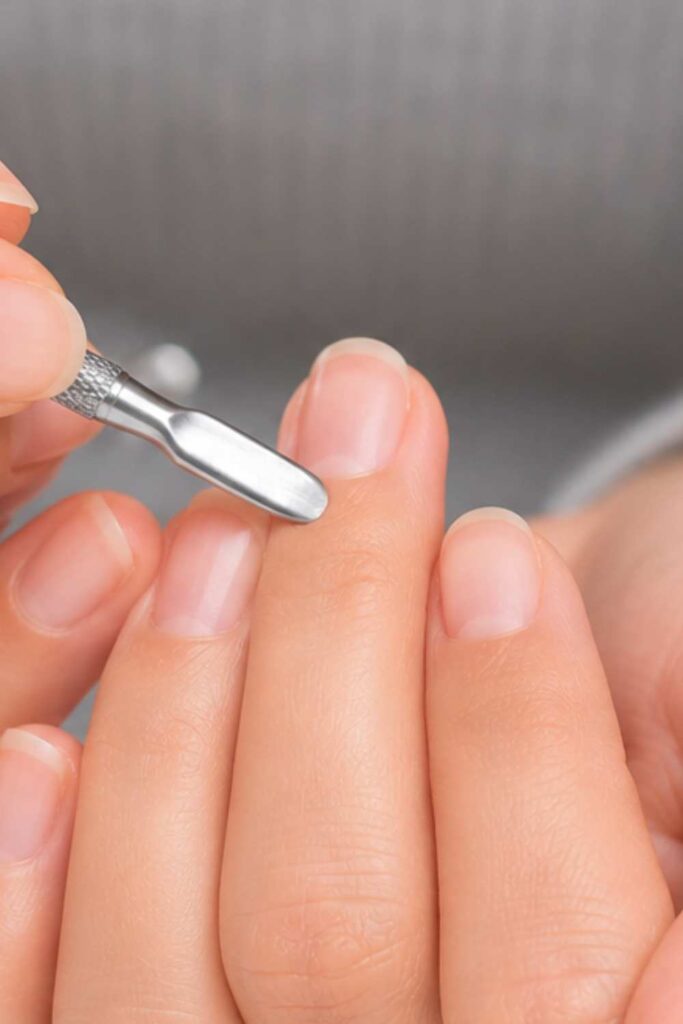
Once your nails are shaped for cat-eye nails, it’s time to deal with your cuticles. This step makes your polish application look clean, neat, and professional like you actually know what you’re doing, even if this is your very first attempt.
Soak your fingertips in warm water for a minute or two to soften the cuticles, or use a cuticle softener if you have one. Then take your cuticle pusher and gently push the cuticle back toward the base of the nail using small, circular motions. The main thing here is gently you’re nudging, not forcing. Pushing too hard or too aggressively can damage the delicate skin around your nail bed.
Buff the Nail Surface Lightly
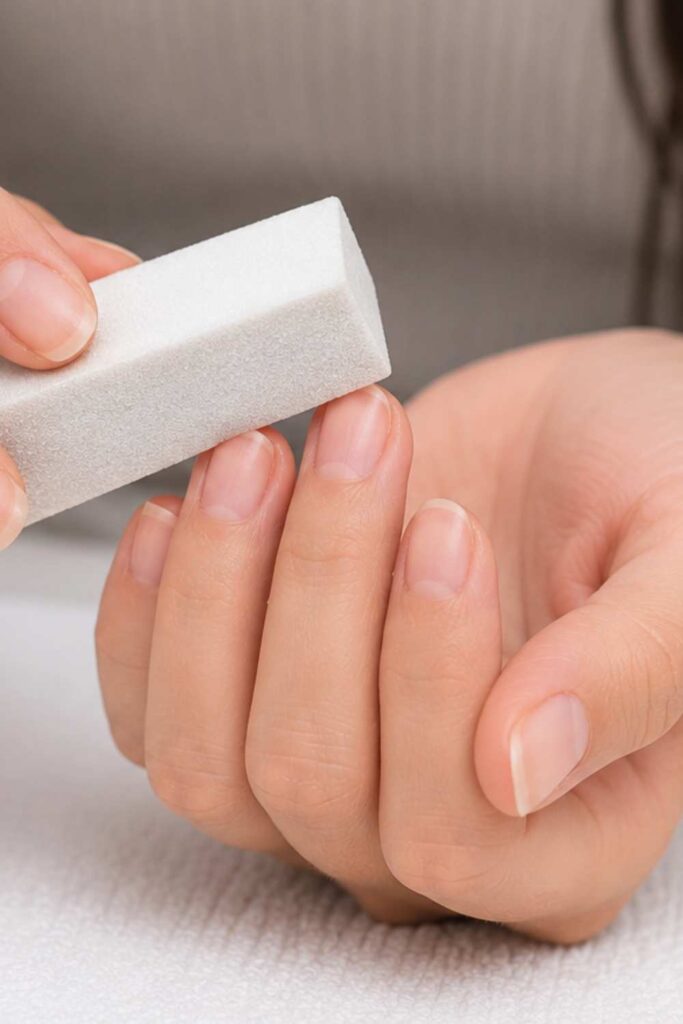
This step is quick but incredibly important. Take your nail buffer and give the entire surface of each nail a gentle, light buff. What you’re doing here is removing the natural shine from your nails and that shine is actually a layer of oil and smooth surface that makes it hard for gel polish to grip properly.
You don’t need to go heavy-handed. A few gentle passes across each nail is all it takes. When you’re done, each nail should look slightly matte and dull rather than shiny for a perfect cat-eye nails
Cleanse with Alcohol or a Nail Dehydrator
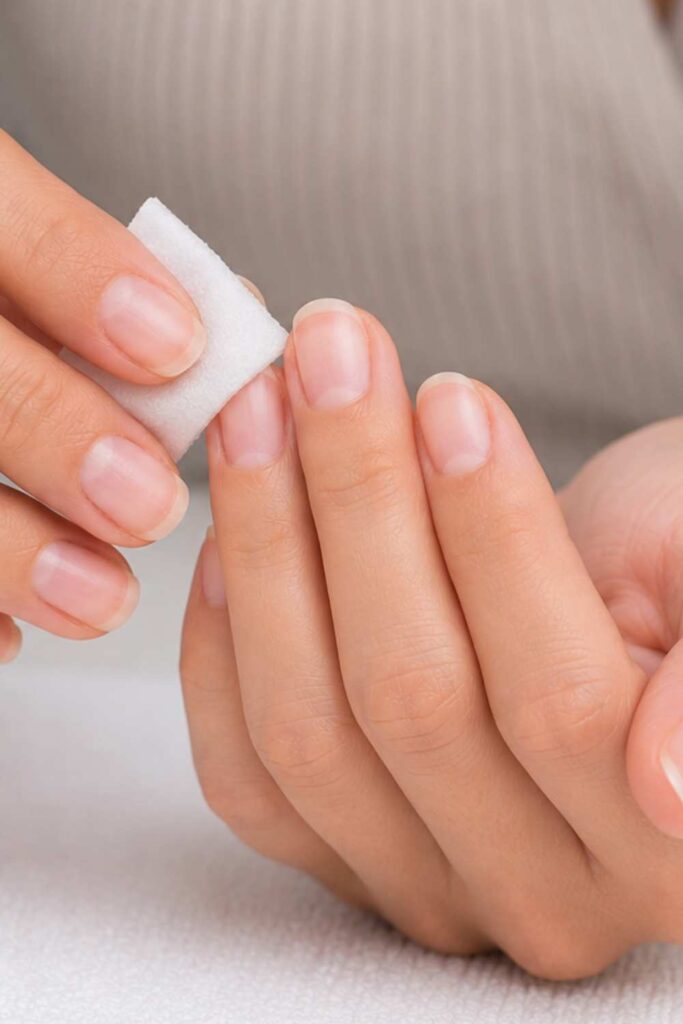
This is the step most beginners skip and it’s also one of the biggest reasons gel manicures don’t last as long as they should. After all that filing and buffing, your nails have dust, dead skin particles, and natural oils sitting on the surface. If you apply your base coat over any of that, it creates a barrier between the polish and your nail, and lifting becomes almost inevitable.
Take an alcohol wipe or apply a nail dehydrator to each nail and wipe it clean. You’ll notice the nail looks even more matte after this step that’s exactly what you want. Work quickly once you’ve done this because your fingers naturally start producing oils again almost immediately. .
Apply and Cure a Thin Base Coat
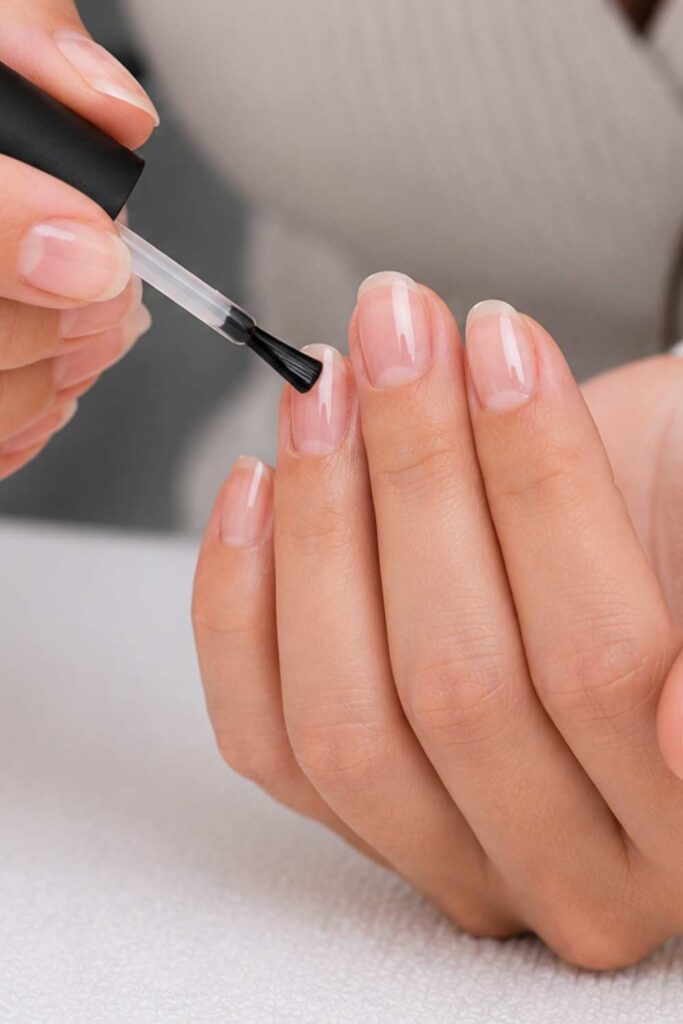
You’ve done all the prep work now it’s time for the first actual layer of product. Apply your gel base coat in a thin, even layer across each nail for the cat-eye nails. Thin is the operative word here. A thick base coat takes longer to cure properly, can cause bubbling, and gives you an uneven surface to build your color on. Think of it less like painting and more like a light wash you want just enough to cover the nail without pooling at the edges or flooding your cuticle line.
When applying, start with a thin stroke down the center of the nail, then one stroke on each side. Cap the free edge, meaning brush lightly across the very tip of the nail to seal it in and help prevent chipping.
Applying Cat Eye Polish — Step by Step
This is the moment everything has been building toward. Your nails are prepped for the cat-eye nails, your tools are lined up, and your color is chosen. Now it’s time to actually create that stunning cat-eye nails effect. Take a breath, read through all the steps once before you start, and then work through them one nail at a time. There’s no rushing this process ,but the good news is, once you get the hang of it, it starts to feel almost meditative.
Let’s go through it together.
Apply the First Coat of Cat Eye Polish -Thin and Even
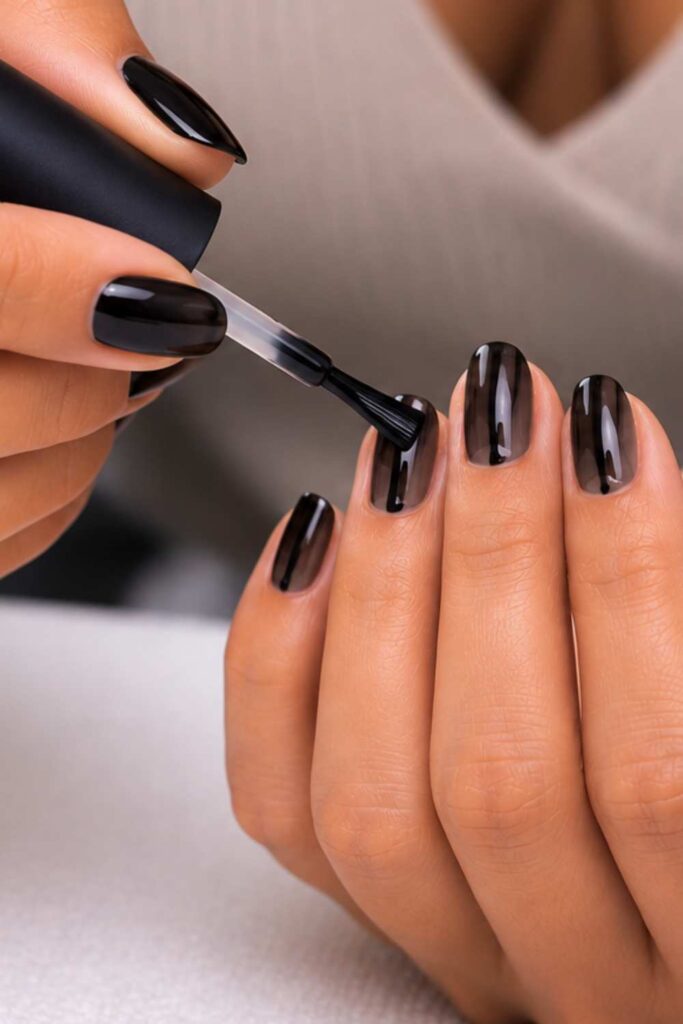
Open your cat-eye nails polish and take a moment to wipe the brush lightly against the inside of the bottle neck to remove any excess product. You want a loaded brush, not a dripping one. Now apply your first coat across the nail in smooth, controlled strokes one down the center, one on each side, and a light swipe across the tip to cap the edge.
The goal for this first coat is thin and even. At this stage, the color might look a little sheer or uneven, and that’s perfectly fine. Don’t try to fix it by going back over the nail multiple times with the brush that creates streaks and pulls the polish around.
Cure Under the Lamp (30-60 Seconds)

Slide your hand under your UV/LED lamp and cure that first coat fully. For most LED lamps, this takes around 30 to 60 seconds check your lamp’s instructions if you’re unsure, as timing can vary slightly between brands.
While it’s curing, keep your hand as still as possible. It sounds obvious, but small movements during curing can cause the polish to shift slightly before it hardens for your cat-eye nails to come out prefect. When the timer’s up, pull your hand out and take a quick look. The surface should feel firm and no longer wet to the touch, though there may be a slightly tacky inhibition layer ,that’s completely normal and exactly what you want heading into the next step.
Apply a Second Coat – Slightly Thicker
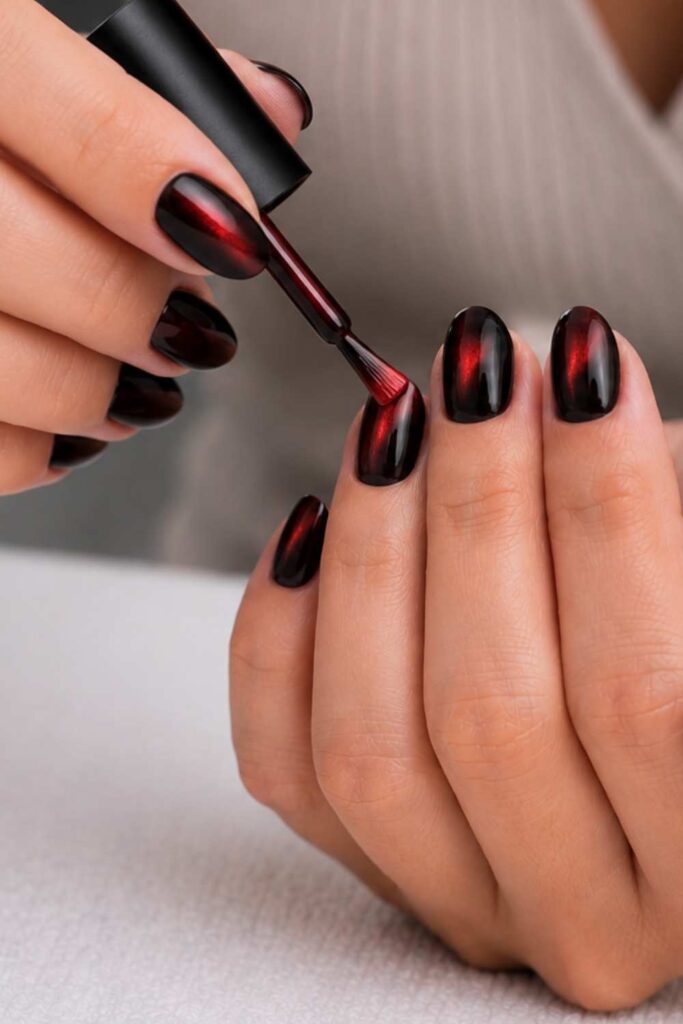
Here’s where things start to get exciting. Your second coat of cat-eye nails polish is the one that carries the magnetic effect, so it needs to be applied with a little more intention than the first.
This coat should be slightly thicker than the first not thick to the point of flooding the nail, but generous enough that the magnetic particles in the formula have some depth to move through when the magnet is applied. A coat that’s too thin won’t give the particles enough room to shift, and you’ll end up with a faint, underwhelming streak. Think of it as giving the magnet something substantial to work with.
Apply it the same way you did the first coat center stroke, side strokes, cap the tip. Work smoothly and confidently. And here’s the most important thing to keep in mind as you finish this coat: do not put your hand under the lamp yet. The magic happens before the curing, and you only have a small window of time to work with the magnet while the polish is still wet.
Check also: Classy nude nails for work and office
Hold the Magnetic Wand Close to the Nail
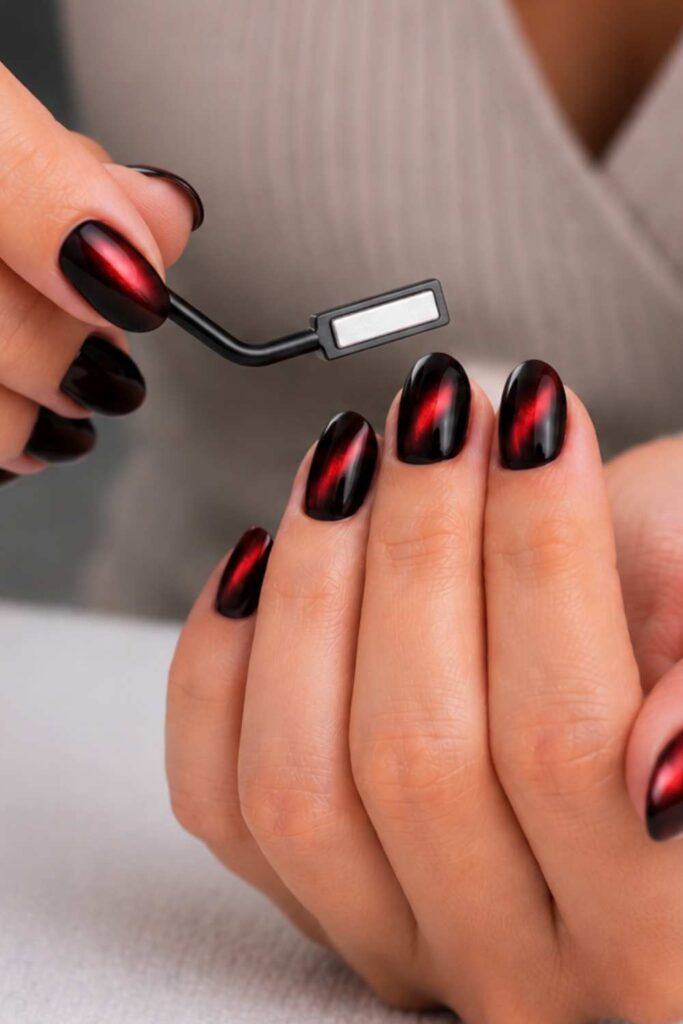
This is the step that transforms a regular gel manicure into a truly special cat-eye nails. While your second coat is still wet and uncured, pick up your magnetic wand and hold it 2 to 5 millimeters above the nail surface close enough to influence the metallic particles inside the polish, but not so close that you accidentally touch the wet polish and ruin it.
Hold the magnet steady over the nail for about 10 to 15 seconds. As you hold it there, you’ll actually be able to watch the streak form right before your eyes the metallic particles inside the polish respond to the magnetic field and pull into a line, creating that gorgeous cat-eye nails effect. It’s genuinely one of the most satisfying things to watch, especially the first time you see it happen.
Move the Magnet to Create Your Desired Pattern

Here’s where you get to have a little fun and put your own stamp on the design for the cat-eye nails. The direction and angle you hold the magnet determines what kind of streak pattern appears on your nail for the cat-eye nails. Here are the three most popular options for beginners:
Horizontal — The Classic Cat Eye
Hold the magnet parallel to the nail for the perfect cat-eye nails, running straight across the width of it. This creates a single clean streak of light running horizontally through the center of the nail the look most people associate with cat eye nails. It’s elegant, timeless, and the easiest pattern to execute consistently across all ten nails.
Diagonal – The Edgy Slant
Tilt the magnet at an angle across the nail, somewhere around 45 degrees. This creates a slanted streak that gives the nails a more dynamic, fashion-forward feel. It’s a small change in technique but a noticeably different result great if you want something with a little more personality than the classic straight line.
Circular – The Galaxy Effect
Move the magnet in a slow, small circular motion above the nail during those 10 to 15 seconds. Instead of a single streak, this creates a swirling, multi-directional shimmer that looks almost like a galaxy or a cat’s iris up close. It’s a little trickier to get consistent across all ten nails, but absolutely stunning when it works. Once you’re comfortable with the classic horizontal technique, this is a great one to experiment with.
Cure Under the Lamp Without Moving the Magnet Away
Once you’re happy with your streak pattern, it’s time to lock it in and this step requires a specific technique that catches a lot of beginners off guard the first time.
Here’s what most people do wrong: they hold the magnet over the nail for the cat-eye nails, get a beautiful streak, then put the magnet down and slide their hand under the lamp. The problem? In that split second between removing the magnet and getting your hand under the lamp, the magnetic particles can shift slightly and your perfectly formed streak softens or distorts. The right way to do it is to keep the magnet held over the nail as you move your hand under the lamp and begin curing.
Magnet Techniques for Different Effects
Now that you know how to apply your cat-eye nails polish, let’s talk about the different ways you can use your magnet to switch up the look. The same polish can give you completely different results depending on how you hold and move the magnet and that’s honestly one of the most exciting things about cat eye nails. Here are the main techniques to know:
Classic Single Streak – The One That Started It All
Hold your straight bar magnet horizontally across the cat-eye nails and keep it perfectly still for 10 to 15 seconds. That’s really all there is to it. You’ll get that clean, sharp line of light running straight through the center of the cat-eye nails elegance, minimal, and always in style. This is the technique to master first before you try anything else.
Double Line – Two Streaks, Twice the Drama
For this one, you’ll need a double-ended magnet. Hold it over the cat-eye nails the same way you would for the classic streak, and instead of one line, you’ll see two parallel streaks of light form side by side. It gives the cat-eye nails a more layered, dimensional look that photographs beautifully. A small upgrade in technique, but a big upgrade in impact.
Starburst or Sun Effect – For When You Want to Turn Heads
Instead of holding the magnet still, move it in a slow, small circular motion above the cat-eye nails during your 10 to 15 second window. This pulls the metallic particles in multiple directions, creating a swirling, starburst pattern that looks like a tiny galaxy sitting on your nail. It takes a steady hand and a little practice to get consistent, but the results are absolutely worth it.
The Golden Rule – One Nail at a Time
Whatever technique you choose, always apply your second coat and do your magnet work on one cat-eye nails nail at a time before moving to the next. If you paint multiple nails and then go back with the magnet, the polish will have already started setting and the particles won’t move properly. One nail, magnet, cure then repeat.
Sealing & Finishing
You’re almost there and this final stage is what separates a good manicure from a truly great one. Sealing your cat-eye nails properly is what gives them that gorgeous, glass-like shine and keeps everything locked in place for weeks. Don’t rush through this part just because you’re excited to show off your nails. A few extra minutes here makes all the difference.
Apply Your Gel Top Coat
Once your cat-eye polish is fully cured, go in with your gel top coat. Apply it in the same smooth, controlled strokes you used for your color center, sides, and don’t forget to cap the free edge by swiping lightly across the tip of the nail. That edge seal is what prevents chipping from the ends, which is usually the first place a manicure starts to wear down.
Cure for the Full Recommended Time
Slide your hand under the lamp and cure for however long your top coat requires usually 30 to 60 seconds for LED lamps. Don’t cut this short. An under-cured top coat stays slightly soft on the surface and won’t give you that hard, glossy finish you’re going for. Let the lamp do its job completely.
Wipe if Needed
If you’re using a wipe-required top coat rather than a no-wipe formula, take an alcohol wipe or lint-free pad dampened with isopropyl alcohol and gently wipe each cat-eye nails after curing. This removes the tacky inhibition layer and reveals the full shine underneath. If you went with a no-wipe top coat, you can skip this step entirely your nails are already good to go straight out of the lamp.
Finish with Cuticle Oil
This is the step that makes everything look truly polished and professional. Take your cuticle oil and apply a small drop to each cuticle, then gently massage it in. It nourishes the skin around your nails for the perfect cat-eye nails, adds a healthy gleam to your fingertips, and honestly just makes the whole manicure look more intentional and finished. It’s a tiny step that takes less than a minute and makes your nails look like they were done in a salon.