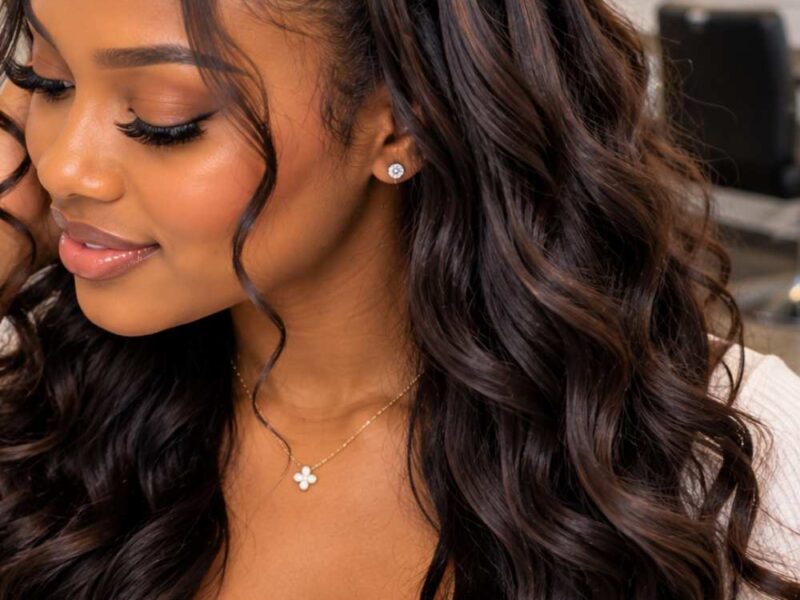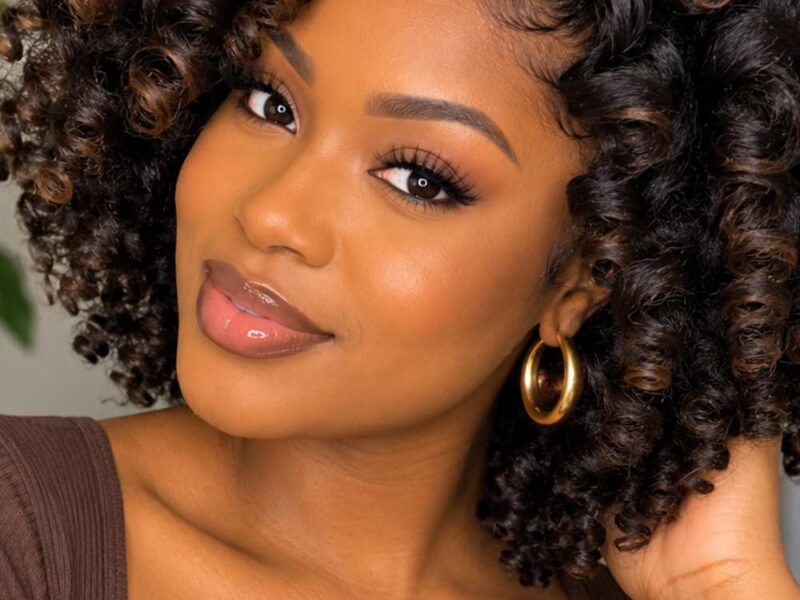
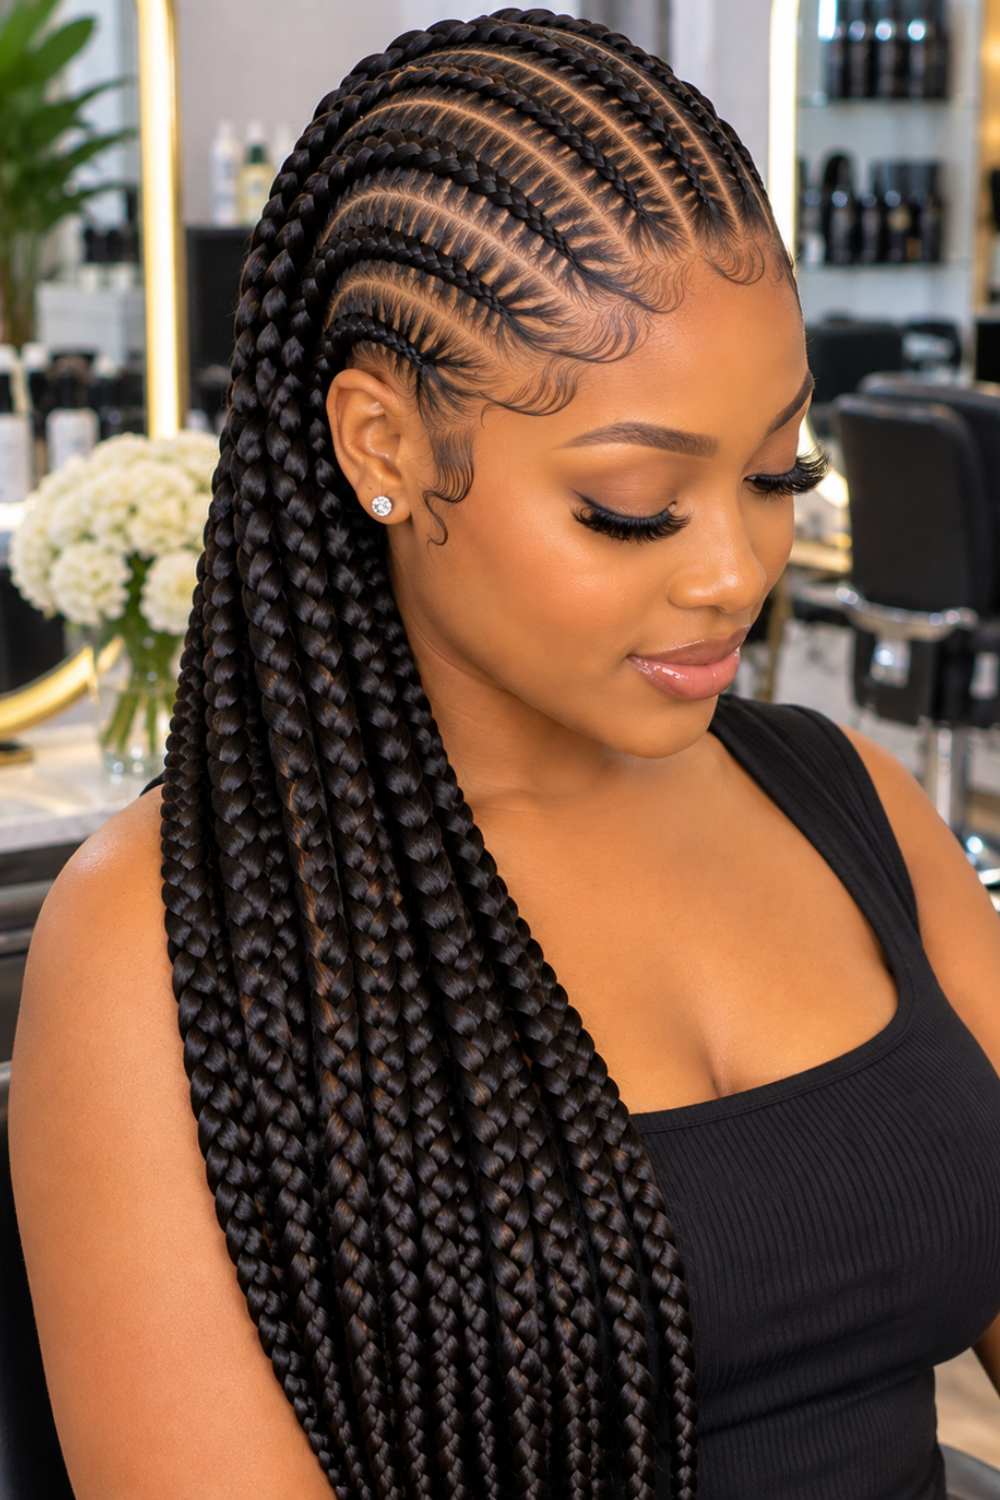
Have you ever seen those clean, perfectly lined stitch braids and thought, I really want to try this hairstyle? You’re not alone! Cornrow stitch braids are stylish, neat, and can completely change your look without taking away from your natural beauty. Adding attachment makes them even more fun because you can play around with length, thickness, colors, and different braid patterns.
And honestly, you don’t have to be a professional hairstylist to get a beautiful result. Once you understand how to section your hair, create those neat stitch lines, and gradually feed in the attachment, the process becomes much easier. Whether you’re getting ready for school, work, a special occasion, or simply want a fresh protective hairstyle, this guide will show you how to create cornrow stitch braids with attachment step by step and make your finished look one you’ll be proud to show off.
Which Braid Is Trending Now?
If you’re wondering which braid is trending right now, cornrow stitch braids are definitely one to try, their clean, defined lines and sleek finish make them perfect for anyone who wants a hairstyle that looks neat without feeling boring. Boho braids, Fulani braids, and knotless braids are also having a major moment, but cornrow stitch braids stand out because you can easily switch up the pattern, length, and thickness to create a look that feels completely your own.
For this tutorial, we’ll be focusing on cornrow stitch braids with attachment. They’re stylish, versatile, and a great way to add extra length and volume while keeping your natural hair tucked away in a beautiful protective style.
What Are Cornrow Stitch Braids?
Cornrow stitch braids are a stylish take on traditional cornrows, known for their clean, straight lines and neat stitch-like sections along the scalp. Unlike regular cornrows, the stitches are more defined, giving the hairstyle that sharp, polished look that catches the eye. Adding attachment makes the style even more versatile, allowing you to create longer, fuller, and more detailed cornrow stitch braids while playing around with different lengths, colors, and patterns. Whether you prefer a simple straight-back look or something more creative, stitch braids are an easy way to make your cornrows stand out.
Things You’ll Need
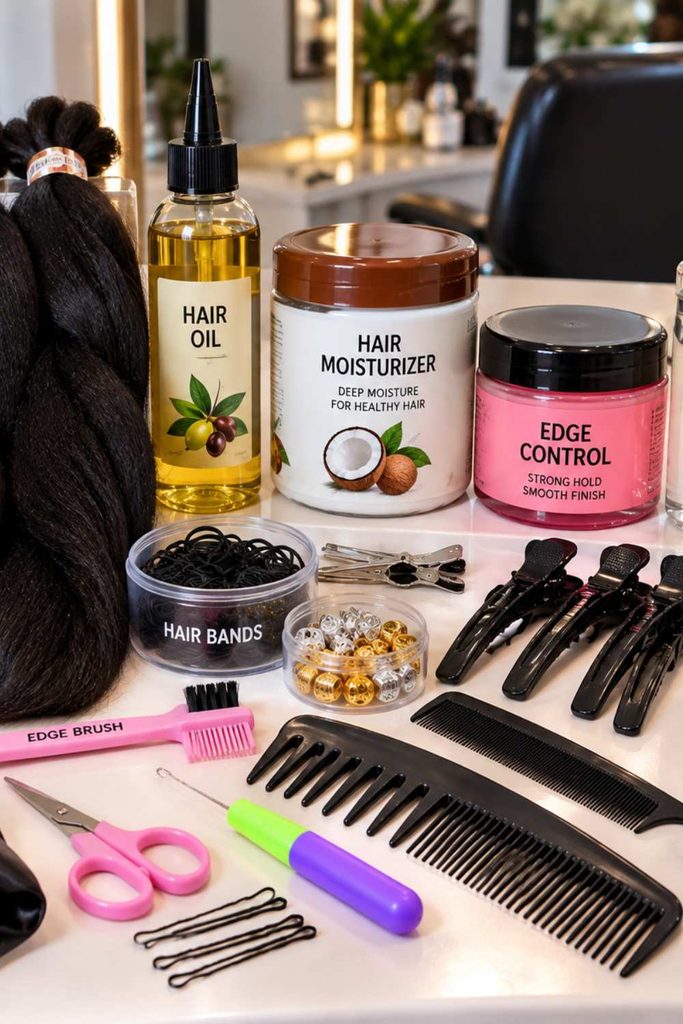
Before you start creating your cornrow stitch braids, it helps to have everything you need within reach. Trust me, you don’t want to get halfway through a braid and start searching for your comb! Here’s what to keep nearby:
Braiding attachment: Choose the color, length, and thickness you want for your finished braids. Rat-tail comb: Perfect for creating those clean, sharp sections that give stitch braids their signature look.
Wide-tooth comb: Use it to gently detangle your natural hair without unnecessary pulling for the cornrow stitch braid.
Hair clips: Keep the sections you’re not working on neatly out of the way.
Edge control or styling gel: Helps smooth flyaways and keeps your parts and cornrow stitch braids looking neat.
Hair moisturizer: Keeps your natural hair soft and manageable while you make cornrow stitch braid.
Hair oil: A little oil can help seal in moisture and give your finished style a healthy-looking shine.
Small rubber bands: These can be useful for securing certain sections or the cornrow stitch braid ends when needed.
Scissors: Keep a pair handy for trimming loose attachment fibers and cleaning up the finished look.
Spray bottle with water: Lightly mist your hair when it becomes dry or difficult to manage.
Prepare Your Natural Hair
Before you start creating those beautiful stitch braids, don’t rush straight into sectioning and braiding. The way you prepare your natural hair can make a big difference in how neat, comfortable, and long-lasting the finished style looks. Give your hair a little attention first, and the actual braiding process will feel much easier.
Wash and Condition Your Hair
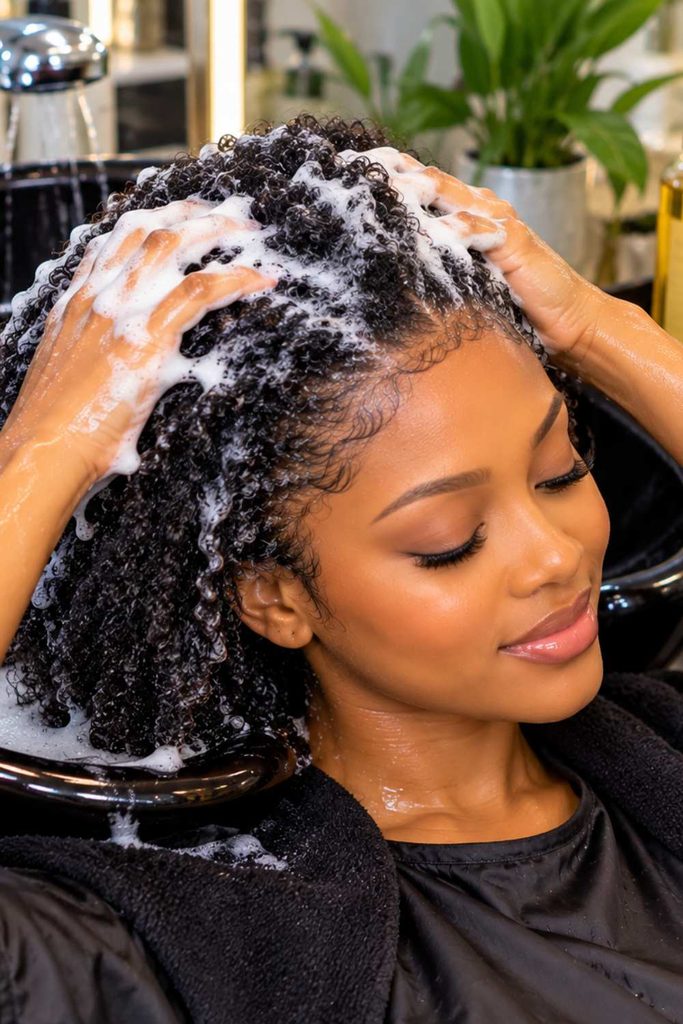
Start with clean hair by washing it with a gentle shampoo to remove buildup, sweat, and excess oil. Follow up with a good conditioner to leave your hair soft and easier to manage. You don’t need your hair to feel overly silky just clean, moisturized, and comfortable to work with your cornrow stitch braid.
Detangle Gently
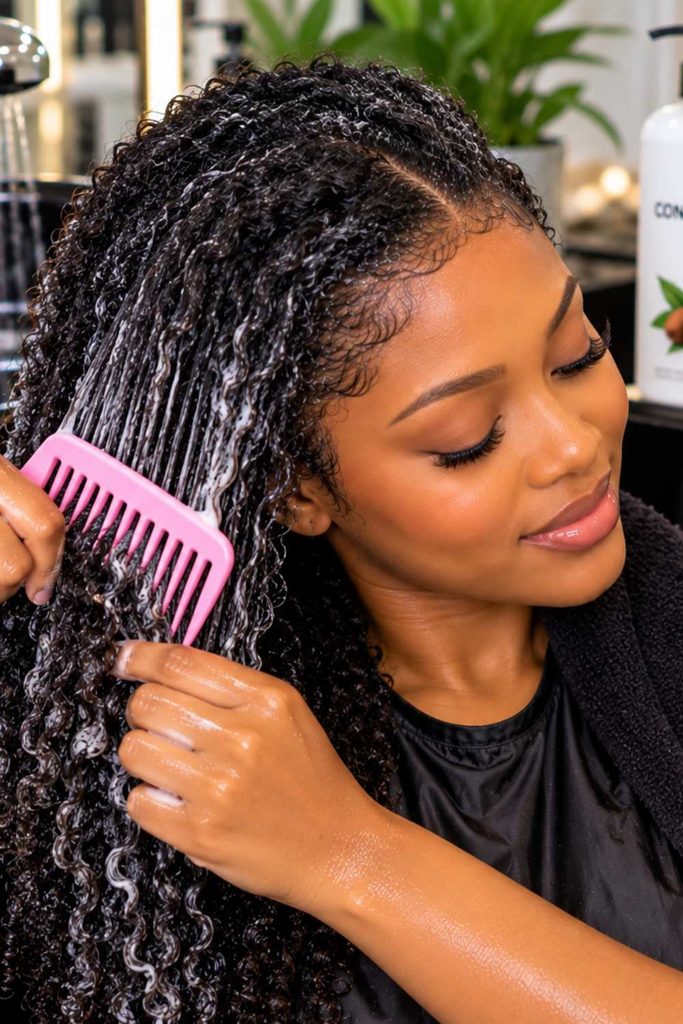
Once your hair is clean, gently detangle it using a wide-tooth comb or your fingers. Start from the ends and slowly work your way toward the roots to reduce pulling and unnecessary breakage. Take your time here, especially if your hair is thick or tightly coiled.
Moisturize Your Hair
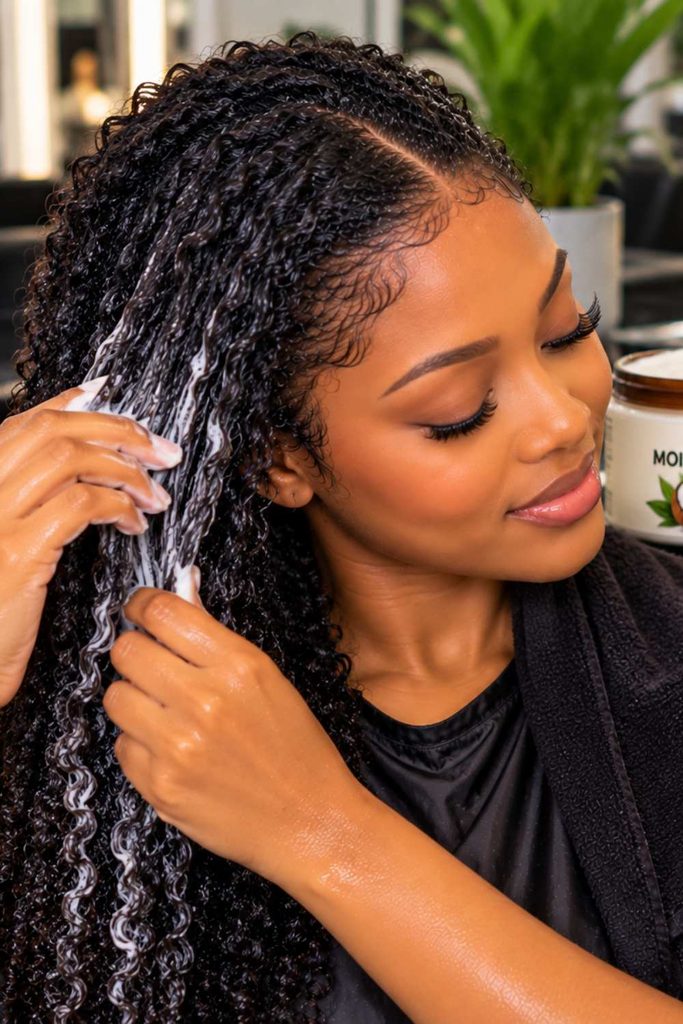
Your natural hair should have enough moisture before you add the attachment for the cornrow stitch braid. Apply a lightweight moisturizer or leave-in conditioner, then gently work it through your hair. This helps keep your strands soft and manageable while you’re creating the braids.
Stretch Your Hair if Needed
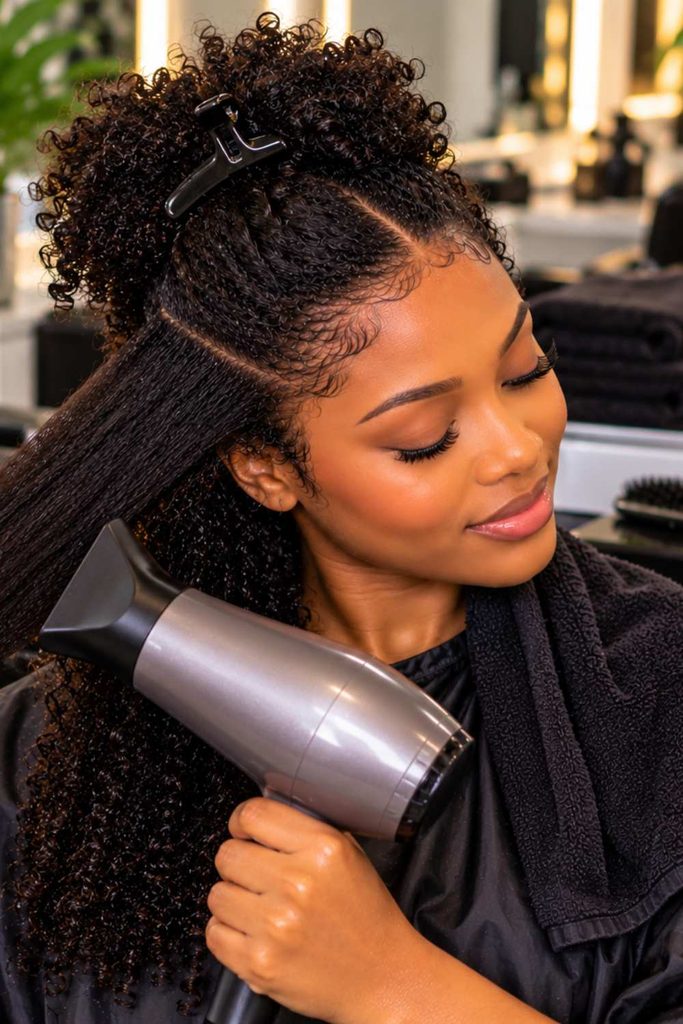
If your hair shrinks a lot, stretching it can make sectioning much easier. You can stretch it using banding, threading, or a blow-dryer on a low-heat setting. This step is optional, so choose whatever method works best for your hair.
Make Sure Your Hair Is Ready to Braid
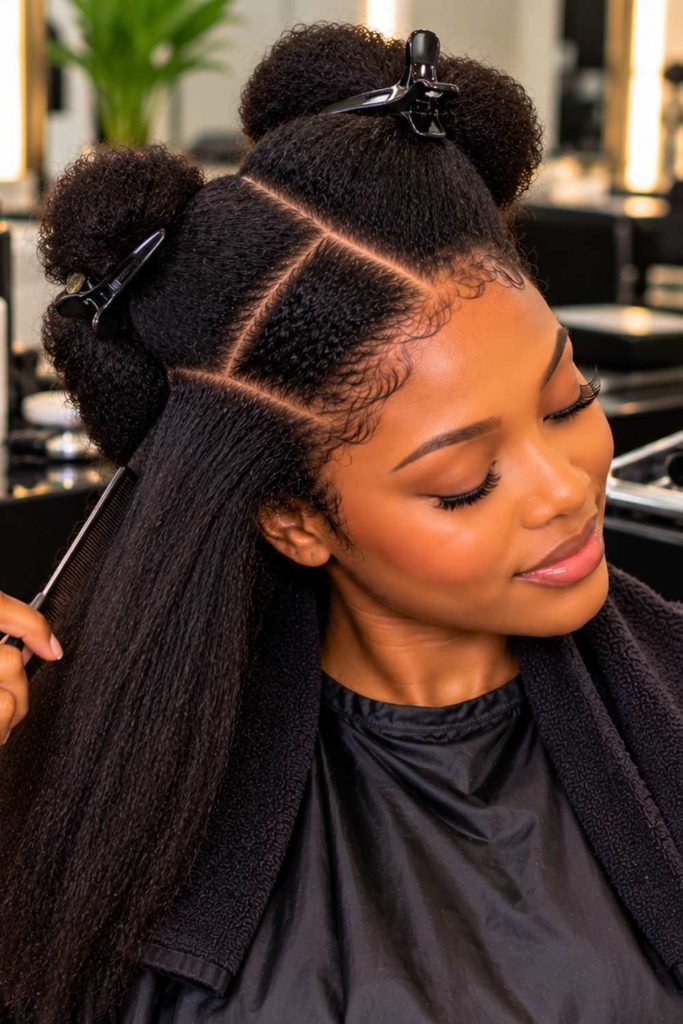
Before you begin, run your fingers through your hair and make sure there are no major tangles or overly dry areas. Your hair should feel clean, soft, and easy to part. Once everything is ready, you can move on to creating those clean sections that will give your stitch braids their signature look.
Decide on Your Stitch Braid Pattern
Before you pick up your comb and start braiding, take a moment to decide what kind of cornrow stitch braid pattern you want. This little step can save you from changing your mind halfway through! Your pattern can be simple and sleek or bold and creative, depending on the look you’re going for.
Straight-Back Stitch Braids
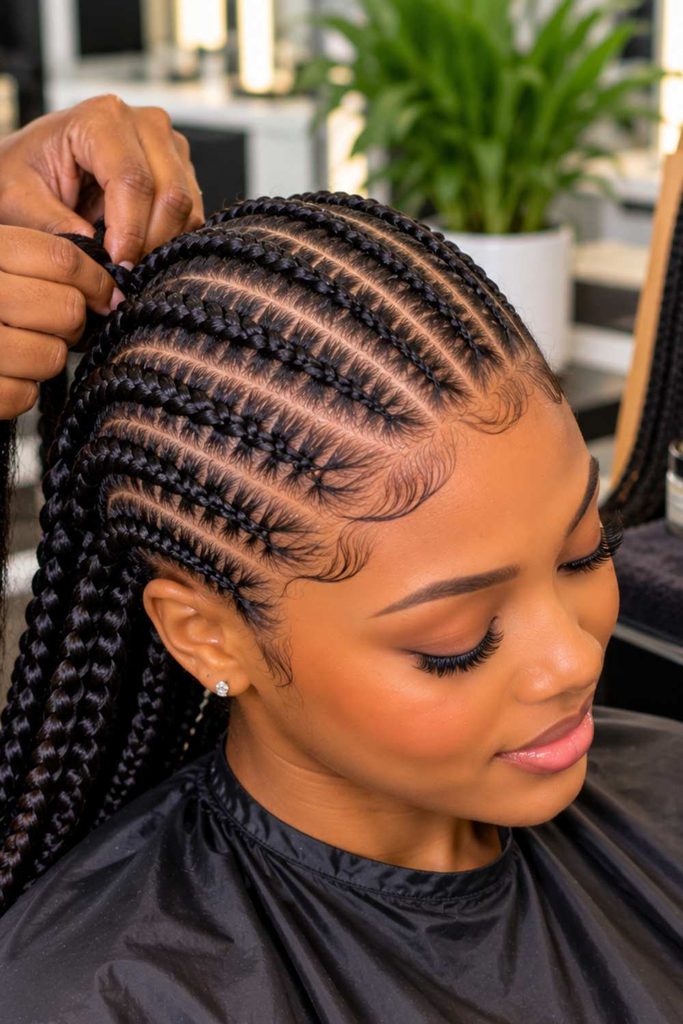
If you love a clean and classic hairstyle, straight-back cornrow stitch braids are a great choice. The braids run neatly from the front toward the back, giving you a simple, polished look that works for almost any occasion.
Side-Parted Cornrow Stitch Braids
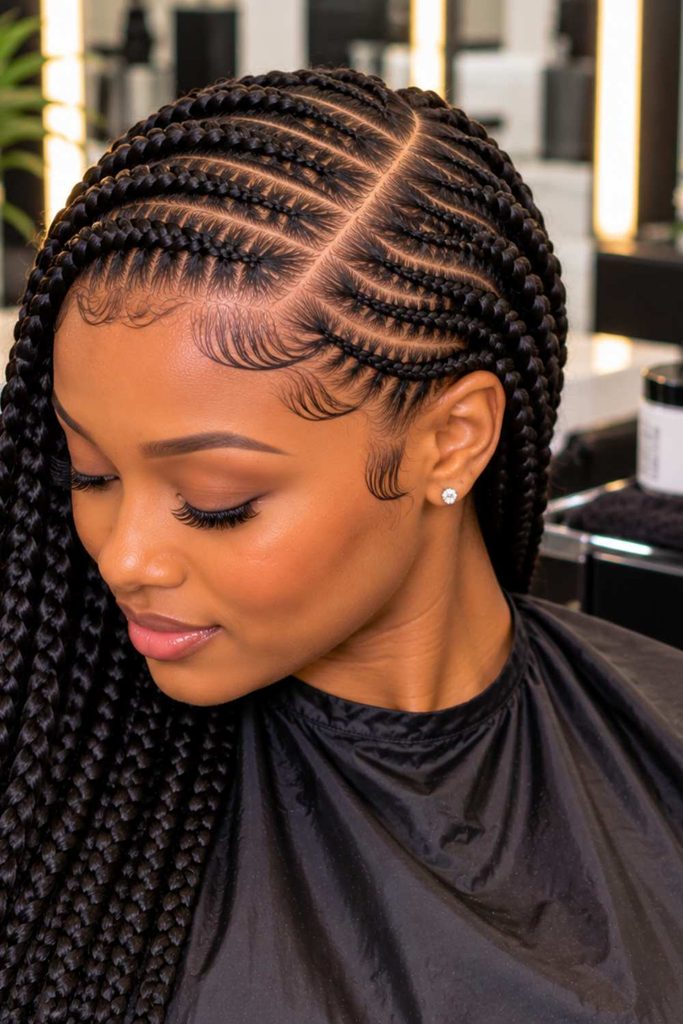
Want something with a little more personality? Try side-parted stitch braids. Creating the parts slightly to one side can beautifully frame your face and give the hairstyle a softer, more stylish finish.
Zigzag Cornrow stitch braid Patterns
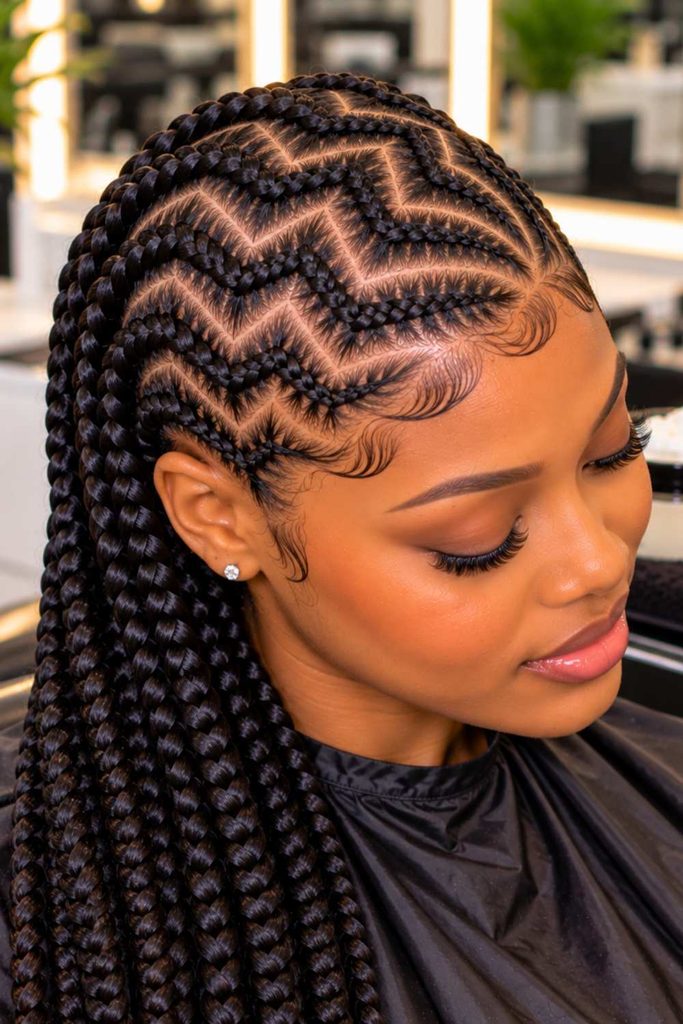
For a look that stands out, zigzag cornrow stitch braids are worth trying. The playful sections add movement and creativity, making your hairstyle look more detailed without needing complicated styling.
Curved Cornrow Stitch Braids
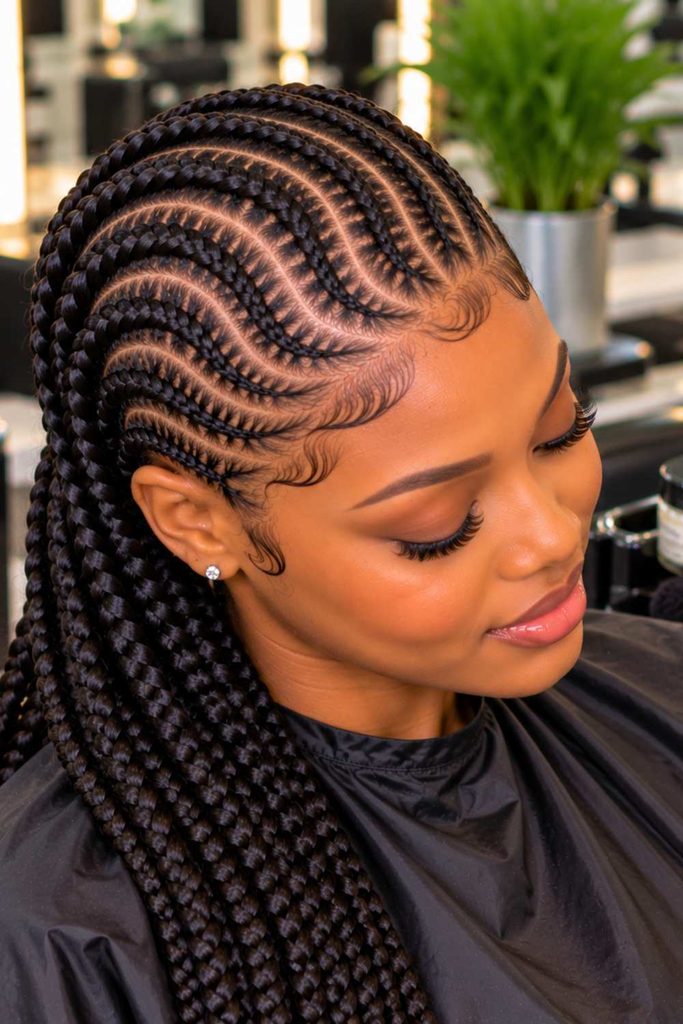
Curved Cornrow stitch braid patterns are perfect when you want something elegant and eye-catching. Instead of keeping every part straight, the braids gently follow curved lines across the scalp, creating a beautiful flow.
Creative or Feed-In Cornrow Stitch Braid Designs
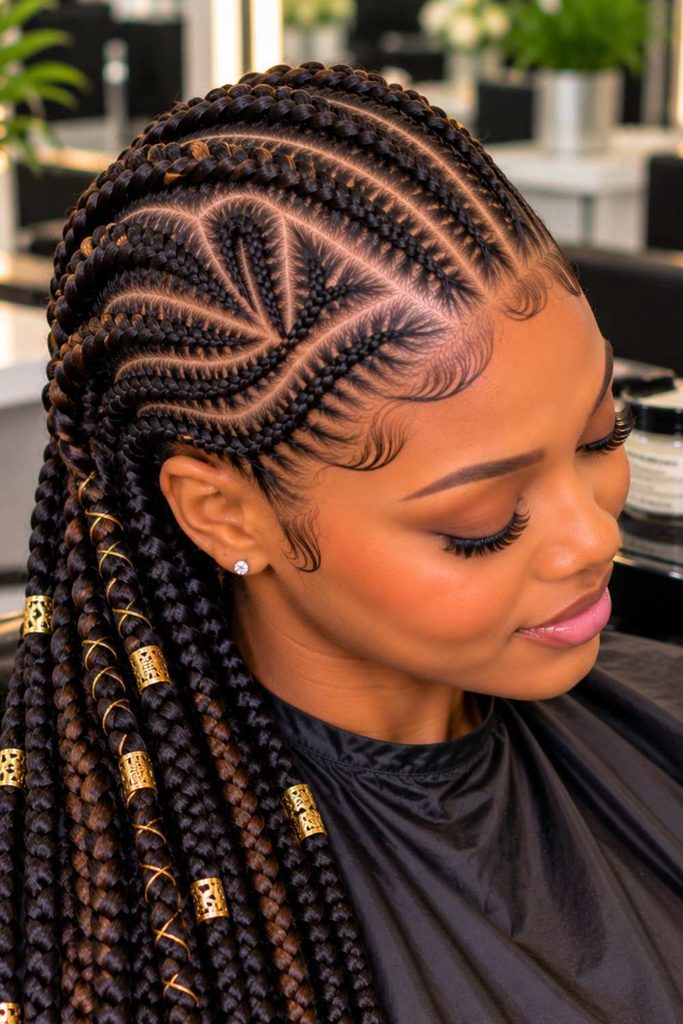
If you enjoy experimenting, you can combine different stitch sizes, feed-in techniques, or freestyle patterns. You can even mix thin and thicker braids to create a design that feels uniquely yours.
Choose a Pattern That Suits You
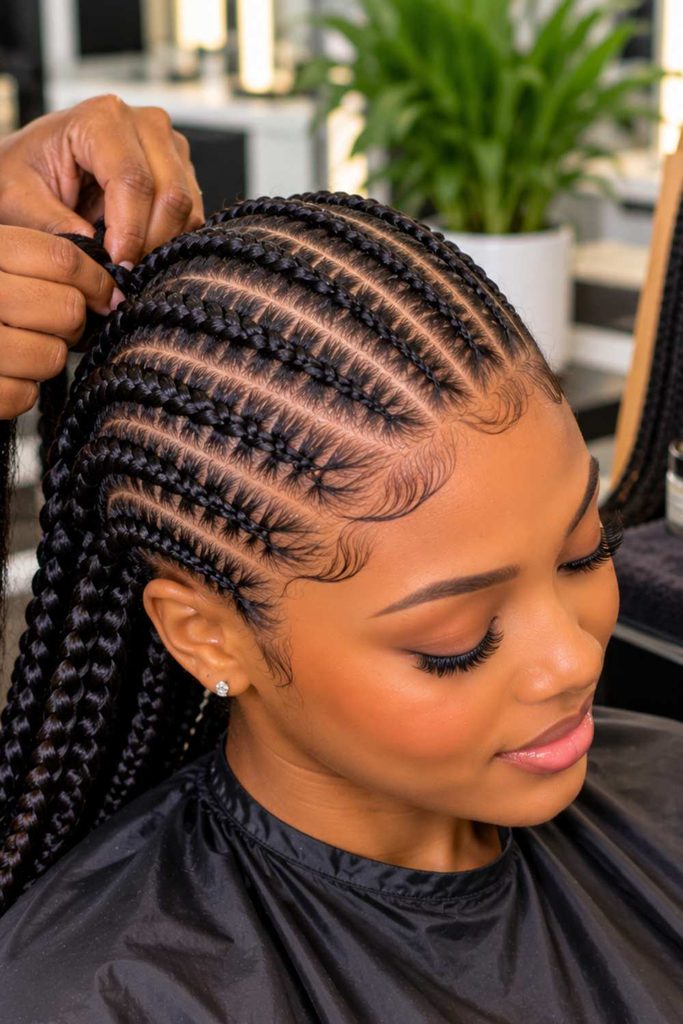
Most importantly, choose a pattern that matches your face shape, lifestyle, and personal style, so i finally choose to go with the straight cornrow stitch pattern. So If you’re a beginner, start with a simple pattern before moving on to more detailed designs. Once you have your pattern in mind, you’re ready to start sectioning your hair.
Section Your Hair Neatly
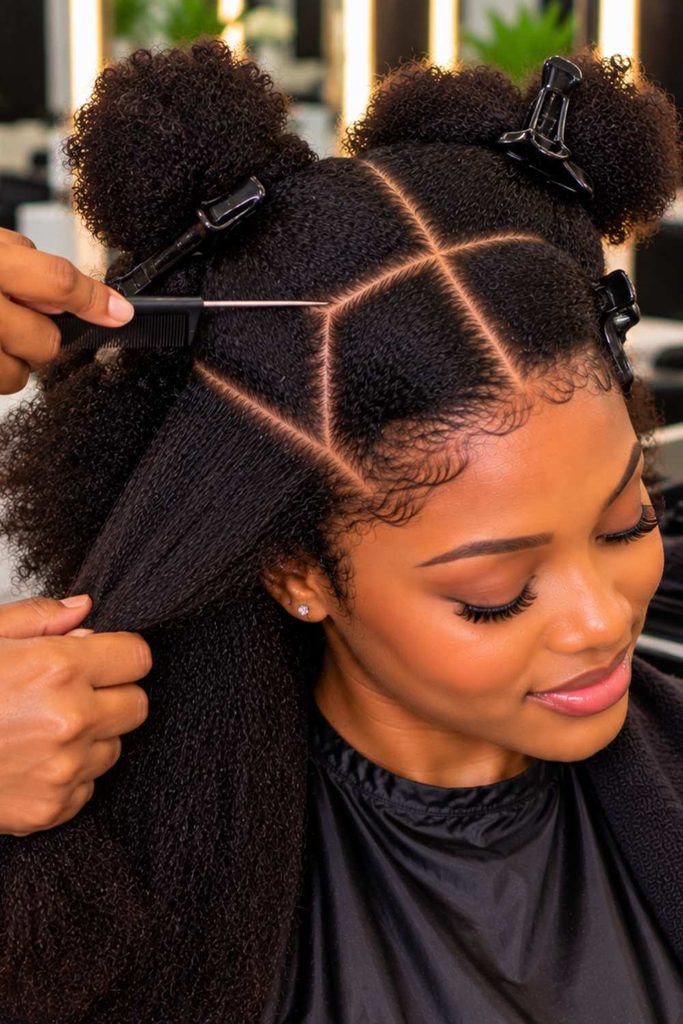
Now comes the part that can really make or break the final look sectioning your hair. Using a rat-tail comb, create clean, even parts according to the stitch pattern you chose. Try to keep each section similar in size so your braids look balanced and uniform. As you work, use hair clips to hold the sections you’re not braiding out of the way. For extra-clean parts, apply a small amount of styling gel along each section before you begin braiding. Take your time here because neat sections are the secret behind those crisp, beautiful stitch braids!
Next on the line : How to create eye catching box braid hairstyle
Start the Cornrow Stitch Braid
Now that your hair is neatly sectioned, it’s time for the fun part creating the actual stitch braid! This is where those clean sections start coming together to form the beautiful, detailed pattern you had in mind. Don’t worry if your first braid isn’t perfect. Focus on getting your hands comfortable with the technique, and the neatness will improve as you go.
Begin at the Front or Hairline
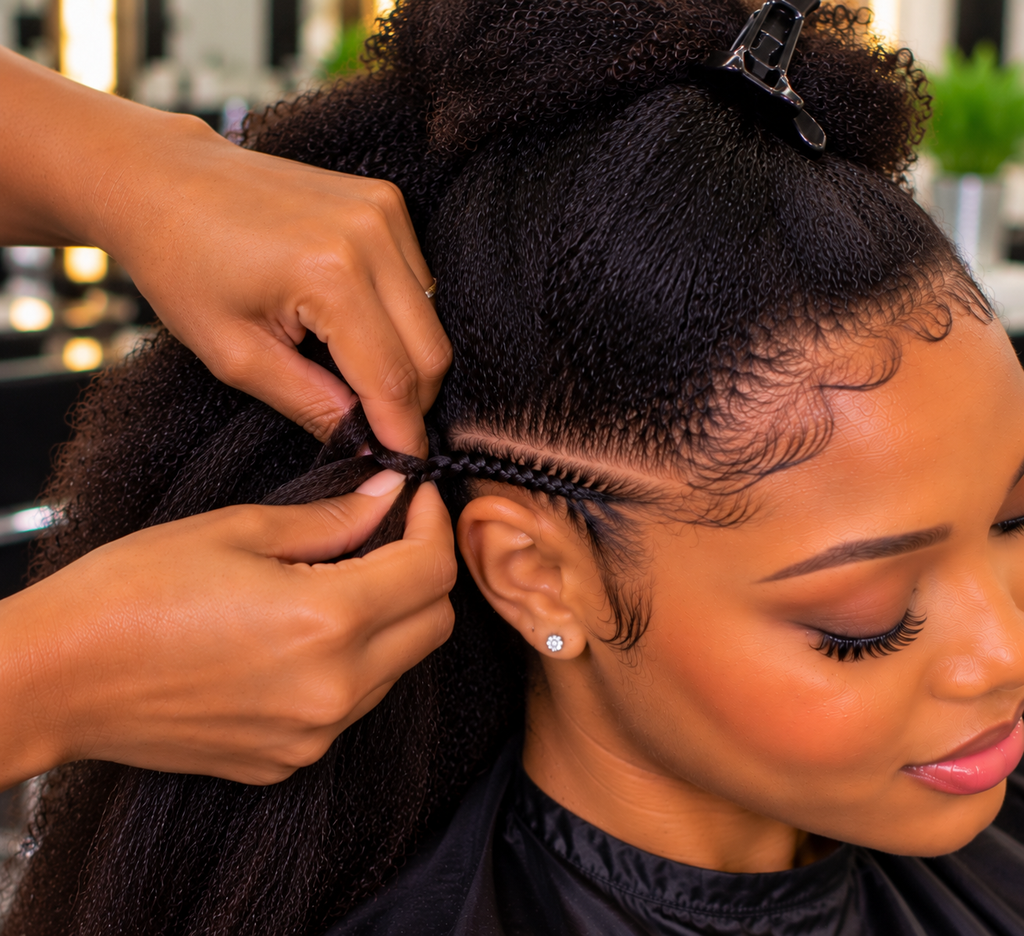
Start with the first section at the front of your head, preferably along the hairline. Take your time to position your fingers comfortably because a good starting point helps the rest of the braid flow smoothly.
Divide the Hair Into Three Strands
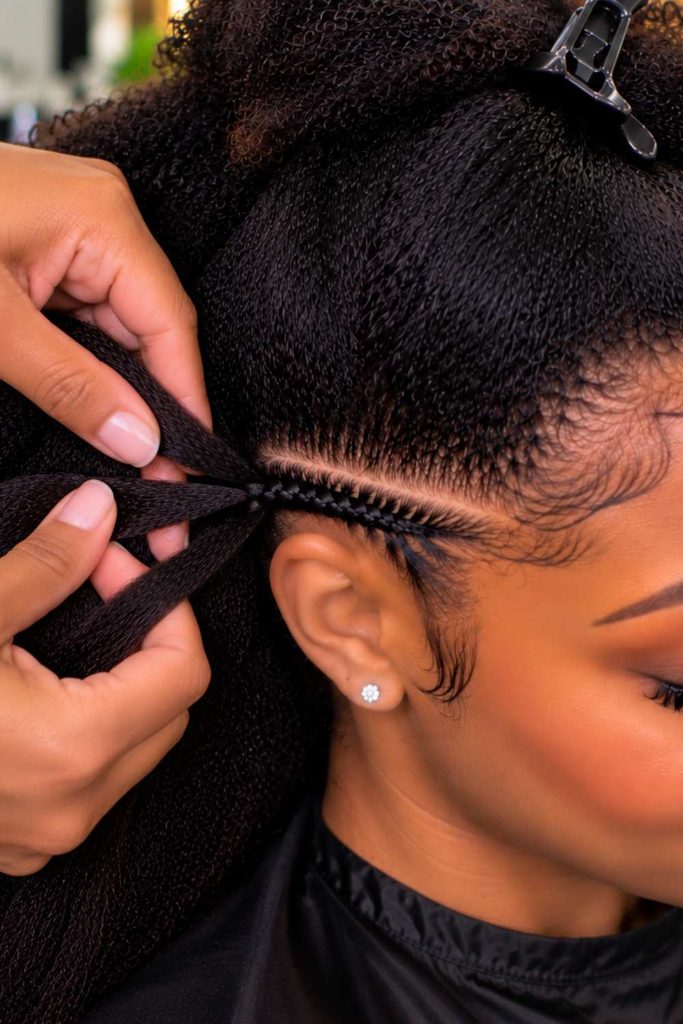
Separate the section into three small, even strands. Keep them clearly separated with your fingers so they don’t mix together as you begin braiding. The cleaner your strands are, the easier it will be to maintain a neat braid.
Braid Close to the Scalp
Begin crossing the strands underneath one another while gradually picking up small amounts of hair from the section as you move backward. Keep the braid close to your scalp, but avoid pulling too tightly. Neat does not have to mean painfully tight!
Keep Your Hands Steady and Your Tension Even
Try to maintain the same amount of tension from the beginning to the end of the braid. If you pull too tightly in one area and loosely in another, the braid can look uneven. Relax your hands, work slowly, and let your fingers get into a natural rhythm.
Create the Signature Stitch Effect
As you continue moving backward, pay attention to the small, defined sections that give stitch braids their signature appearance. Keep each stitch clean and consistent, and gently smooth down any stray hairs as you go. Once you get into the rhythm, you’ll see that gorgeous stitch pattern starting to take shape!
Add the Attachment Gradually
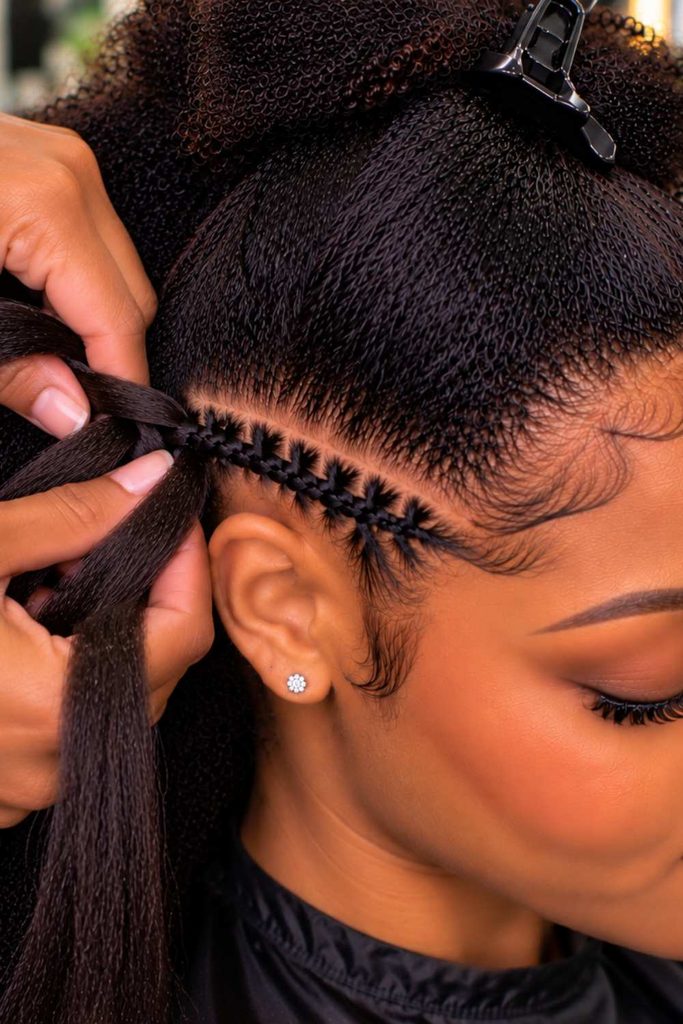
Once you have your natural hair moving smoothly into the braid, it’s time to bring in the attachment. This is where your stitch braid starts gaining that extra length and fullness. The trick is not to rush or add a huge piece of hair at once. Small, controlled additions will give you a much neater and more natural-looking result.
Prepare Small Pieces of Attachment
Before you begin feeding in the attachment, separate it into small, manageable pieces and keep them close by. Having them ready makes the process much smoother, especially when you’re working your way down the braid.
Feed in the Extension Little by Little
Gradually add small pieces of attachment as you braid. Start with a small amount and continue adding as needed, rather than putting everything in at the beginning. This helps the braid build up naturally and keeps the transition from your natural hair to the attachment looking smooth.
Keep the Braid Consistent
As you move from the roots toward the ends, pay attention to the size and shape of the braid. Try to maintain a steady thickness so it doesn’t suddenly become too bulky or too thin. A consistent braid gives the finished style that clean, professional appearance.
Avoid Adding Too Much at Once
It can be tempting to add a lot of attachment to make the braid fuller quickly, but this can make it look bulky and difficult to control. Less is often more! Add small amounts and build the thickness gradually until you reach the look you want.
Maintain Even Tension
Keep your tension steady as you feed in the attachment. The braid should feel secure but never painfully tight. Working with controlled, even tension will help your stitch braids look neat while keeping your natural hair and edges more comfortable.
Finish and Secure the Braids
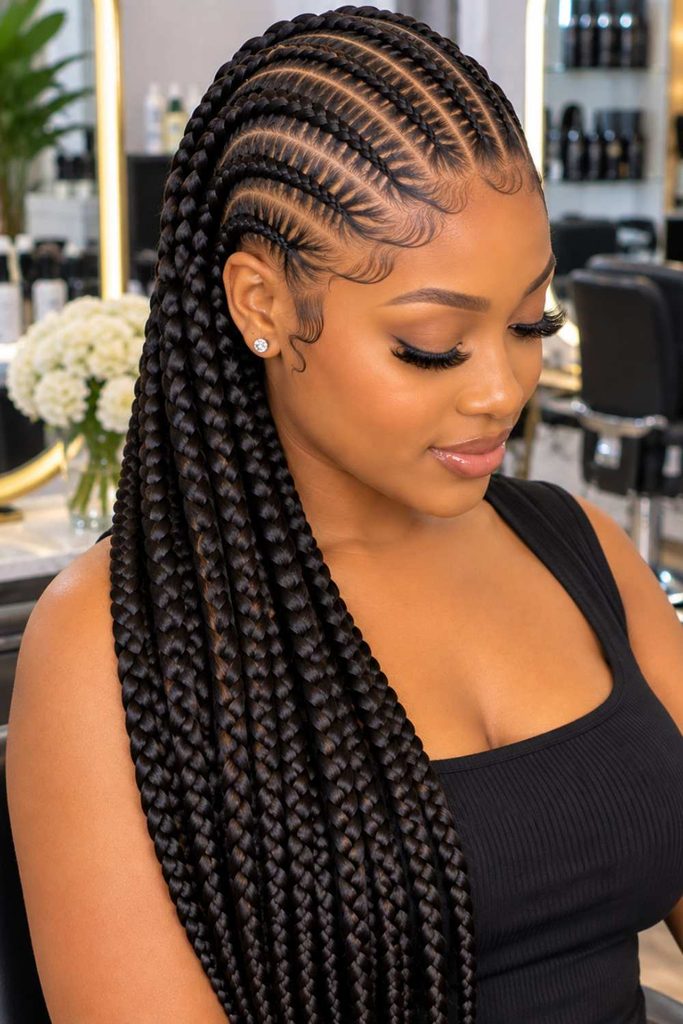
You’re almost done! Once you’ve added the attachment and reached the desired length, it’s time to give your braids a clean and polished finish. This final step may seem small, but it can make a big difference in how neat and put-together your hairstyle looks.
Braid the Attachment to Your Desired Length
Continue braiding the attachment down to the length you want. Whether you prefer short, medium, or long stitch braids, keep the braid consistent all the way down for an even finish.
Secure the Ends Properly
Once you reach the end, secure the braid so it doesn’t unravel. Depending on the type of attachment you’re using, you can use a small rubber band or another suitable method to keep the ends in place.
Trim Loose or Uneven Ends
Take a quick look at your finished braids and carefully trim any stray or uneven pieces of attachment. This gives the style a cleaner, more polished appearance.
Dip the Ends in Hot Water
If your attachment is suitable for hot-water sealing, carefully dip the braided ends into hot water to help secure them and give the ends a smoother finish. Be careful when handling hot water and avoid dipping your scalp or natural hair into it.
Let Your Braids Dry Completely
Finally, allow the braids to dry completely before styling or tying them up. Once they’re dry, gently check each braid, smooth down any flyaways, and admire your fresh, neat stitch braids!
Lay and Style Your Edges
Now that your stitch braids are finished, it’s time for that little finishing touch that can make the whole hairstyle pop your edges! You don’t need a lot of product or an elaborate design. A soft, neat finish can make your braids look even more polished.
Apply a Small Amount of Edge Control
Take a small amount of edge control and apply it lightly around your hairline. Start with less product and add more only if needed. Too much can leave your edges looking heavy or create unwanted buildup.
Smooth Your Edges Gently
Using a small edge brush or clean toothbrush, gently smooth your edges into place. You can sweep them slightly forward, sideways, or into a simple curve, depending on the look you prefer.
Create Simple Baby Hairs if You Want
If you enjoy baby hairs, create a few simple swoops around the hairline for an extra polished finish. Keep them soft and natural-looking rather than trying to make every strand perfectly dramatic.
Be Gentle Around Your Hairline
Most importantly, don’t pull your edges too tightly just to make them look sleek. Your hairline deserves some love too! Use a light hand when styling, and let your finished stitch braids look neat, beautiful, and comfortable at the same time.
Black women hairstyles