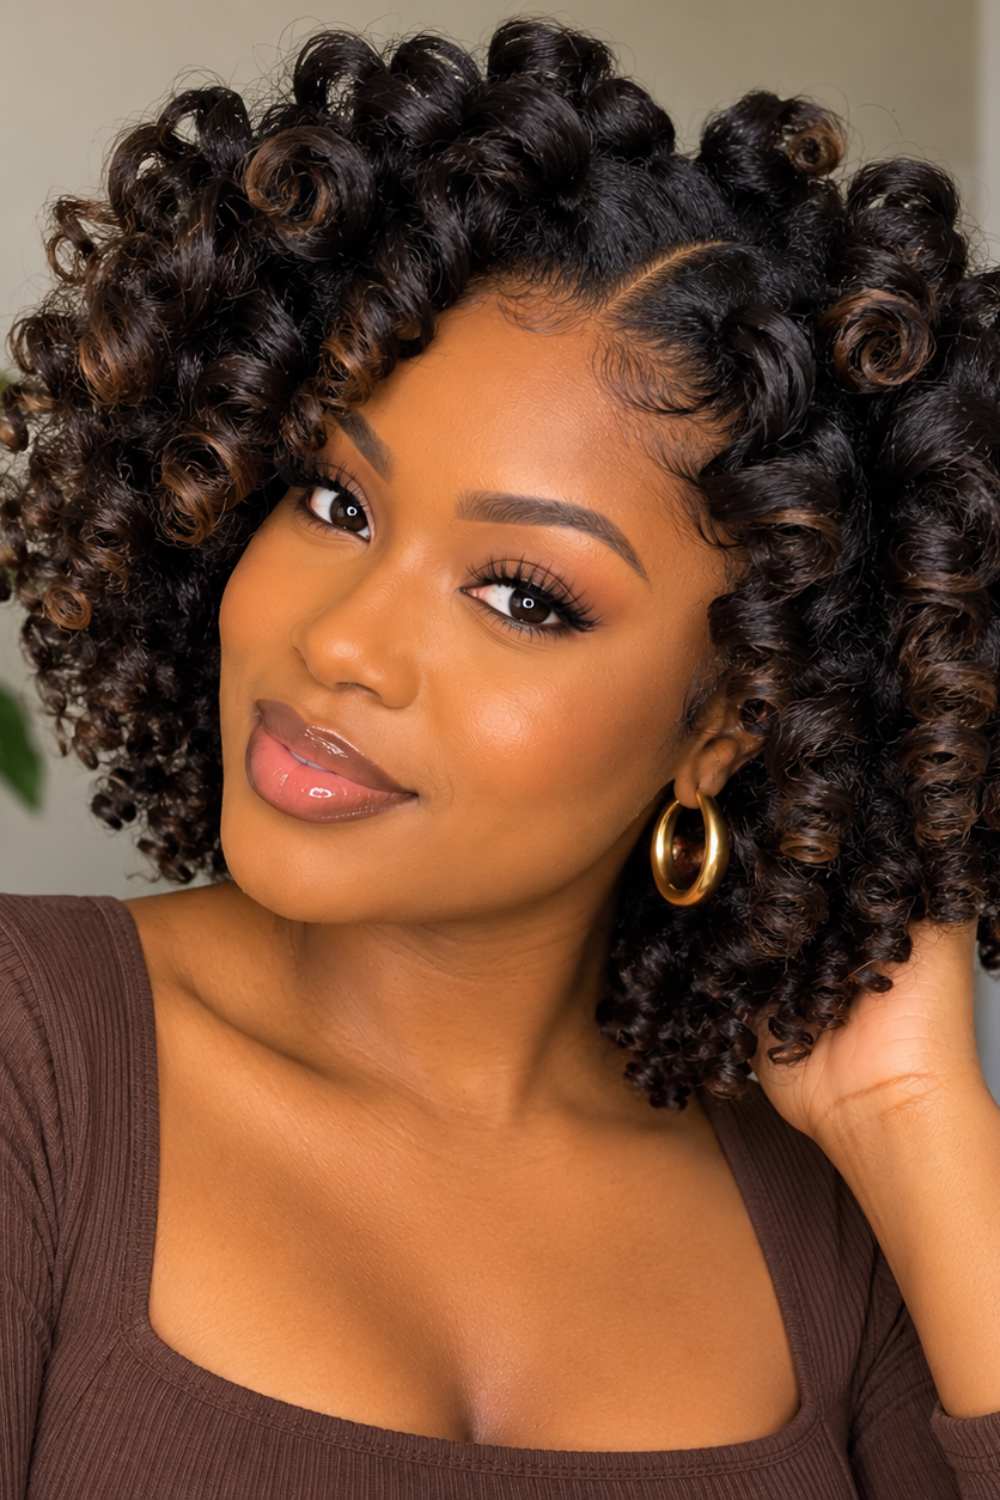
Looking for an easy way to get beautiful curls without using heat? A Bantu knot-out hairstyle might be just what you need. It’s a simple and fun way to turn your natural hair into soft, defined curls with lots of volume. Plus, you don’t need to be a hairstyling expert to do it.
All you need is a little time, a few hair products, and some patience. Once your knots are ready and fully dry, you can unravel them to reveal gorgeous curls that are perfect for everyday wear or a special day.
In this guide, I’ll show you how to create a Bantu knot-out hairstyle step by step, from preparing your hair to unraveling and styling your curls.
Does Bantu Knot Make Your Hair Curly?
Yes, Bantu knots can make your hair curly! When you twist and wrap sections of your hair into Bantu knots and let them dry completely, they create beautiful curls or coils when you unravel them. The final result can be tight and defined or soft and wavy, depending on your hair texture, the size of the knots, and how you style them.
For smaller, tighter curls, make smaller knots. If you want bigger, softer curls, go for larger knots. The key is to let your hair dry fully before taking the knots down so your curls can set properly.
What You Need for a Bantu Knot-Out
Before you get started, gather everything you’ll need and keep it within reach. This makes the process much easier, especially when you’re working with several sections of hair. You don’t need anything complicated or expensive. A few basic hair tools and products are enough to help you create neat Bantu knots and beautiful curls.
Wide-Tooth Comb

A wide-tooth comb is great for gently detangling your hair before you start. You want your hair to be free of major tangles so you can twist each section without too much pulling. Start from the ends and slowly work your way up toward the roots. Take your time because rough detangling can lead to unnecessary breakage.
Hair Clips
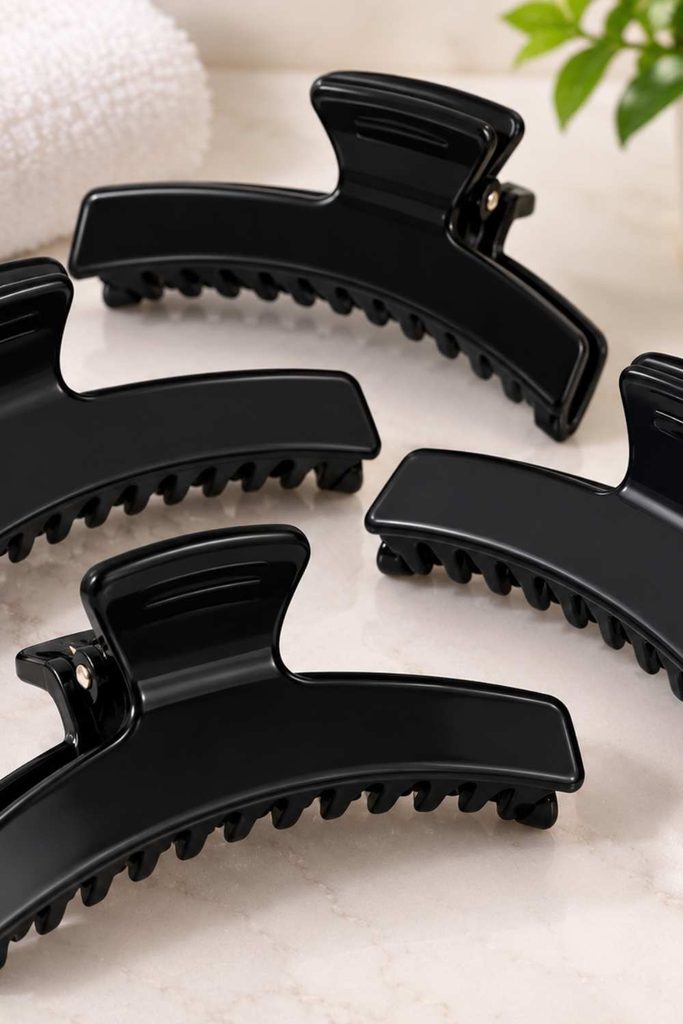
Hair clips may seem like a small detail, but they can make a big difference. Once you divide your hair into sections, use the clips to hold the parts you’re not working on. This keeps your hair organized and stops loose sections from getting in your way. It also makes it easier to create Bantu knots that are similar in size.
Leave-In Conditioner
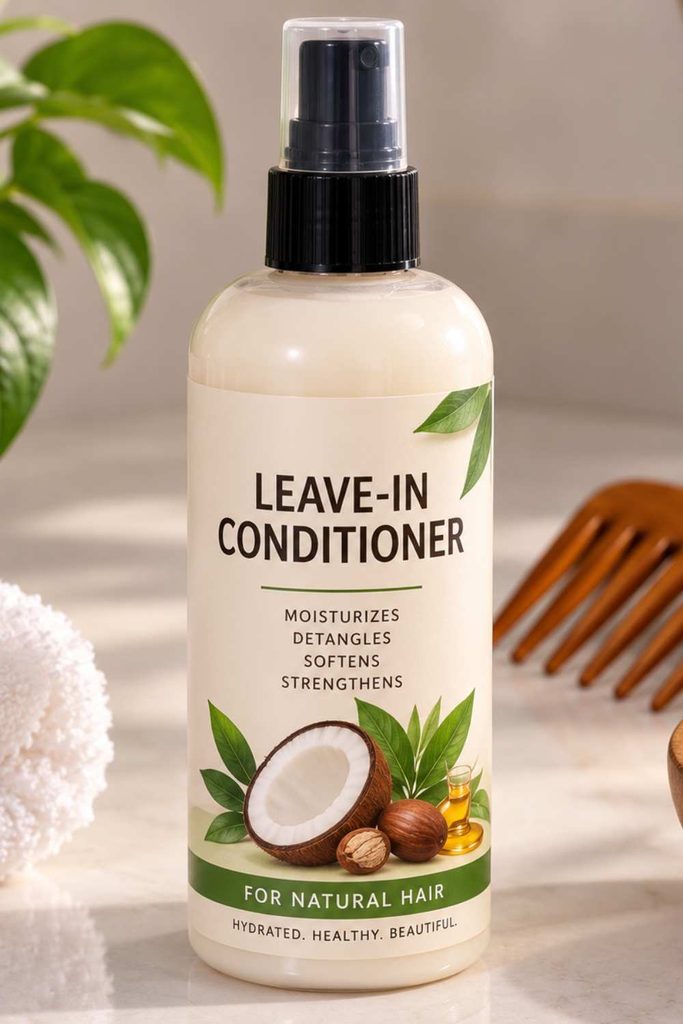
Your hair will be much easier to work with when it feels soft and moisturized. Apply a small amount of leave-in conditioner to each section before twisting. It helps add moisture and makes the hair easier to handle. Just avoid using too much, as overly wet or product-heavy hair can take longer to dry.
Curl Cream or Styling Product
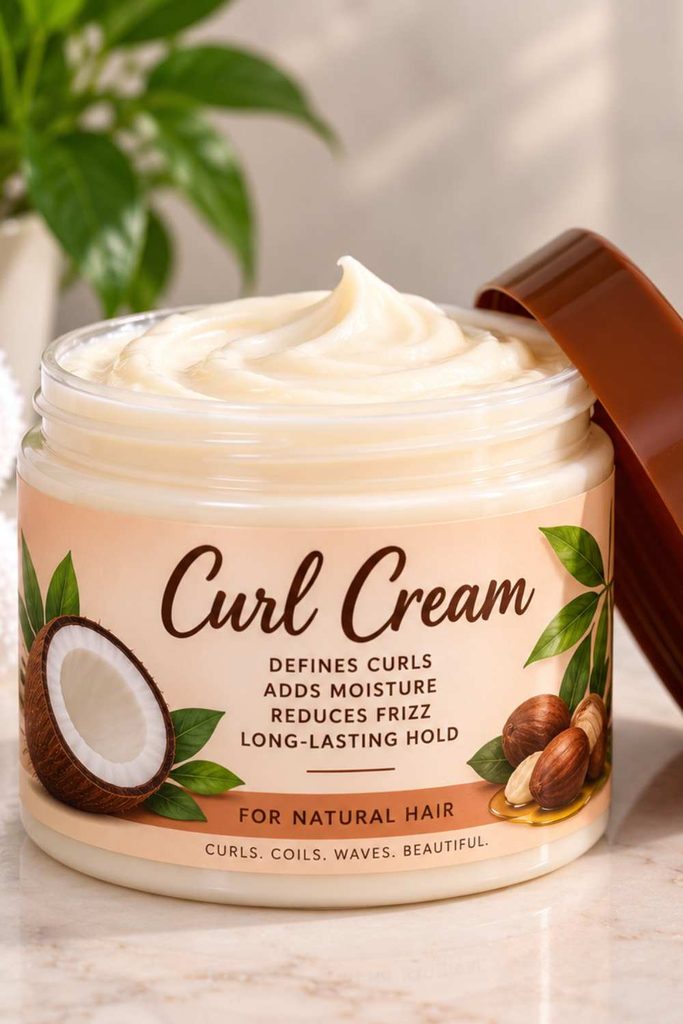
This is where you can give your curls some extra definition. Apply your favorite curl cream or styling product to each section before creating the knot. The product helps your hair hold the shape of the twist and can give your finished Bantu knot-out a smoother, more defined look. You don’t need to overload your hair; a little product can go a long way.
Hair Oil
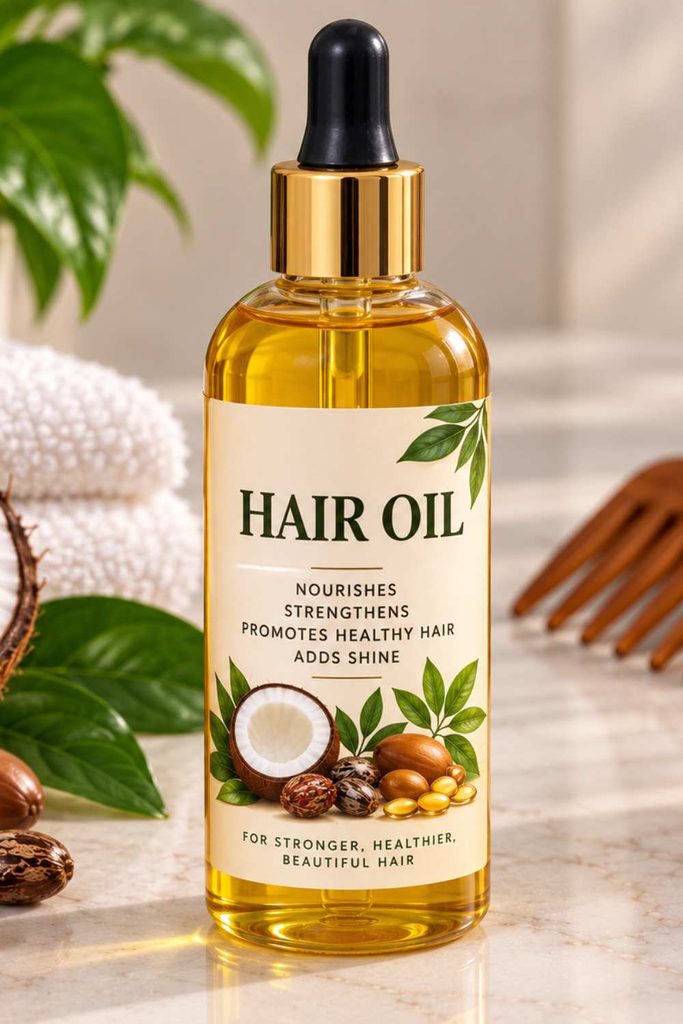
Keep a little hair oil nearby for the finishing stage. When you’re ready to unravel your knots, you can rub a small amount between your fingertips before touching your hair. This helps your fingers move through the curls more smoothly and can help reduce frizz. Remember, you only need a small amount you don’t want your curls to feel greasy or heavy.
Spray Bottle With Water

A spray bottle filled with water is useful for keeping your hair slightly damp while you work. If a section starts feeling too dry or difficult to twist, give it a light mist. You don’t want your hair soaking wet because the knots will take much longer to dry. Aim for hair that feels soft and workable rather than dripping wet.
Satin Scarf or Bonnet

Once all your Bantu knots are finished, your satin scarf or bonnet becomes your best friend. Cover your hair before going to bed to help protect the knots while they set. Satin creates less friction than many cotton fabrics, which can help reduce unnecessary frizz and keep your hairstyle looking neater. When your knots are completely dry, you’ll be ready to unravel them and reveal your curls.
Read next: How to create Eye-Catching box braid hairstyle with natural hair
Start With Clean, Detangled Hair
Before you start twisting your hair into Bantu knot-out, you want to give it a good foundation. Clean, moisturized, and detangled hair is much easier to work with and can help your curls come out smoother and more defined. There’s no need to rush this part taking a few extra minutes now can make the rest of the process much easier.
Wash and Condition Your Hair
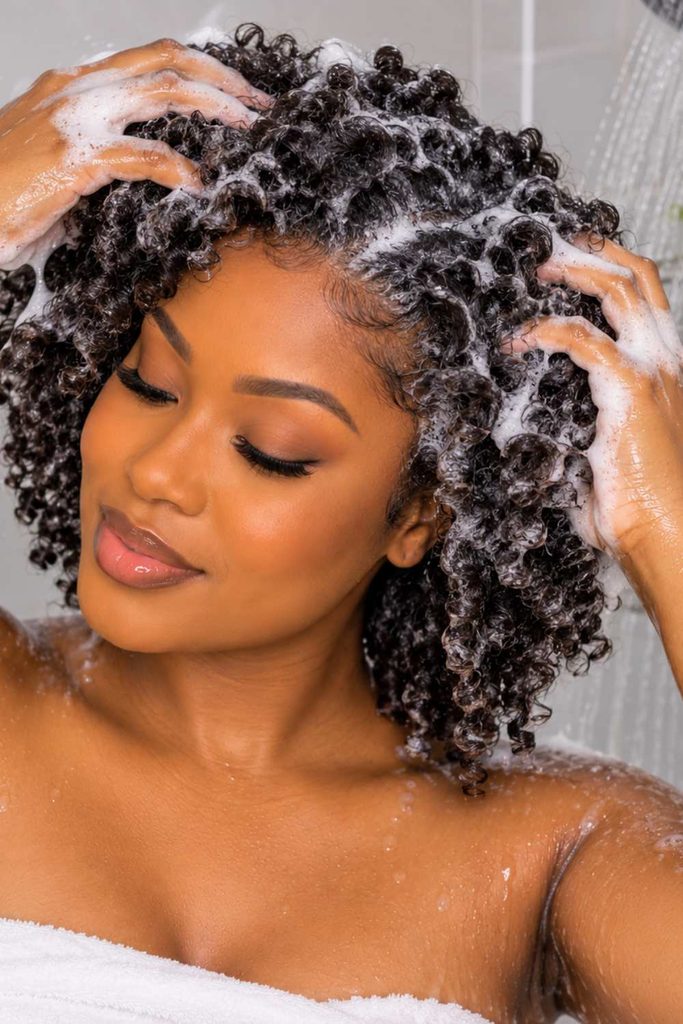
Start by washing your hair with a gentle shampoo to remove dirt, sweat, and product buildup. Follow up with a good conditioner to help your hair feel soft and moisturized. This is especially helpful if your hair tends to feel dry or difficult to manage. Rinse thoroughly and gently squeeze out the excess water when you’re done.
Gently Detangle Your Hair

Now it’s time to get rid of those tangles. Apply a little leave-in conditioner or detangling product, then use your fingers or a wide-tooth comb to work through your hair. Start at the ends and slowly move toward the roots instead of pulling the comb straight through from top to bottom. Be gentle and patient you want to detangle your hair without causing unnecessary breakage.
Keep Your Hair Slightly Damp

Your hair should be slightly damp when you begin making your Bantu knot-out, but it shouldn’t be soaking wet. Hair that is too wet can take a long time to dry, while completely dry hair may be harder to twist and shape. If your hair starts drying out while you work, simply give it a light mist with your spray bottle. The goal is soft, manageable hair that is easy to twist.
Divide Your Hair Into Sections
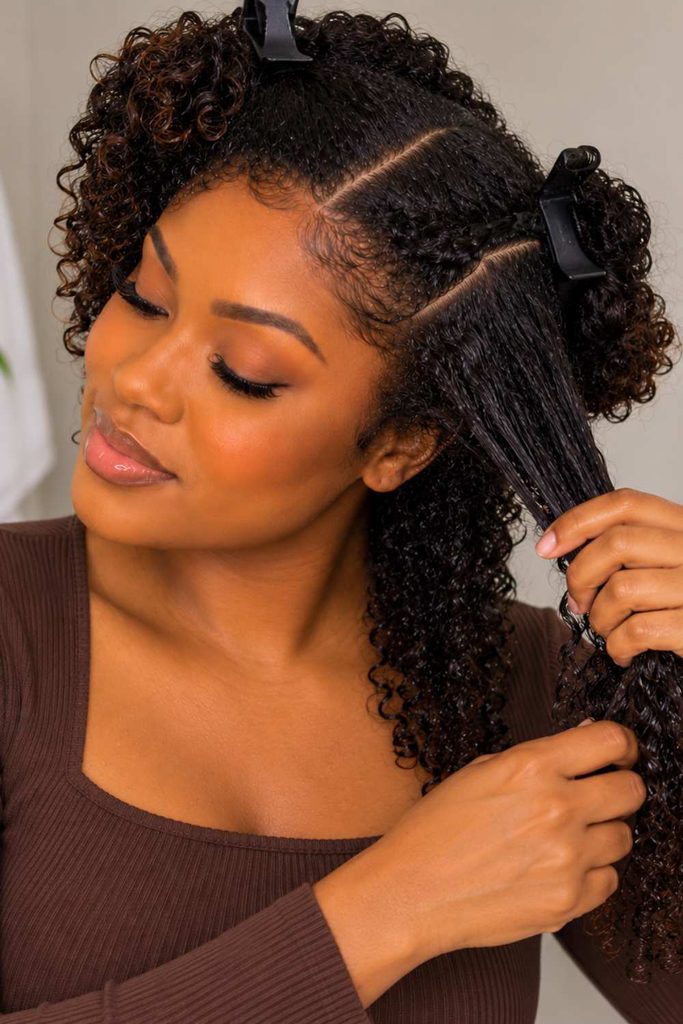
Once your hair is clean, detangled, and slightly damp, it’s time to divide it into sections. This part is simple, but it can really affect how your Bantu knot-out turns out. Start by using your fingers or a comb to create manageable sections and secure the parts you’re not working on with hair clips.
Try to keep the sections fairly even so your curls have a more balanced look when you’re done. Keep in mind that the size of your sections will determine the type of curls you get. For tighter, more defined curls, make smaller sections and create smaller Bantu knot-out. If you want soft, bigger Bantu knot-out curls with plenty of volume, go for larger sections and bigger knots. So, before you start twisting, think about the curl pattern you want and choose your section size accordingly.
Apply Your Styling Products
Now that your hair is divided into sections, it’s time to add your styling products. This step helps keep your hair moisturized and makes it easier to twist and shape each Bantu knot-out. You don’t need to use a lot of products; just apply enough to lightly coat each section without making your hair heavy or overly wet.
Add Leave-In Conditioner

Start with a small amount of leave-in conditioner of your choice and work it through each section of hair. Focus on spreading it from the roots down to the ends so your hair feels soft and easy to handle. The leave-in conditioner also helps add moisture, which is especially useful if your hair tends to feel dry while styling.
Apply Curl Cream or Your Preferred Styling Product
Next, apply your favorite Bantu knot-out curl cream or styling product to the section. Gently smooth it through your hair with your fingers, making sure the product reaches the full length of the section. This will help your hair hold the shape of the knot and give your curls better definition when you unravel them later.
Make Sure Each Section Is Evenly Coated
Take a moment to check each section before you start twisting. You want the product spread evenly from the roots to the ends, rather than having too much product in one spot. If a section feels dry, add a little more product, but avoid piling it on. Keeping the product light and even will help your Bantu knots dry properly and leave you with soft, defined curls.
Twist Each Section

Now comes the fun part creating the twists that will eventually turn into your beautiful curls. Work with one section at a time so you can focus on getting each twist neat and smooth. There’s no need to rush; taking your time here can help give your Bantu knot-out a more even and defined finish
Create the Bantu Knots
Once you’ve twisted a section of hair, it’s time to turn that twist into a Bantu knot. This is the part where the hairstyle really starts to take shape. The idea is to wrap the twisted hair around itself until it forms a small, neat knot that can stay in place while your hair dries.
Wrap the Twisted Hair Around Itself

Take the twisted section and gently wrap it around its base, following the direction of the twist. Keep wrapping the hair around itself until you reach the ends. Try to keep the knot neat and secure, but don’t pull or wrap it too tightly. You want it firm enough to hold without making your scalp feel uncomfortable.
Tuck the Ends Securely
When you reach the ends of your hair, carefully tuck them underneath the knot. This helps keep the ends in place and gives the knot a cleaner finish. If your hair doesn’t stay tucked on its own, you can gently adjust the knot until it feels secure. Avoid using too much tension, especially around your roots.
Repeat Until Your Whole Hair Is Done
Continue the same process with each section of hair. Twist the section, wrap it around itself, and tuck the ends securely. As you move around your head, try to keep the knots fairly similar in size if you want your curls to have an even pattern. Once you’ve finished, your whole head should be covered with neat Bantu knot-out and ready for the drying stage.
Carefully Unravel the Knots

Once your Bantu knots are completely dry, it’s time for the exciting part unraveling them and seeing your curls come to life. Take your time with this step because the way you handle your hair can make a big difference in how defined and frizz-free your curls look. Start by gently untwisting each knot in the opposite direction from how you created it. Avoid rushing or pulling at the hair, especially if some knots feel a little tight.
After all the Bantu knot-out are undone, use your fingers to gently separate the curls and give them more shape and volume. Try not to brush or comb through the curls, as this can make them lose their definition and create unnecessary frizz. A light touch is all you need to reveal those soft, beautiful Bantu knot-out curls
Fluff and Shape Your Curls
Now that you’ve unraveled all the knots, it’s time to give your curls their final touch. This is where you can decide how much volume and definition you want. Be gentle with your hair and use your fingers instead of a comb or brush to keep the curls looking soft and defined for your Bantu Knot-out curl.
Use Your Fingers to Add Volume
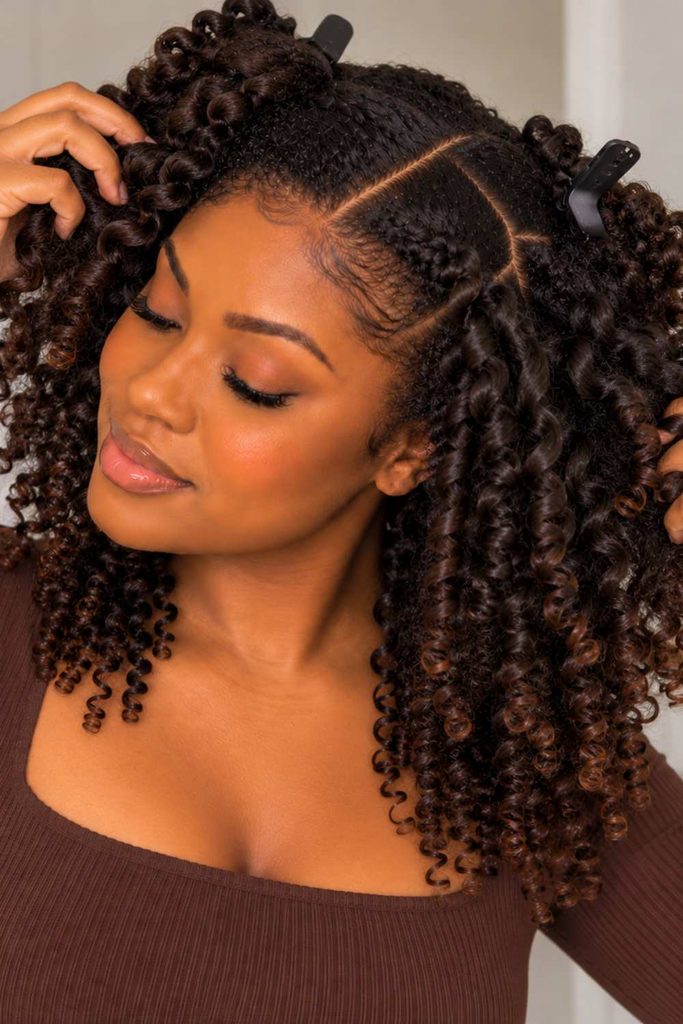
Gently lift your Bantu knot-out curls at the roots with your fingertips to give your hair a little more volume. You can fluff different areas until your hair has the shape you like. Don’t overdo it, though, because too much touching can make your Bantu knot-out curls frizzy.
Separate Curls Where Needed

If someBantu knot-out curls are stuck together or look too thick, gently separate them with your fingers. Start with a few curls and slowly work your way around your hair. This can give your Bantu knot-out a fuller, more natural look while still keeping the curl pattern visible.
Add a Small Amount of Oil to Reduce Frizz
Finally, rub a tiny amount of hair oil between your fingertips and lightly smooth it over your Bantu knot-out curls. This can help tame small areas of frizz and give your hair a soft, healthy-looking finish. Remember, less is more here you don’t want to weigh down those beautiful curls with too much oil.