Getting your nails done at the salon can be a whole experience. The time, the cost, the waiting sometimes it’s just not giving what it’s supposed to give. That’s exactly why I fell in love with making my own press-on nails at home. Not only is it cheaper, but it’s also creative, fun, and honestly kind of therapeutic.
If you’ve ever admired a fresh set of nails and thought, “I wish I could do that myself,” you’re in the right place. Whether you’re trying to save money, start a small nail business, or just want nails that match your exact vibe, DIY press-on are a total game changer.
In this post, I’m going to walk you through everything you need to know from the tools to the step-by-step process so you can start creating salon-quality press-on nails right from your own space. Trust me, once you get the hang of it, you might never look at salon appointments the same way again.
Why Make Your Own Press-On Nails?
1. Cost-Effective Compared to Salon Visits
Let’s start with the obvious one money. Getting your nails done at the salon regularly is not cheap, especially if you like trendy designs or long sets. Before you know it, you’ve spent a lot in just a few weeks. When you make your own press-on nails, you’re mostly investing in tools once, and then you can create multiple sets from the same materials. Over time, it saves you so much money and you still get that salon-quality look.
Freedom to Customize Designs
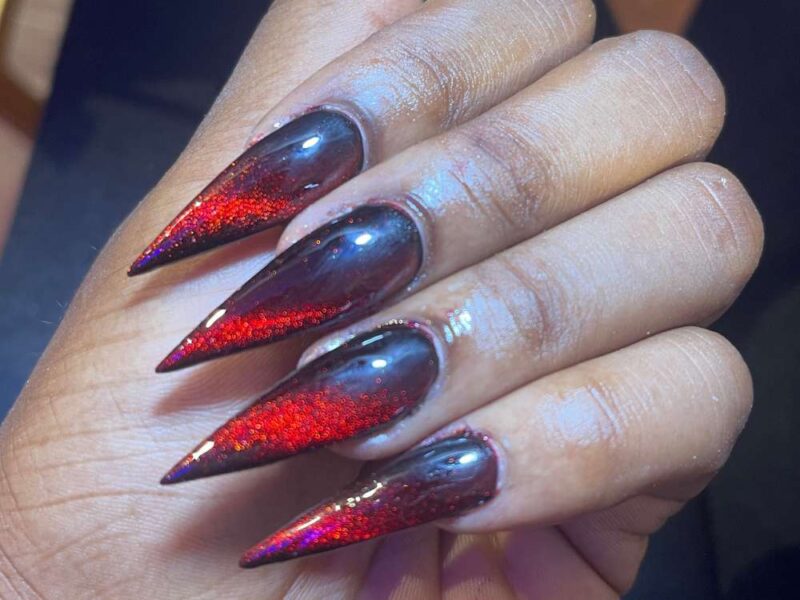
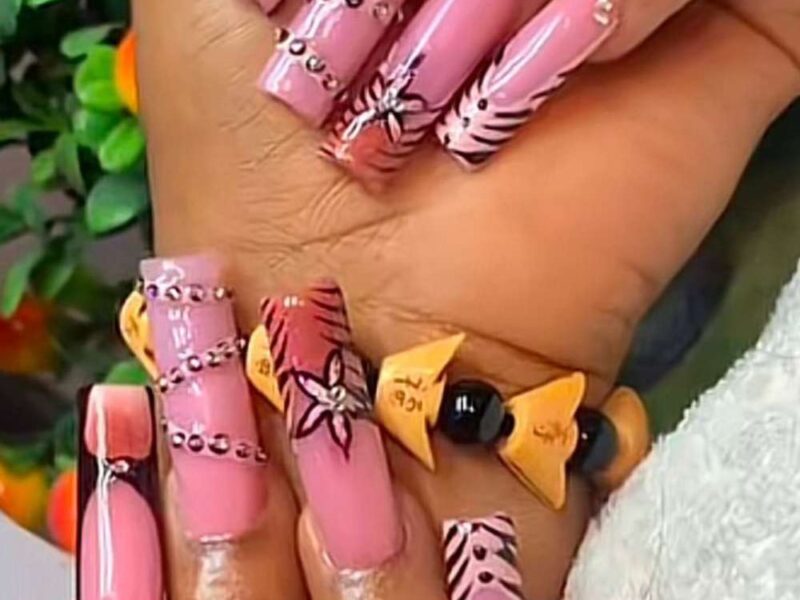
This is honestly one of my favorite parts. You’re not limited to what someone else can do or what designs are available. If you see a nail design on Pinterest or Instagram, you can try it yourself. Want something simple today and extra tomorrow? You can do that. You’re in full control of colors, shapes, length everything. It’s like having your own mini nail studio at home.
Can Turn Into a Side Hustle or Business
What starts as “just trying something new” can easily turn into a source of income. Once people see your nails, they’ll start asking questions and that’s how it begins. You can create sets for friends, take custom orders, and even sell online. With consistency and creativity, this can grow into a legit business. And the best part? You’re doing something you actually enjoy.
Reusable and Convenient
One thing I love about press-on is how practical they are. You can wear them, remove them, and use them again if you take care of them properly. Plus, there’s no need to book appointments or sit for hours at a salon. You can switch your nails whenever you want literally based on your mood. It just makes life easier, especially when you’re busy but still want to look put together.
Materials You’ll Need
Before we get into the fun part (designing your nails ), let’s make sure you have everything you need. Don’t worry you don’t have to buy everything at once. You can start simple and build your collection over time.
Here’s a basic checklist to get you started:
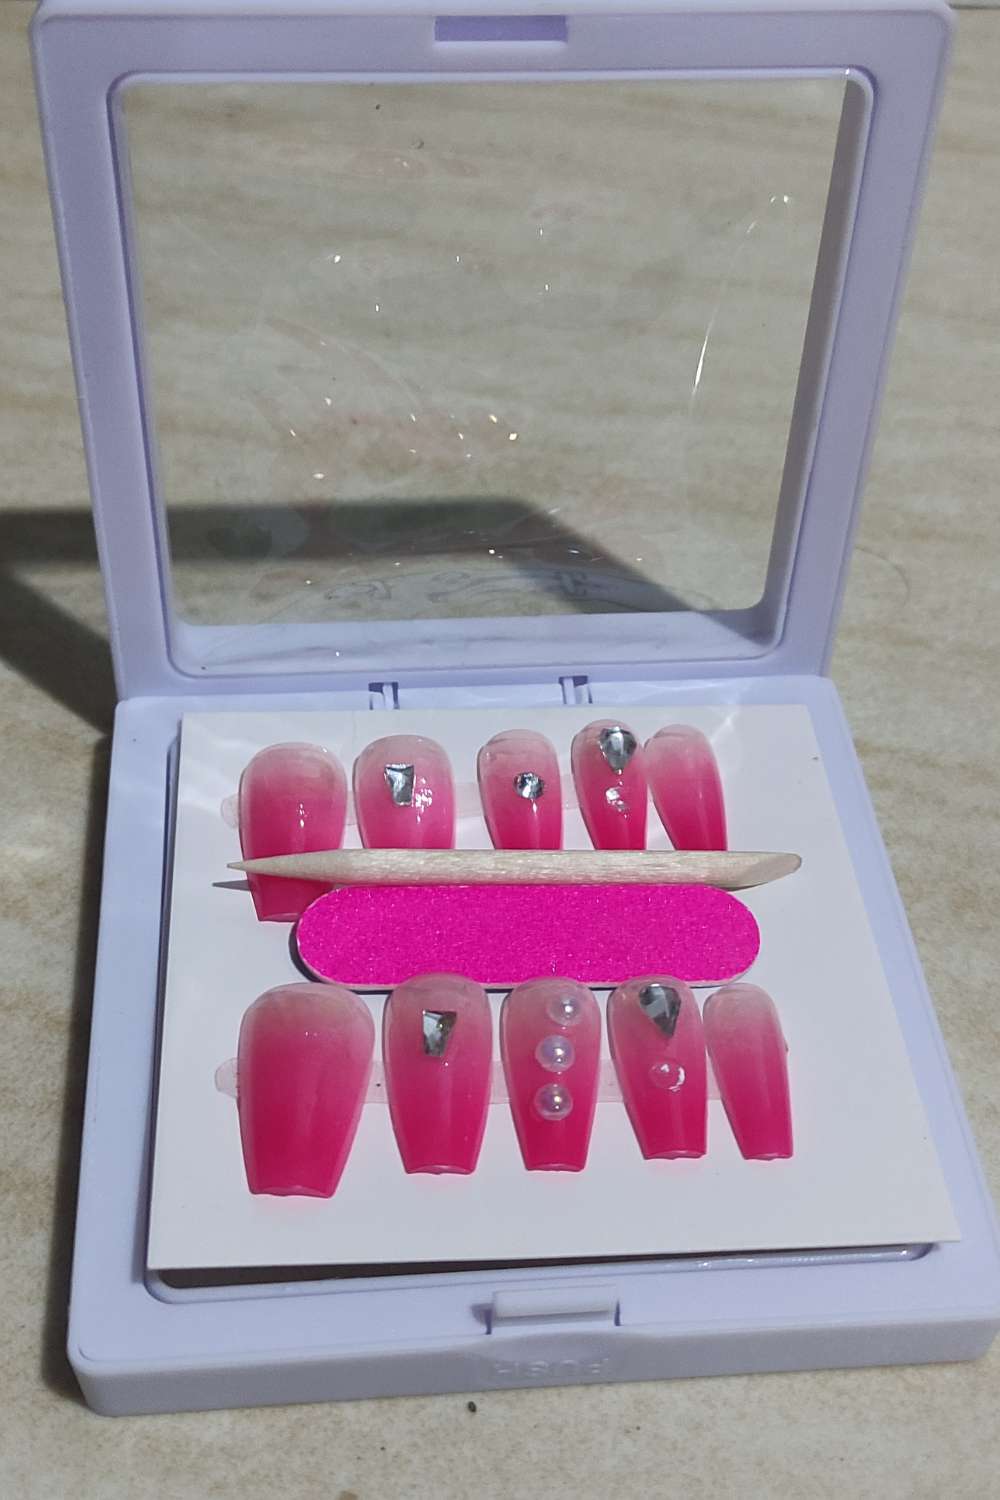
- Nail tips (clear or natural)
These are the foundation of your press-on nails. Clear tips are perfect if you want your designs to really pop, while natural-colored ones give a more subtle, ready-to-wear look. - Nail glue or adhesive tabs
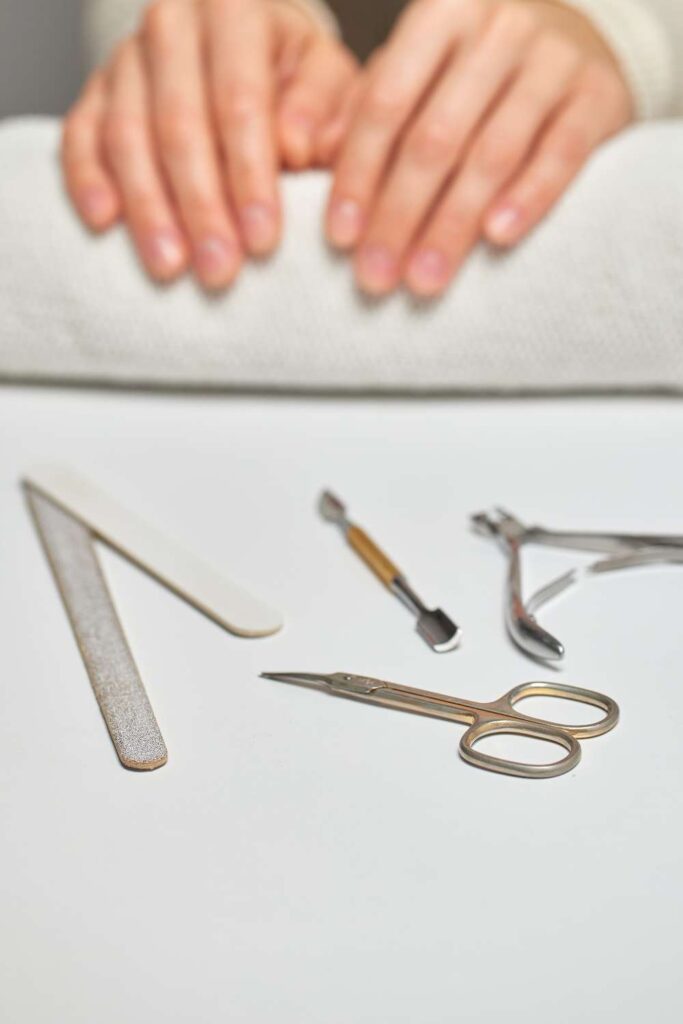
This is what you’ll use to apply the nails later on. Nail glue usually lasts longer, while adhesive tabs are great if you want something temporary or easy to remove. - Nail file and buffer
These help you shape your nails and smooth out the surface so your polish sticks better. Trust me, this step makes a big difference in how professional your nails look. - Base coat and top coat
Think of these as your secret weapons. The base coat helps your polish stay on longer, and the top coat seals everything in, giving your nails that glossy, salon-quality finish. - Nail polish (gel or regular)
This is where your creativity comes in. You can use regular polish or gel polish gel tends to last longer and looks a bit more polished (no pun intended ). - Nail art tools (brushes, dotting tools, stickers, rhinestones, etc.)
This is the fun part! Whether you’re keeping it simple or going all out, these tools help you bring your designs to life. You don’t need everything just start with a few basics and grow from there. - UV/LED lamp (if using gel)
If you’re using gel polish, you’ll need a lamp to cure (harden) the polish. It’s what gives gel nails that long-lasting, chip-resistant finish.
Step-by-Step Guide to Making Press-On Nails
Prep Your Nail Tips
First things first, you want your nail tips to look neat and ready for polish. Take your nail file and shape them however you like square, coffin, almond, whatever matches your vibe.
Size and Arrange
Next, match each nail tip to your natural nails. You want them to fit comfortably not too big, not too small. If a tip is slightly big, you can file it down to fit perfectly.
Apply Base Coat
Now it’s time to prep for polish. Apply a thin layer of base coat to each nail tip. This helps your polish go on smoother and keeps it from chipping too quickly
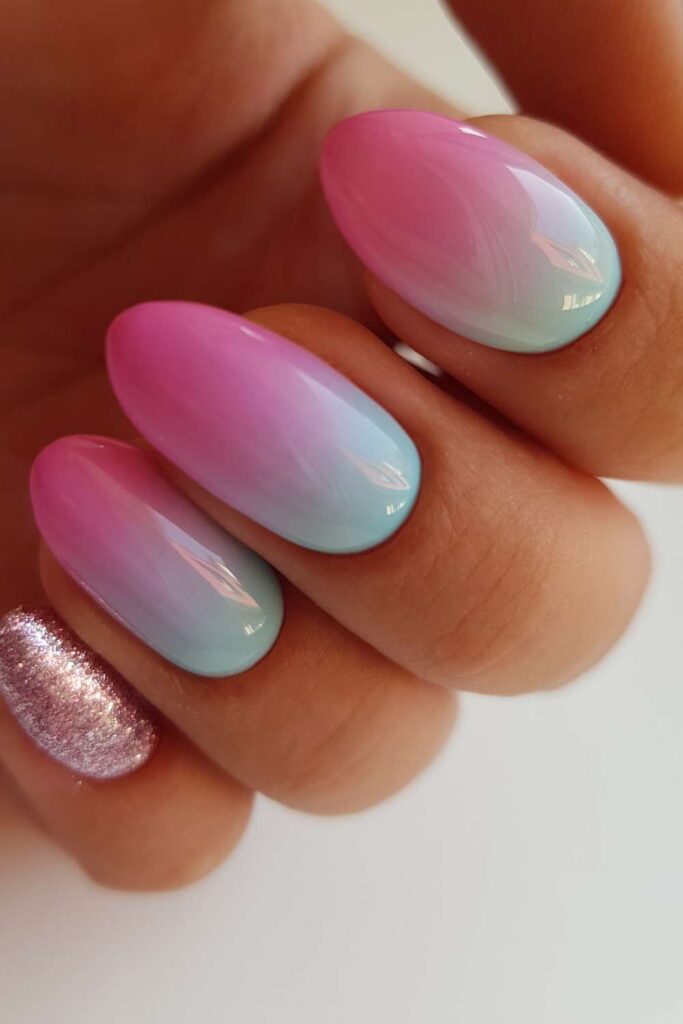
Design Your Nails
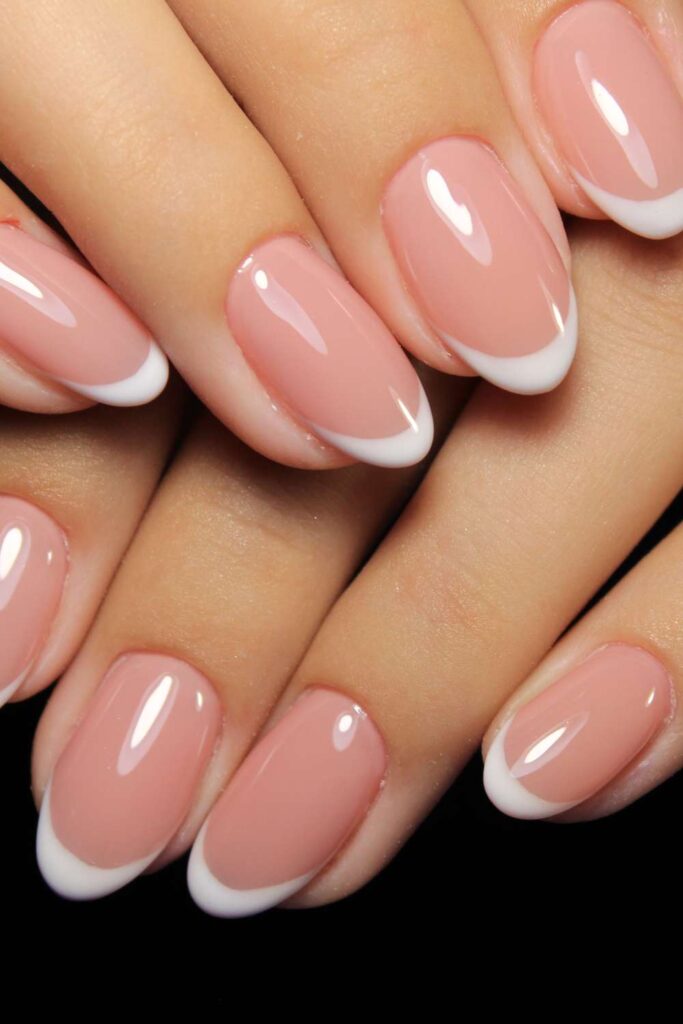
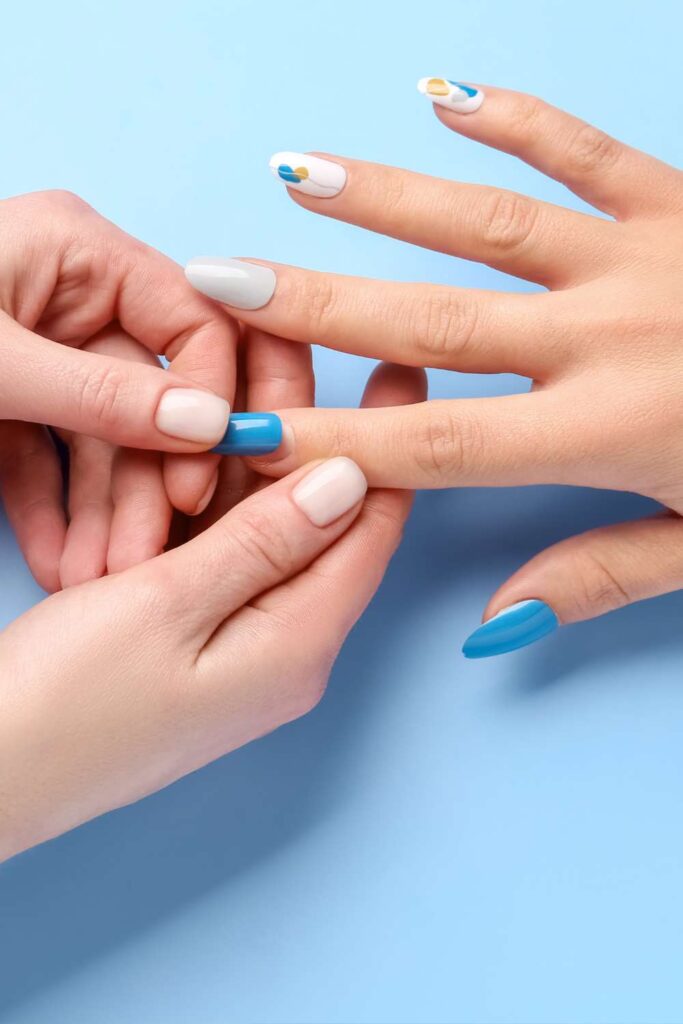
This is the fun part Go in with your nail polish and start creating your designs. You can keep it simple with one color or go all out with patterns, ombré, French tips whatever you’re feeling
Cure or Dry
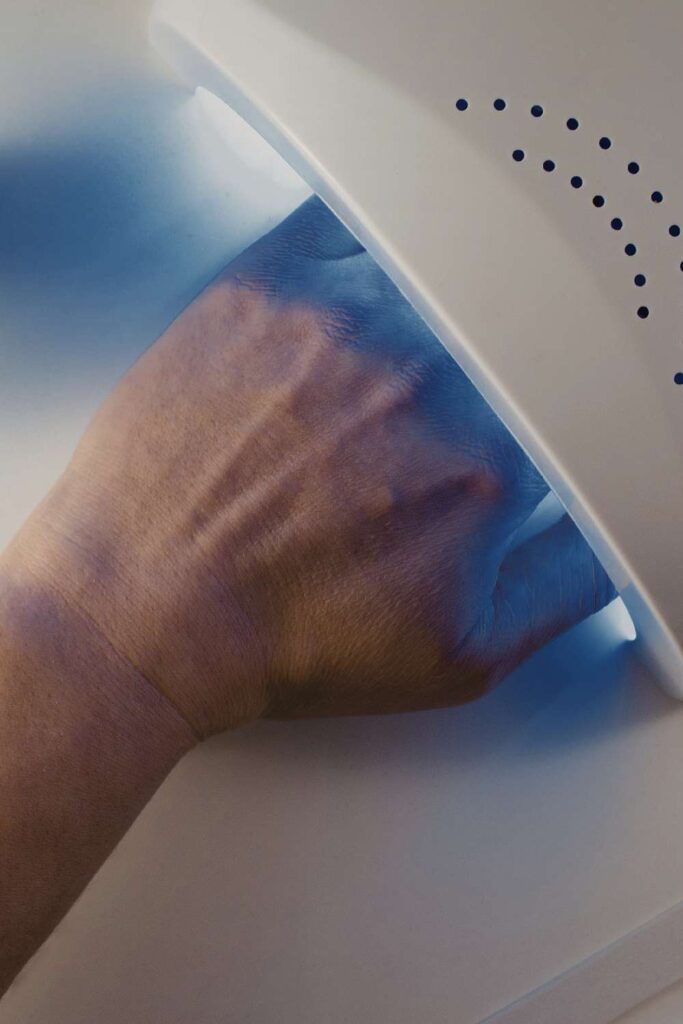
Once you’re done designing, you need to set everything properly. If you’re using gel polish, cure your nails under a UV/LED lamp. If you’re using regular polish, just let them air dry completely.
Seal with Top Coat
Finally, seal everything in with a top coat. This adds that glossy, salon-quality finish and helps protect your design from chipping or fading.
How to Apply Press-On Nails
Now that your press-on nails are ready, it’s time to actually put them on and this part is just as important if you want them to look good and last long.
Prep Your Natural Nails
Before you apply anything, make sure your natural nails are clean and dry. Remove any old polish, wash your hands, and gently push back your cuticles.
This step might seem basic, but it really affects how well your press-ons stay on. The cleaner your nails are, the better the glue will stick.
Apply Glue or Adhesive Tabs
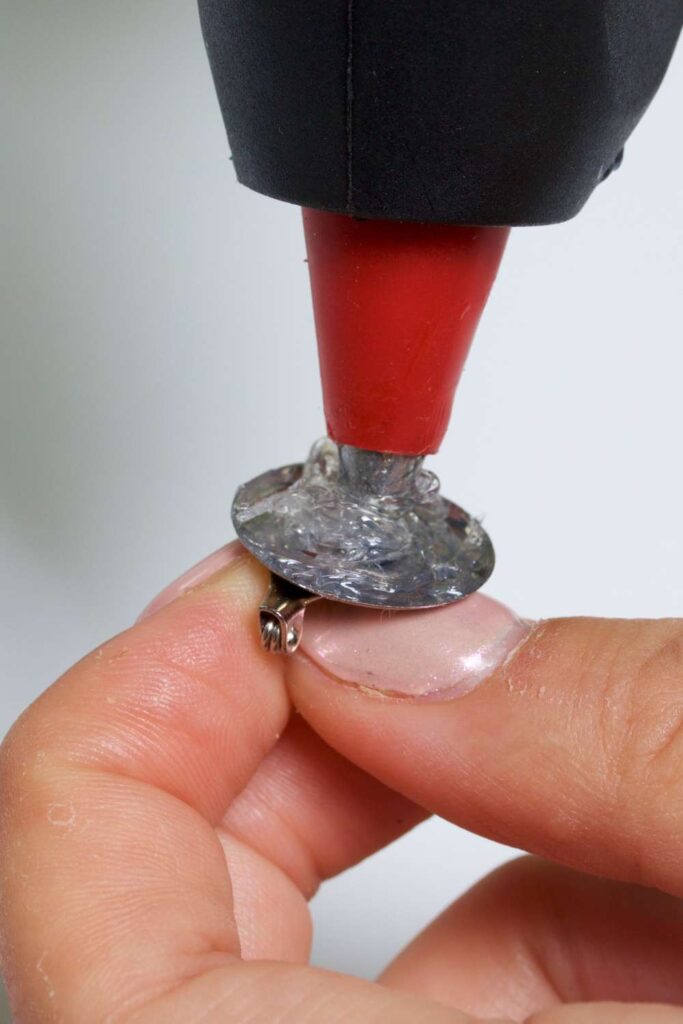
Next, apply your nail glue or adhesive tabs. If you’re going for a longer-lasting set, nail glue is your best bet. But if you just want something temporary (like for an event), adhesive tabs work just fine.
Just be careful not to use too much glue a small amount goes a long way. Too much can get messy and affect how the nails sit.
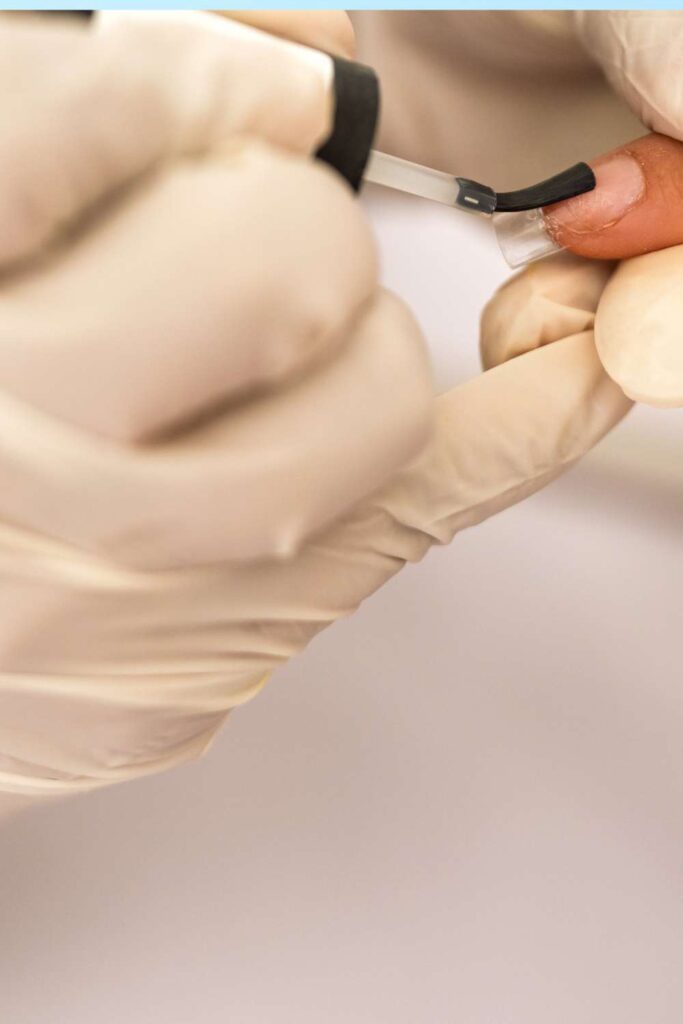
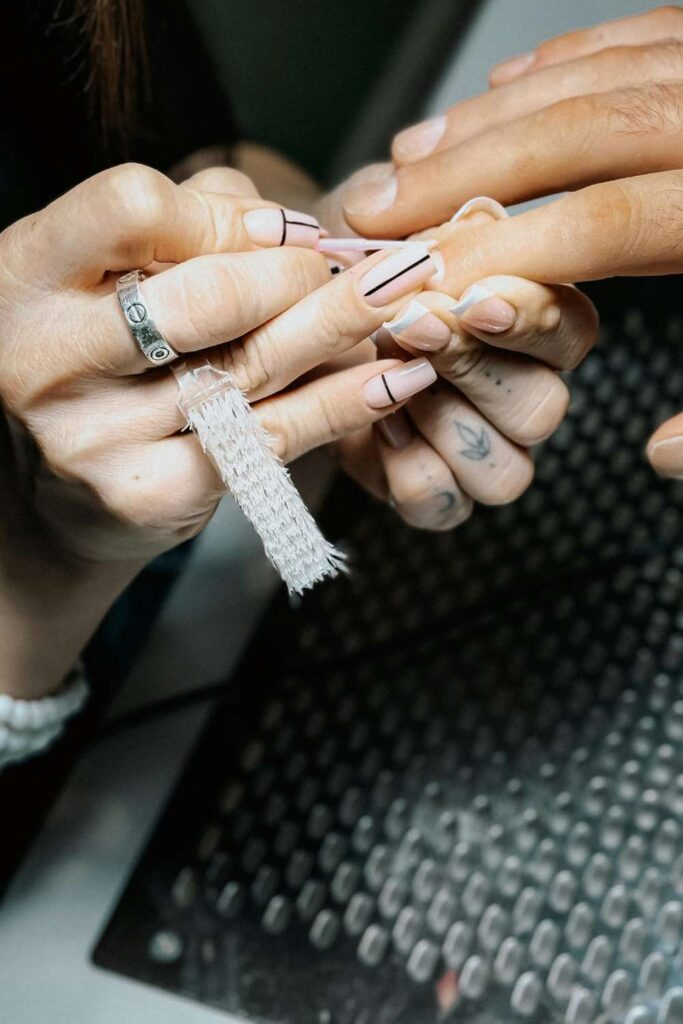
Press and Hold Each Nail Properly
Now, place the press-on nail on your natural nail, starting from the cuticle area and pressing downward. Hold it firmly for about 10–20 seconds to make sure it sticks properly.
Tips for Long Lasting Press-On Nails
If you want your press-on nails to actually last and not start popping off the next day , these little tips make all the difference. Trust me, it’s usually the small things that determine how long your set will stay looking fresh.
How to design nails at home step by step
How to design simple acrylic nails for beginners at home
How to make gel nails style on step by step
classy nude nails for office and work
Avoid Water Immediately After Application
I know it’s tempting to go wash your hands or start doing thing right away, but try to avoid water for at least an hour after applying your nails.
Water can weaken the glue before it fully sets, which means your nails won’t last as long. Giving them that little bit of time to “settle” really helps.
Use Quality Glue
Not all nail glues are the same. A good-quality glue can be the difference between nails lasting a few hours… and lasting over a week.
If you’re serious about making your press-ons last, it’s worth investing in a reliable glue. It just makes everything easier and more secure.
Proper Nail Prep is Key
This one is a big deal. If your natural nails aren’t properly cleaned and prepped, the glue has nothing to really hold onto.
Make sure your nails are oil-free, dry, and your cuticles are pushed back before applying. It might feel like extra work, but it’s honestly what keeps your nails from lifting too soon.
Store Nails Properly for Reuse
One of the best things about press-ons is that you can reuse them but only if you take care of them. After removing your nails, clean off any leftover glue and store them safely (like in a small box or container).
Common Mistakes to Avoid
When you’re just starting out, it’s completely normal to make a few mistakes (I definitely did ). But the good thing is once you know what to watch out for, it gets so much easier to get that clean, long-lasting finish.
Skipping Nail Prep
This is probably the most common mistake and honestly, one of the biggest. It’s easy to want to jump straight into applying your nails, but skipping prep can ruin everything.
If your nails aren’t clean or your cuticles aren’t pushed back, the press-ons won’t stick properly. So even if you’re in a hurry, don’t skip this step. It’s the foundation for everything else.
Using Too Much or Too Little Glue
Finding the right amount of glue can take a little practice. Too much glue can get messy and spill out from the sides, while too little means your nails might start lifting after a day or two.
The goal is a small, even amount just enough to cover your natural nail without overdoing it.
Not Sizing Nails Correctly
If your press-on nails don’t fit properly, they won’t look natural and they definitely won’t last long. Nails that are too big can lift at the sides, while nails that are too small won’t fully cover your natural nail.
Take your time to size each nail correctly. It might feel like a small detail, but it makes a huge difference in the final look.
Rushing the Drying or Curing Process
Patience is key here. If you rush and your polish isn’t fully dry (or properly cured for gel), you can end up smudging your design or weakening the finish.
It’s tempting to speed through this part, but giving your nails enough time to set will keep them looking neat and professional.
Avoiding these mistakes will save you a lot of frustration and help your press-on nails come out looking flawless every time .
How to Remove Press-On Nails Safely
Taking off your press-on nails the right way is just as important as applying them. I know it can be tempting to just pull them off we’ve all been there, but doing that can damage your natural nails and we definitely don’t want that.
Soak in Warm, Soapy Water or Oil
Start by soaking your nails in warm, soapy water or adding a bit of oil (like cuticle oil or even cooking oil if that’s what you have).
Gently Lift — Don’t Force
Once the glue starts to loosen, gently lift the press-on nails from the sides. If you feel resistance, don’t force it—just soak your nails a little longer.
Forcing them off can damage your natural nails, and that’s not worth it.
Clean and Store for Reuse
After removing the nails, clean off any leftover glue from both your natural nails and the press-ons.
If you plan to reuse them (which you definitely should!), store them in a small box or container to keep them safe and in good shape for next time.
Final Thoughts
If there’s one thing I hope you take away from this, it’s that making your own press-on nails is totally doable even if you’re just starting out. You don’t need to be a professional or have every tool right away. Just start with what you have, take your time, and enjoy the process.
It might feel a little tricky at first (especially getting the shapes or designs just right), but trust me it gets easier with practice. The more you do it, the better you get, and before you know it, you’ll be creating sets you’re actually proud of.
So go ahead, give it a try! Experiment with different styles, have fun with your designs, and don’t be afraid to make mistakes that’s all part of the learning process.