Getting that flawless foundation look can feel a bit tricky sometimes. I’ve had days where my makeup looked smooth and glowing, and other days where it just sat on my skin and refused to blend the way I wanted. Over time, I realized it’s not just about applying foundation and hoping for the best, it’s about having the right routine.
A flawless foundation routine is really the secret to achieving smooth, radiant skin that still looks like you. Whether you prefer a soft everyday look or something more polished, how you prep your skin, apply your foundation, and set everything in place makes all the difference. It’s not about piling on products, but about using the right techniques in a simple, effective way.
In this guide, I’ll walk you through easy steps that have truly made a difference for me so your foundation can go on smoother, last longer, and give you that natural, beautiful finish without the stress.
Know Your Skin Type to Get Flawless Foundation
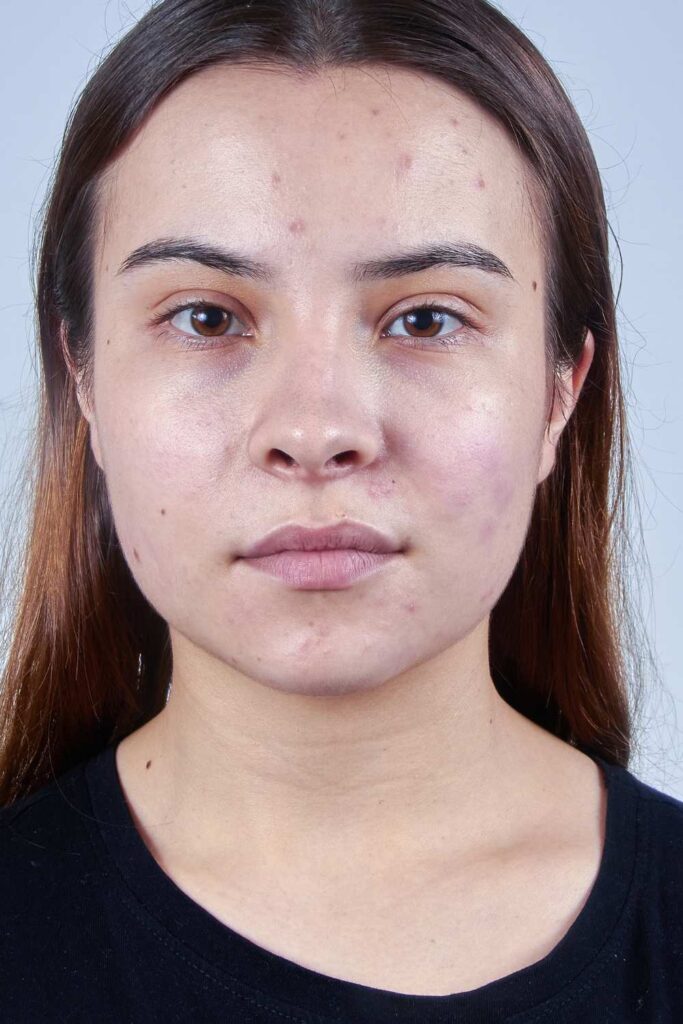
Before you apply any foundation, take a moment to understand your skin. It’s one of the simplest steps, but it can completely change how your makeup turns out. When you know your skin type, you’re able to choose products that actually work with your skin instead of fighting against it.
Oily Skin
If your face gets shiny quickly especially around your forehead, nose, and chin you likely have oily skin. You might also notice that your makeup doesn’t stay in place for long or starts to look greasy as the day goes on.
For this skin type, it’s best to go for matte or oil-free foundations. These help control shine and keep your skin looking smooth instead of slippery. Using a lightweight formula also helps prevent that heavy, cakey look.
Dry Skin
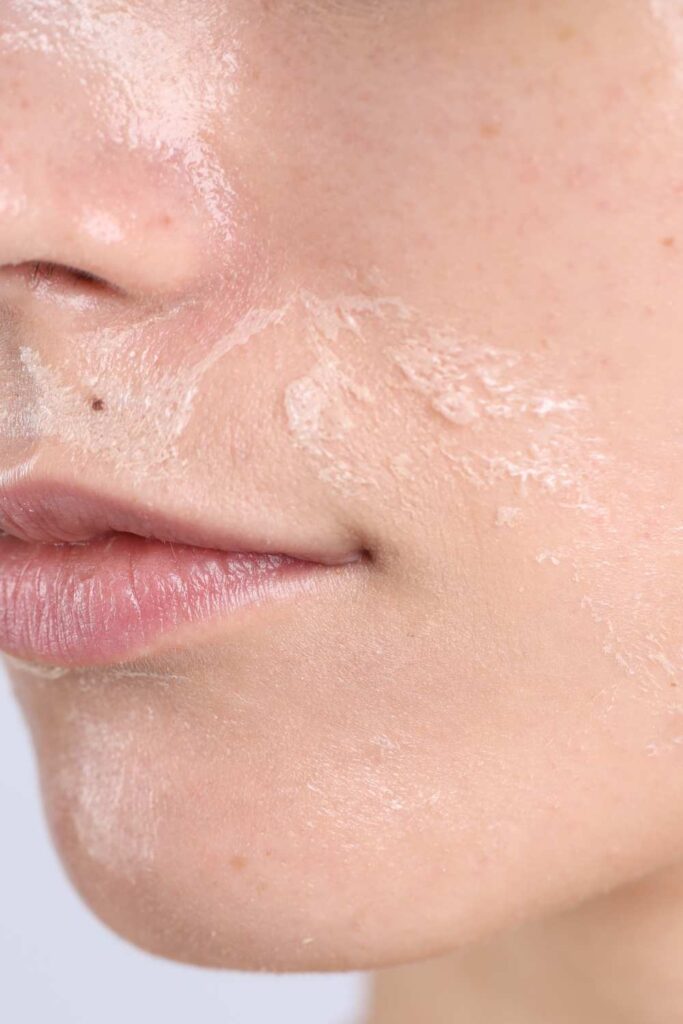
Dry skin often feels tight, rough, or flaky, especially after washing your face. When you apply foundation, it can sometimes cling to dry patches and make your skin look uneven.
If this sounds like you, hydrating or dewy foundations are your best friend. They add moisture and help your skin look more smooth and fresh. Also, proper moisturizing before foundation is key it makes a big difference in how your makeup sits.
Combination Skin
Combination skin means you have both oily and dry areas at the same time. Usually, the T-zone (forehead, nose, chin) is oily, while the cheeks are normal or dry.
This skin type can feel a bit tricky, but it’s all about balance. You can use a matte product on oily areas and something more hydrating on dry parts.
Sensitive Skin

Sensitive skin tends to react easily to products. You might experience redness, irritation, or breakouts when trying new makeup or skincare.
If you have sensitive skin, it’s important to keep things simple. Go for gentle, fragrance-free foundations and always test new products before using them fully.
How Skin Type Affects Your Foundation Finish
Your skin type plays a big role in how your foundation looks at the end of the day. Oily skin can make foundation break apart or look shiny, while dry skin can make it look patchy. Combination skin may look uneven in different areas, and sensitive skin can react badly if the wrong product is used.
Choosing Products Based on Your Skin
Once you know your skin type, choosing the right foundation becomes much easier. Instead of guessing, you can go straight for products that suit your needs whether it’s oil control, hydration, or gentle formulas.
Skin Prep (Cleanse, Moisturize, Prime)
If there’s one step you don’t want to skip, it’s skin prep. No matter how good your foundation is, it won’t sit well on your skin if the base isn’t right. Think of it like this your skin is the canvas, and your makeup will only look as smooth as the surface underneath.
Start with Clean Skin
Before applying anything, make sure your face is clean. Washing your face removes oil, dirt, and leftover products that can make your foundation look uneven or clog your pores.
When your skin is clean, your flawless foundation goes on more smoothly and blends better. It also helps your makeup last longer throughout the day without breaking apart.
Keep Your Skin Hydrated
Hydration is key to getting that smooth, flawless foundation finish. When your skin is well-moisturized, foundation glides on easily and looks more natural.
If your skin is dry, foundation can cling to rough patches and look patchy. Even if you have oily skin, skipping moisturizer is not a good idea your skin can actually produce more oil to make up for the dryness.
How Moisturizer Improves Your Foundation
Moisturizer does more than just hydrate your skin, it helps create a smooth base for your Flawless foundation. It softens your skin, reduces dry spots, and makes blending much easier.
When you apply foundation on moisturized skin, it looks more even, less cakey, and more like real skin. It also helps prevent your makeup from cracking or settling into fine lines.
Using Primer for a Smooth Base
Primer is like the finishing touch before your foundation. It helps smooth out your skin and creates a better surface for makeup to sit on and give you a flawless foundation type.
There are different types of primers, and choosing the right one depends on your skin needs:
- Mattifying primers are great for oily skin. They help control shine and keep your makeup in place for longer.
- Hydrating primers work well for dry skin. They add extra moisture and help prevent a patchy look.
- Pore-filling primers help blur out large pores and give your skin a smoother, more even appearance.
Why Skin Prep Matters
When you take a few extra minutes to prep your skin, everything else becomes easier. Your foundation blends better, looks smoother, and lasts longer.
Choosing the Right Foundation

Choosing the right foundation can make or break your whole makeup look. You can have the best technique, but if the shade or formula isn’t right, it just won’t look natural. The goal is to find a foundation that blends into your skin so well it almost looks like you’re not wearing anything.
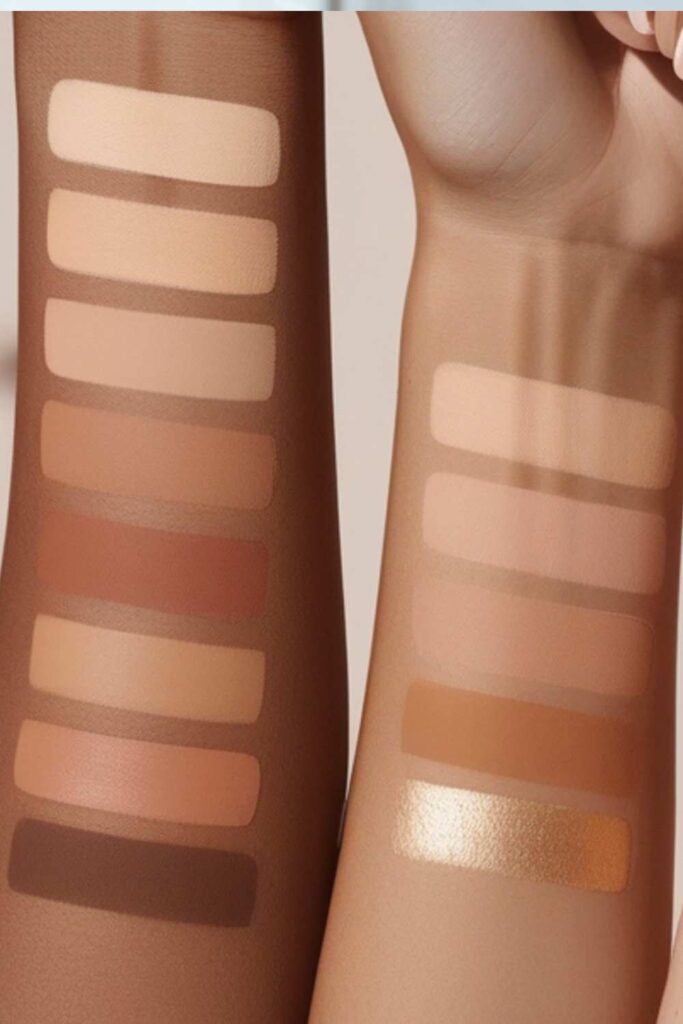
Matching Your Shade and Undertone
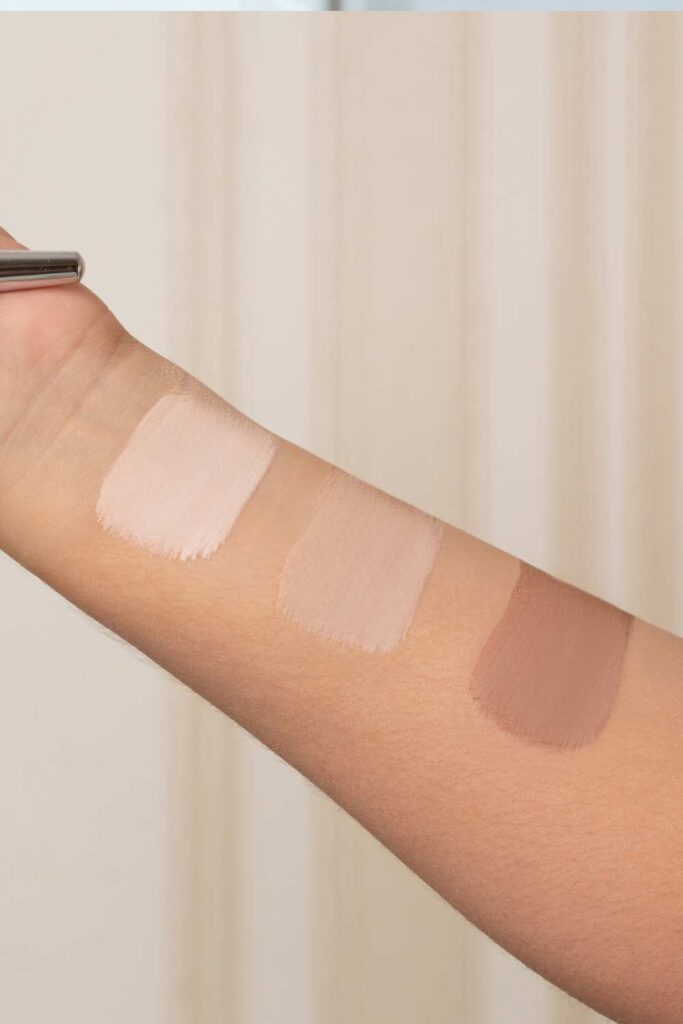
The first thing to get right is your shade. Your foundation should match your skin tone as closely as possible not lighter, not darker. A simple way to check is to apply a small amount along your jawline and see if it blends into both your face and neck.
But shade alone isn’t enough, you also need to know your undertone. Undertones usually fall into three categories:
- Warm (yellow or golden tones)
- Cool (pink or reddish tones)
- Neutral (a mix of both)
If your undertone is off, your foundation can look unnatural, even if the shade seems close.
Different Foundation Formulas
Flawless Foundations come in different formulas, and each one gives a different finish. Choosing the right one depends on your skin type and the look you’re going for.
- Liquid foundation is the most common and works for almost everyone. It’s easy to blend and comes in different finishes like matte or dewy.
- Powder foundation is great for oily skin because it helps control shine. It’s also quick and easy for a light, everyday look.
- Stick foundation is more creamy and gives fuller coverage. It’s good for targeted areas but needs proper blending to avoid looking heavy.
Understanding Coverage Levels
Coverage simply means how much your foundation can hide or even out your skin.
- Light coverage gives a natural look. It evens out your skin slightly but still lets your real skin show through.
- Medium coverage balances things out. It covers most imperfections while still looking natural.
- Full coverage hides almost everything dark spots, blemishes, and uneven tone for a more polished look.
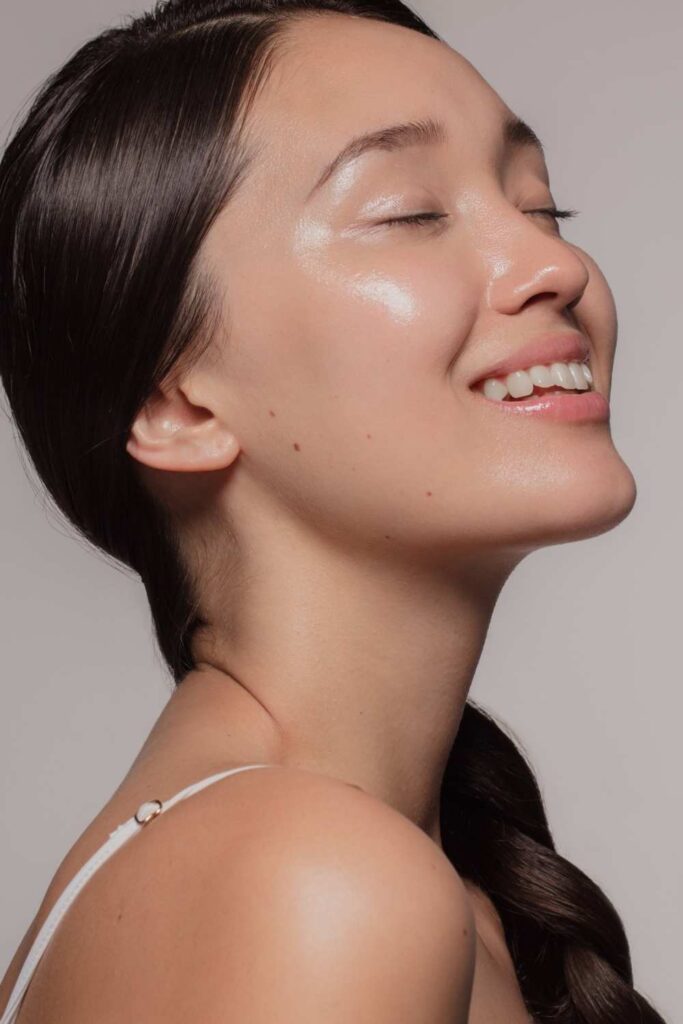
Keeping It Natural
At the end of the day, the best foundation is one that looks like your skin just smoother and more even. When you choose the right shade, formula, and coverage, your makeup will look effortless, feel comfortable, and boost your confidence without looking overdone.
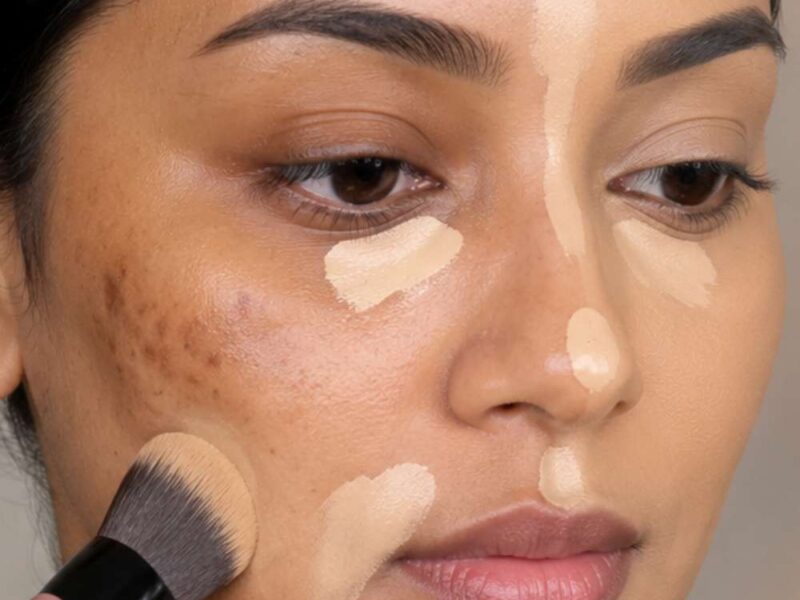
Tools for Application
When it comes to getting a flawless foundation, the tools you use matter just as much as the product itself. The way your foundation looks on your skin can change completely depending on whether you use a brush, a sponge, or even your fingers. Each tool gives a different finish, so it’s all about choosing what works best for you.
Brushes
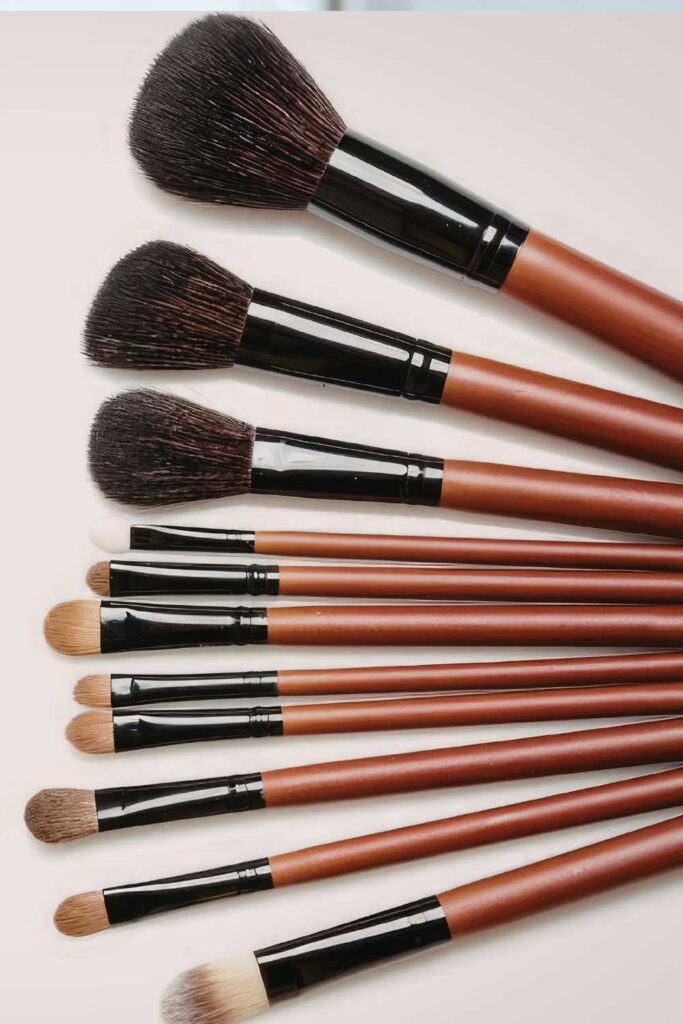
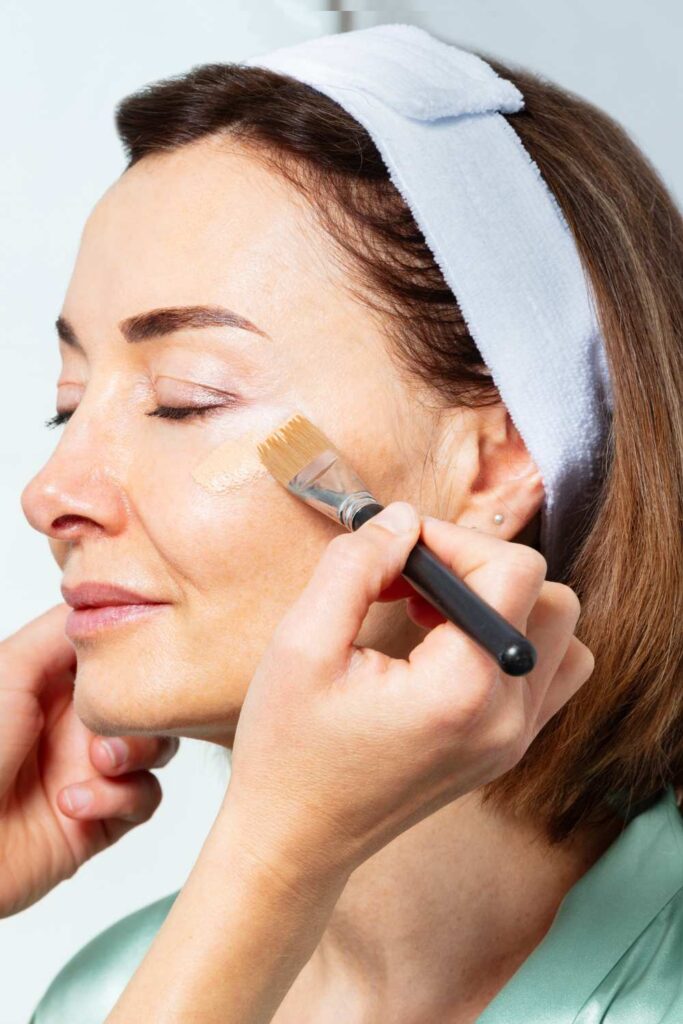
Makeup brushes are great if you want a more polished and fuller coverage look. They help spread foundation evenly across your face and can give you that smooth, airbrushed finish when used properly.
Flat brushes are good for applying foundation, while buffing brushes help blend everything out nicely. If you’re aiming for a more put-together, flawless foundation look, a brush is a great option.
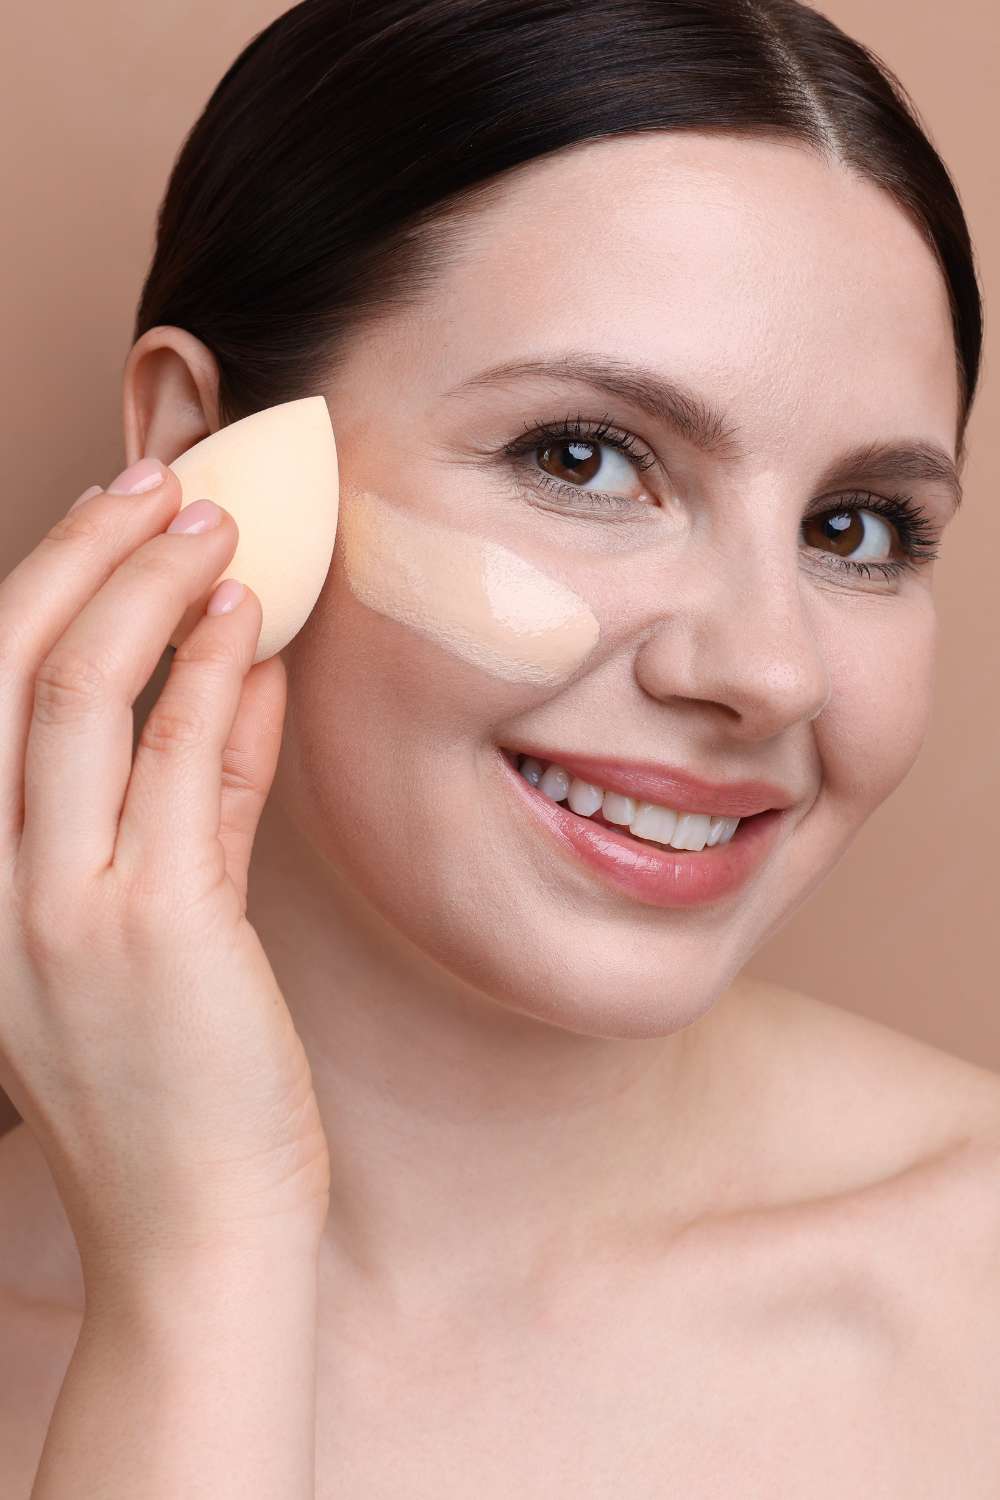
Sponges
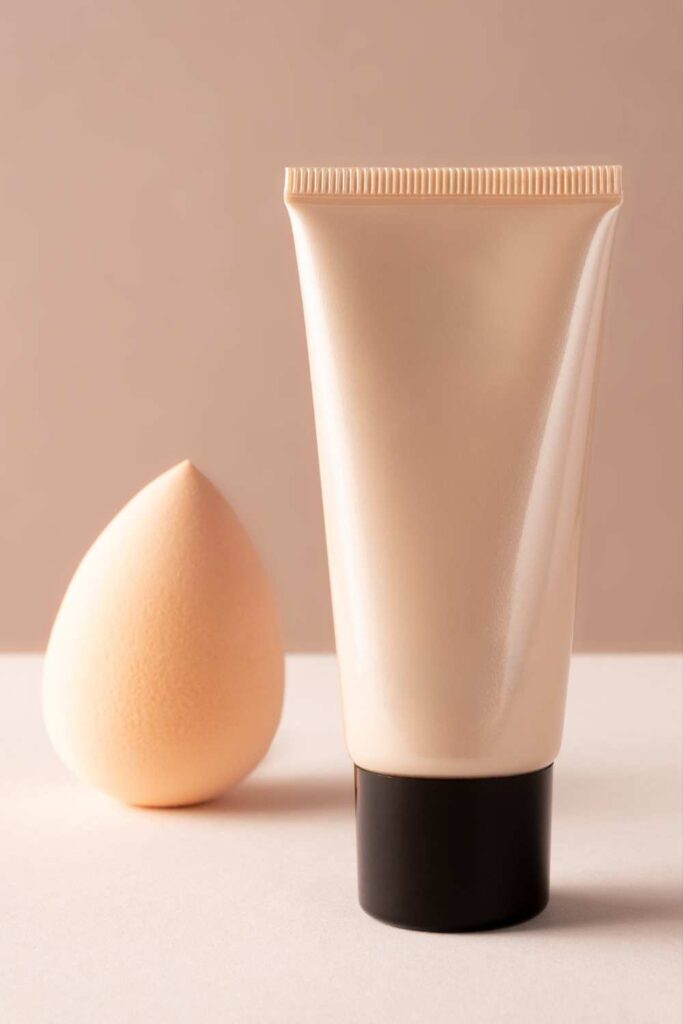
Sponges especially damp ones are perfect if you want a softer, more natural finish. They press the foundation into your skin instead of just moving it around, which helps everything look more seamless.
If you’re going for that “skin-like” flawless foundation, a sponge is your best friend. It’s also great for blending out excess product, so your makeup doesn’t look heavy or cakey.
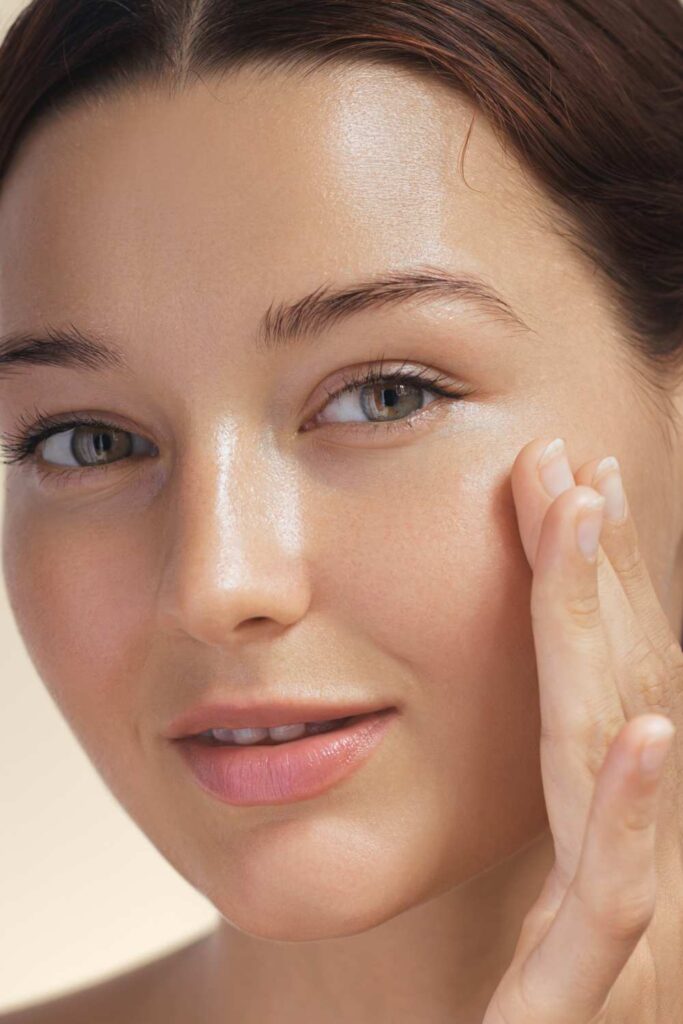
Fingers
Using your fingers is the simplest method, and it can actually work really well. The warmth of your hands helps the foundation melt into your skin, making it easier to blend.
This method is great for quick, everyday makeup looks. While it may not always give a super polished finish like a brush or sponge, you can still achieve a natural-looking flawless foundation if you blend carefully.
When to Use Each Tool
- Use a brush when you want more coverage and a smooth, polished look.
- Use a sponge when you want a natural, blended, skin-like finish.
- Use your fingers when you want something quick, simple, and lightweight.
Applying Foundation Properly
Getting a flawless foundation isn’t just about the product you use, it’s also about how you apply it. Even the best flawless foundation can look uneven or heavy if it’s not applied the right way. The good news is, with a few simple techniques, you can achieve a smooth and natural finish without stress.
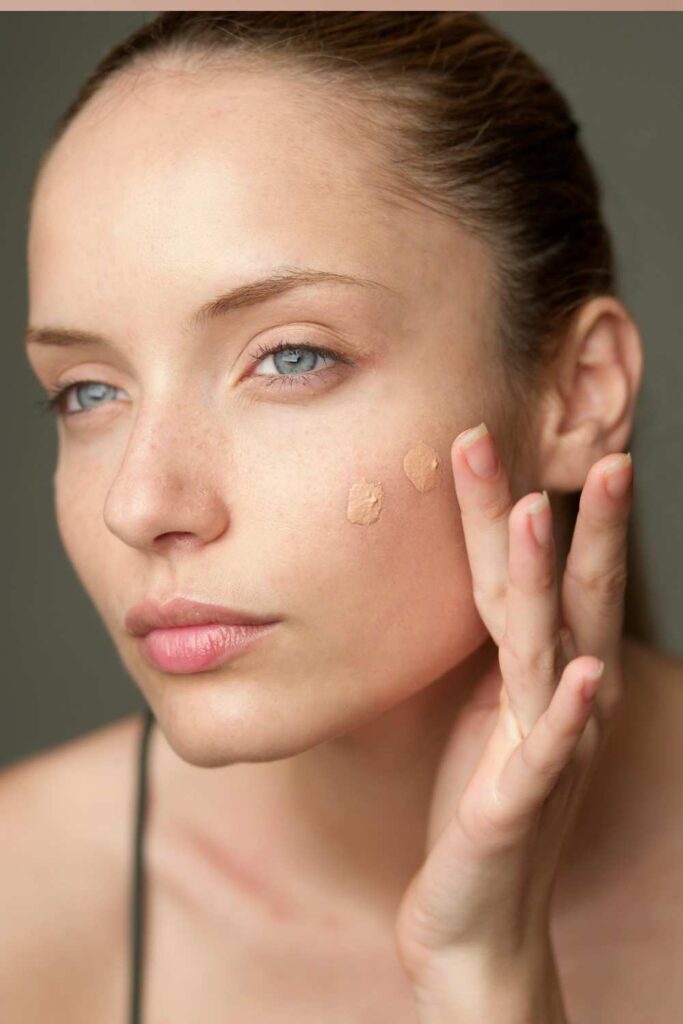
Start with Small Amounts
One of the biggest mistakes people make is applying too much foundation at once. It’s always better to start small and build up.
Begin with a light layer and see how your skin looks. You can always add more where you need extra coverage, but it’s harder to fix a heavy, cakey base. Using less product helps you achieve a more natural and flawless foundation look that still feels lightweight on the skin.
Blending Techniques: Dabbing and Buffing
Blending is where the magic happens. No matter how you apply your foundation, blending properly is what makes it look smooth and even.
- Dabbing (pressing technique): This is great if you’re using a sponge or even your fingers. Instead of dragging the product, you gently press it into your skin. This helps the foundation melt in and gives a more natural, skin-like finish.
- Buffing (circular motion): This is usually done with a brush. You move the brush in small circular motions to blend the foundation evenly across your face. It helps smooth out lines and creates a more polished flawless foundation effect.
Don’t miss this: stunning bridal makeup for natural glow
Focus on Even Application
Even application is key to making a flawless foundation look natural. You don’t want some areas looking heavier than others or patches that stand out.
Start from the center of your face and blend outward. This helps distribute the product evenly where you need it most. Pay close attention to areas like your jawline, hairline, and around the nose, because these spots are easy to miss.
Taking your time with blending makes a huge difference in achieving a smooth, flawless foundation finish that looks like real skin.
Building Coverage
When it comes to getting a flawless foundation, less is always more. A smooth, natural base doesn’t come from applying a thick layer all at once it comes from building your coverage step by step in a way that still lets your skin look like skin.
Layering Instead of Applying Too Much at Once
One of the best tricks for a flawless foundation is layering. Instead of trying to cover everything in one go, start with a thin layer and gradually build it up where needed.
This approach helps your foundation blend better and prevents that heavy, cakey look. It also gives you more control over how your makeup turns out, so you don’t end up using more product than necessary.
Keeping the Skin Natural-Looking
The goal is not to hide your skin completely, but to even it out. A good flawless foundation routine should still allow your natural skin texture to show through.
When you build coverage slowly, your makeup looks lighter, fresher, and more realistic. It gives that soft, smooth finish without making your face look flat or overdone.
Where to Add Extra Coverage
Not every part of your face needs the same amount of foundation. Some areas may need a little more help than others.
Focus extra coverage on areas like:
- Around the nose where redness is common
- Under the eyes if you have dark circles
- Any blemishes or spots you want to even out
Instead of layering your whole face, just spot-correct these areas. This helps you maintain a flawless foundation while keeping the rest of your skin light and natural.
Concealing & Spot Correction
Even with a great base, a flawless foundation often needs a little extra help in certain areas. That’s where concealer and spot correction come in. The idea isn’t to cover your whole face again, but to gently target the areas that need a bit more attention so everything looks even and smooth.
Using Concealer for Dark Spots and Under-Eyes
Concealer is your best friend when it comes to brightening and correcting. If you have dark spots, blemishes, or under-eye circles, a small amount of concealer can make a big difference.
For under-eyes, apply a light layer in a triangular shape and gently blend it out to brighten your face. For dark spots or pimples, just dab a tiny amount directly on the area and blend the edges softly. The key is to use just enough to correct without overloading the skin, so your flawless foundation still looks natural underneath.
Difference Between Foundation and Concealer
Foundation and concealer may seem similar, but they serve different purposes.
Foundation is meant to even out your overall skin tone and create a smooth base. Concealer, on the other hand, is more concentrated and used for targeted areas like dark circles, spots, or redness.
Think of foundation as your overall base and concealer as your detail tool. When both are used correctly, they work together to give you a more polished flawless foundation finish without looking heavy.
Avoiding Creasing
One common issue with concealer is creasing, especially under the eyes. This usually happens when too much product is used or it’s not set properly.