I used to think I had to book a salon appointment any time I wanted cute nails. But honestly? Some of my favorite nails looks were done right at my table with good lighting, a steady hand, and a little patience.
There’s something really satisfying about doing your own nails. It saves money, lets you be creative, and gives you that “I did this myself” kind of pride.
If you’ve ever looked at your nails and thought, “I wish I knew how to design nails properly at home,” you’re not alone. The truth is, you can definitely do that.
Whether your nails are short or long, natural or acrylic, strong or a little fragile, there’s a way to make them look neat, stylish, and well put together. Nails design isn’t about having perfect nails it’s about knowing how to work with the nails you have.
In this blog post, I’m going to walk you through how to design your nails at home step by step. We’ll cover everything from prep (which most people rush but really shouldn’t) to simple, beautiful designs that work for all nails types.
Know Your Nails Type First
Before you jump into colors, designs, and cute little details, take a moment to look at your nails. I know it sounds basic, but this step really matters. The way you prep, the products you choose, and even the type of design that will last the longest all depend on your nails type.
Not all nails are the same and that’s completely okay. The goal isn’t to have “perfect” nails. It’s to understand the nails you have so you can work with them, not against them.
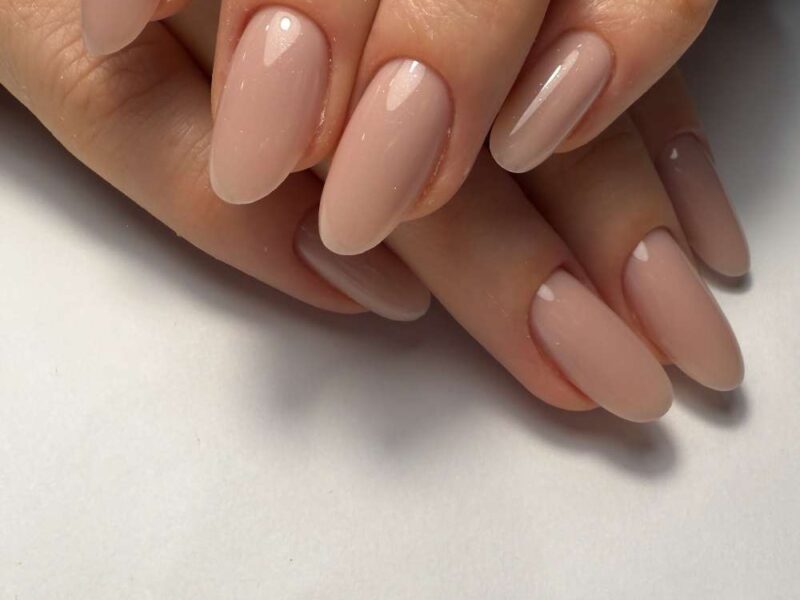
Natural Nails (Short, Long, Strong, or Weak)
If you’re working with your natural nails, the first thing to notice is their length and strength.
- Short natural nails are actually great for simple, clean designs. Think minimalist art, French tips, or small details. They’re low maintenance and less likely to break.
- Long natural nails give you more space for creativity ombre, patterns, and detailed designs look amazing here.
- Strong nails can handle most polishes and light designs without a problem.
- Weak or peeling nails need extra care. You may need a strengthening base coat and lighter designs to avoid chipping.
With natural nails, prep is everything. Clean them well, push back your cuticles gently, and always use a good base coat to protect them.
Acrylic Nails
Acrylic nails are thicker and stronger than natural nails. They’re perfect if you love long, bold shapes like coffin or almond. Because they’re sturdy, they can handle heavier designs, rhinestones, and layered nails art.
The main thing with acrylics is making sure the surface is smooth before polishing. Lightly buff them and remove dust so your design goes on evenly. Also, make sure they’re not lifting at the edges before you start painting.
Gel Nails
Gel nails (whether gel polish or gel extensions) have a smooth, glossy finish and usually last longer than regular polish. They’re flexible but durable.
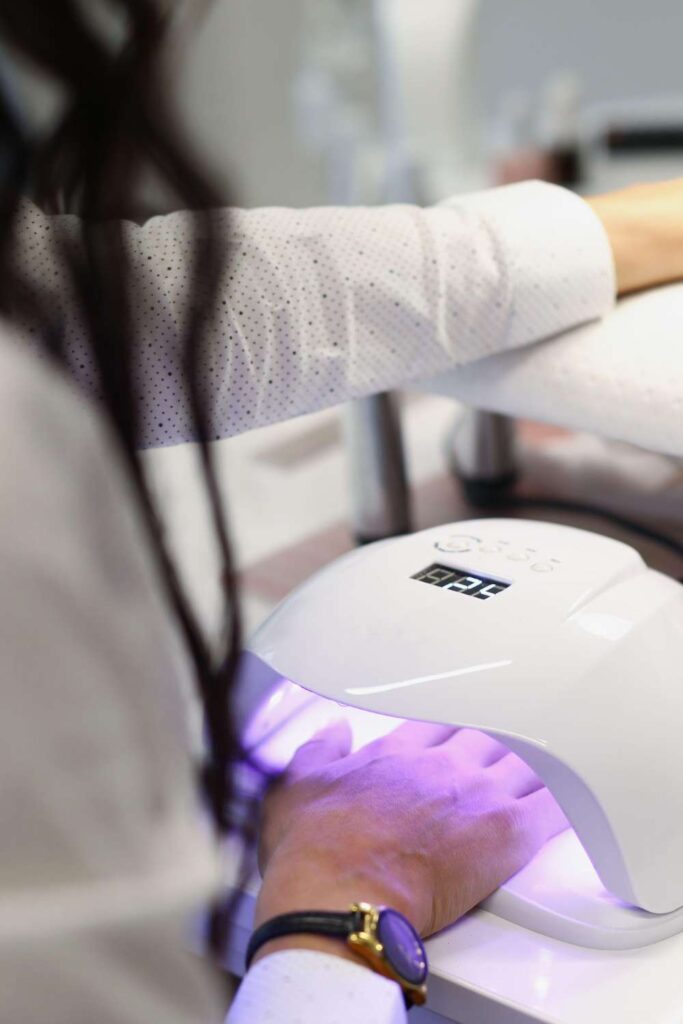
If you’re designing on gel nails polish, make sure the surface isn’t too slippery. Sometimes lightly buffing the shine off helps the nails design stick better. And remember, gel nails requires curing under a UV or LED lamp so your process will be slightly different from regular polish.
The good part? Gel nails designs usually last longer without chipping.
Press-On Nails
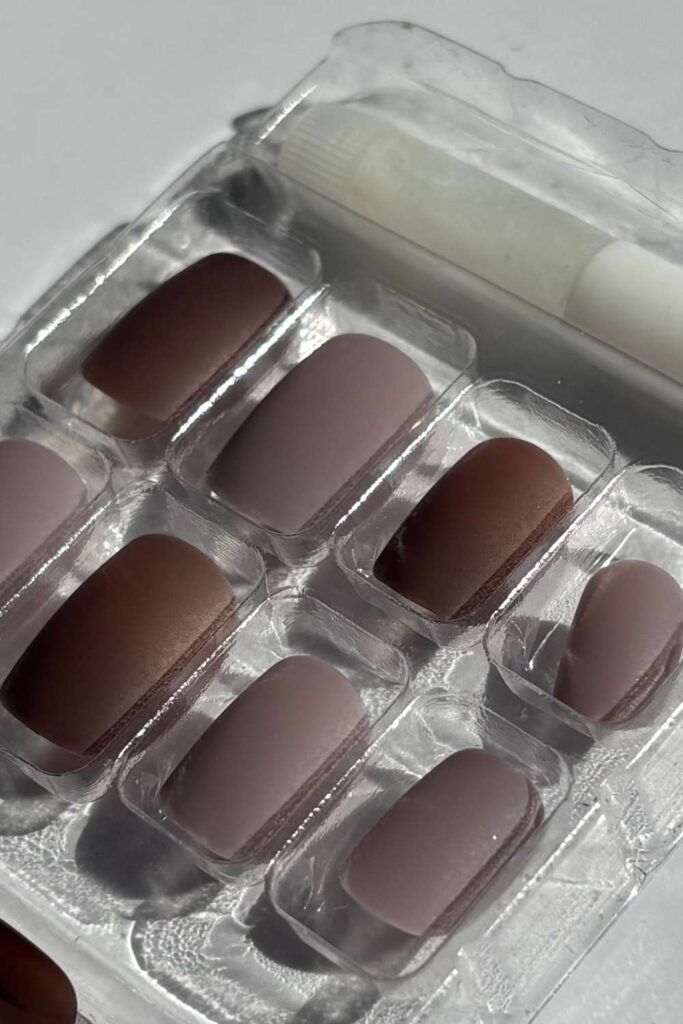
Press-on are quick, convenient, and perfect if you want a temporary look. You can design nails before applying them or buy pre-designed nails and customize them.
If you’re painting them yourself, it’s often easier to design them before you glue the nails on. Just make sure they’re clean and dry first. Since press-on are temporary, avoid super heavy nails design that might make them pop off sooner.
Brittle or Thin Nails
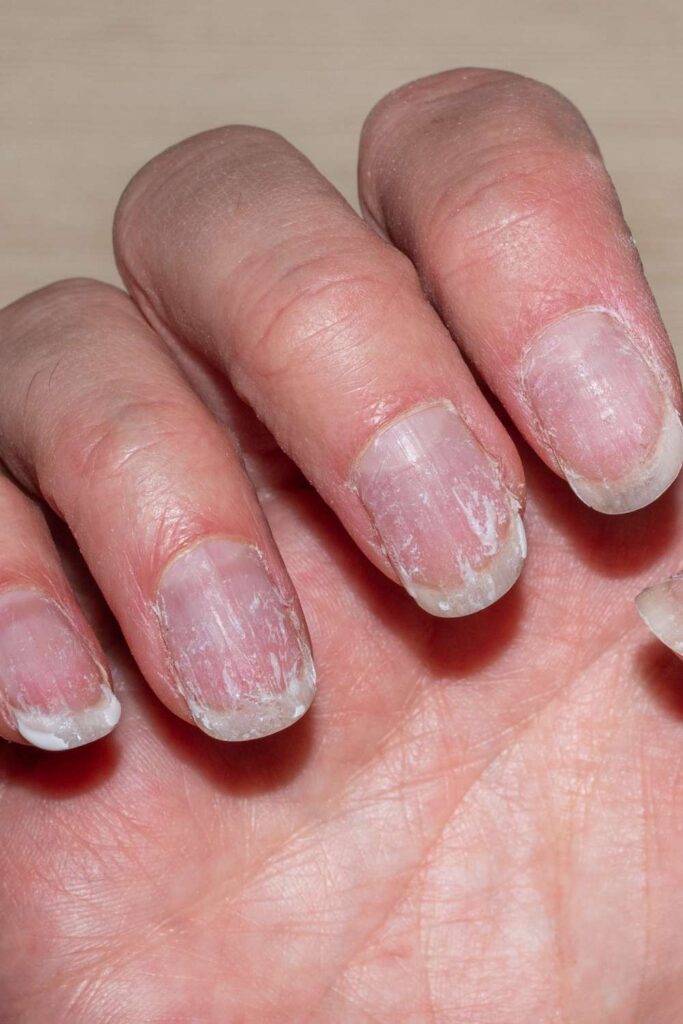
If your nails bend easily, peel, or break often, they need extra care. Start with a strengthening or ridge-filling base coat. Avoid very heavy gems or thick layers of polish, because extra weight can cause chipping.
Keep your nails design simple and your polish layers thin. Also, moisturizing your cuticles regularly improve nails.
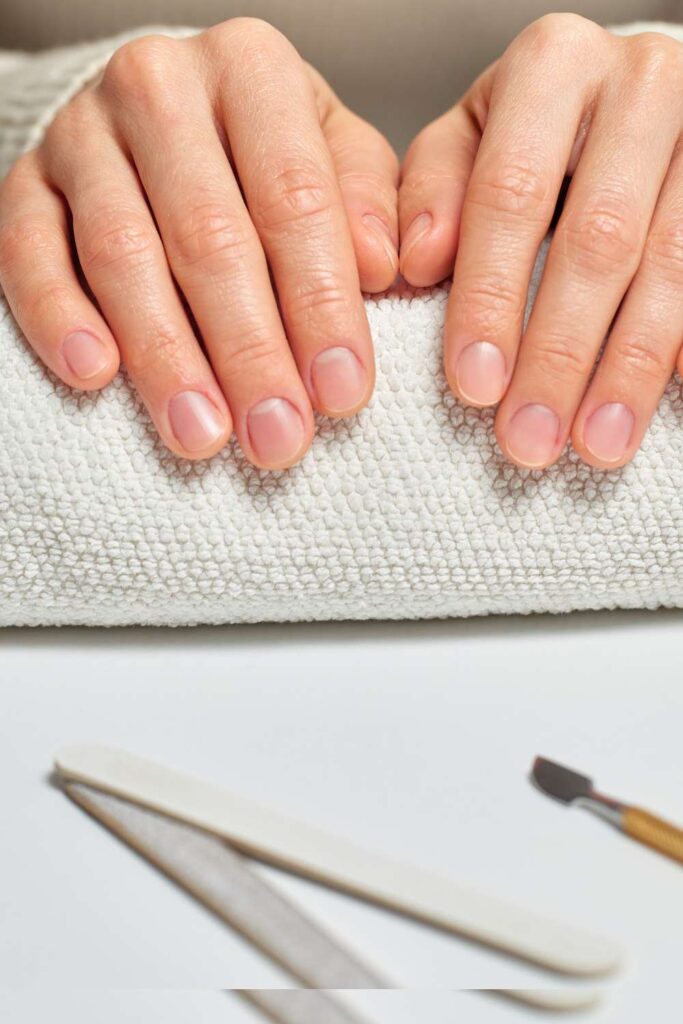
Gather Your Tools

Before you start designing, let’s make sure you have everything you need. There’s nothing worse than getting halfway through your nails and realizing you’re missing something. Trust me, it’s frustrating.
The good thing is ? You don’t need a professional salon setup. Just a few basic tools can make a big difference in how neat and long-lasting your nails turn out.
Here’s what you’ll need for your step by step nails design at home :
Nails file and buffer
A nails file helps you shape your nails evenly. Whether you like them round, square, or almond, filing gives you a clean foundation.
A buffer smooths out ridges and creates an even surface so your polish goes on nicely. Just don’t over-buff you don’t want to thin your nails too much.
Cuticle pusher
Gently pushing back your cuticles makes your nails look longer and cleaner. It also helps polish sit better on the nails plate instead of getting stuck on skin.
Nails clipper
If your nails need trimming, clippers help you control the length before shaping. Always clip first, then file into your desired shape.
Base coat
Don’t skip this. A base coat protects your nails from staining and helps your polish last longer. It’s the foundation of a good manicure.
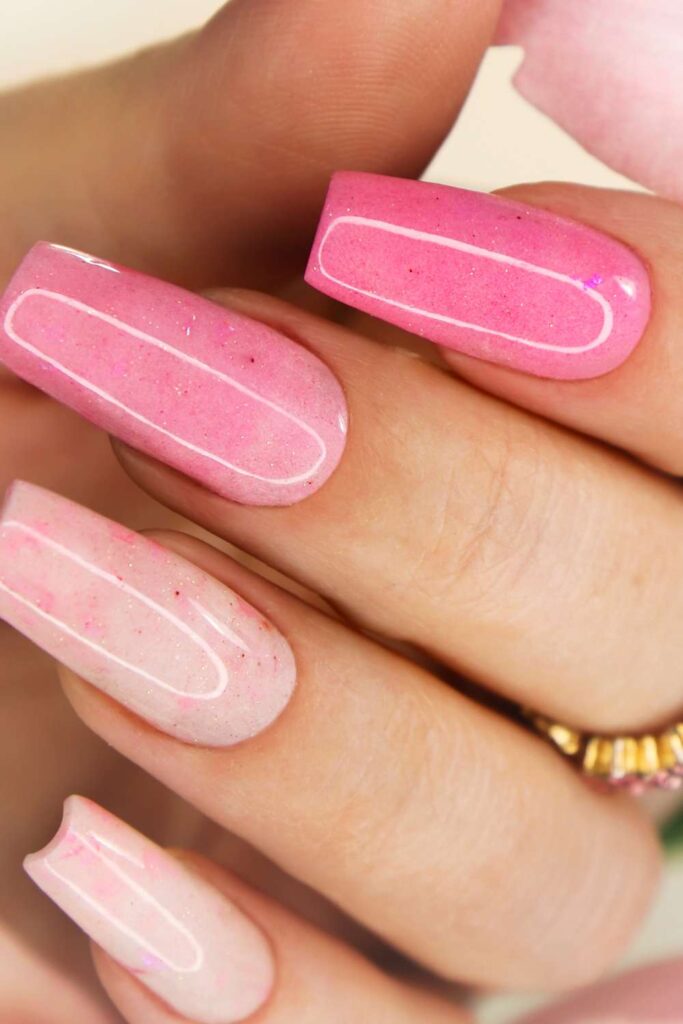
Nails polish (your colors of choice)
Pick colors you love. Whether you’re going for neutral, bold, bright, or soft tones, choose shades that match your mood or occasion. Just remember thin layers work better than thick ones.
Top coat
This is what seals everything in. A good top coat adds shine and protects your design from chipping. It’s what makes your nails look finished and professional.
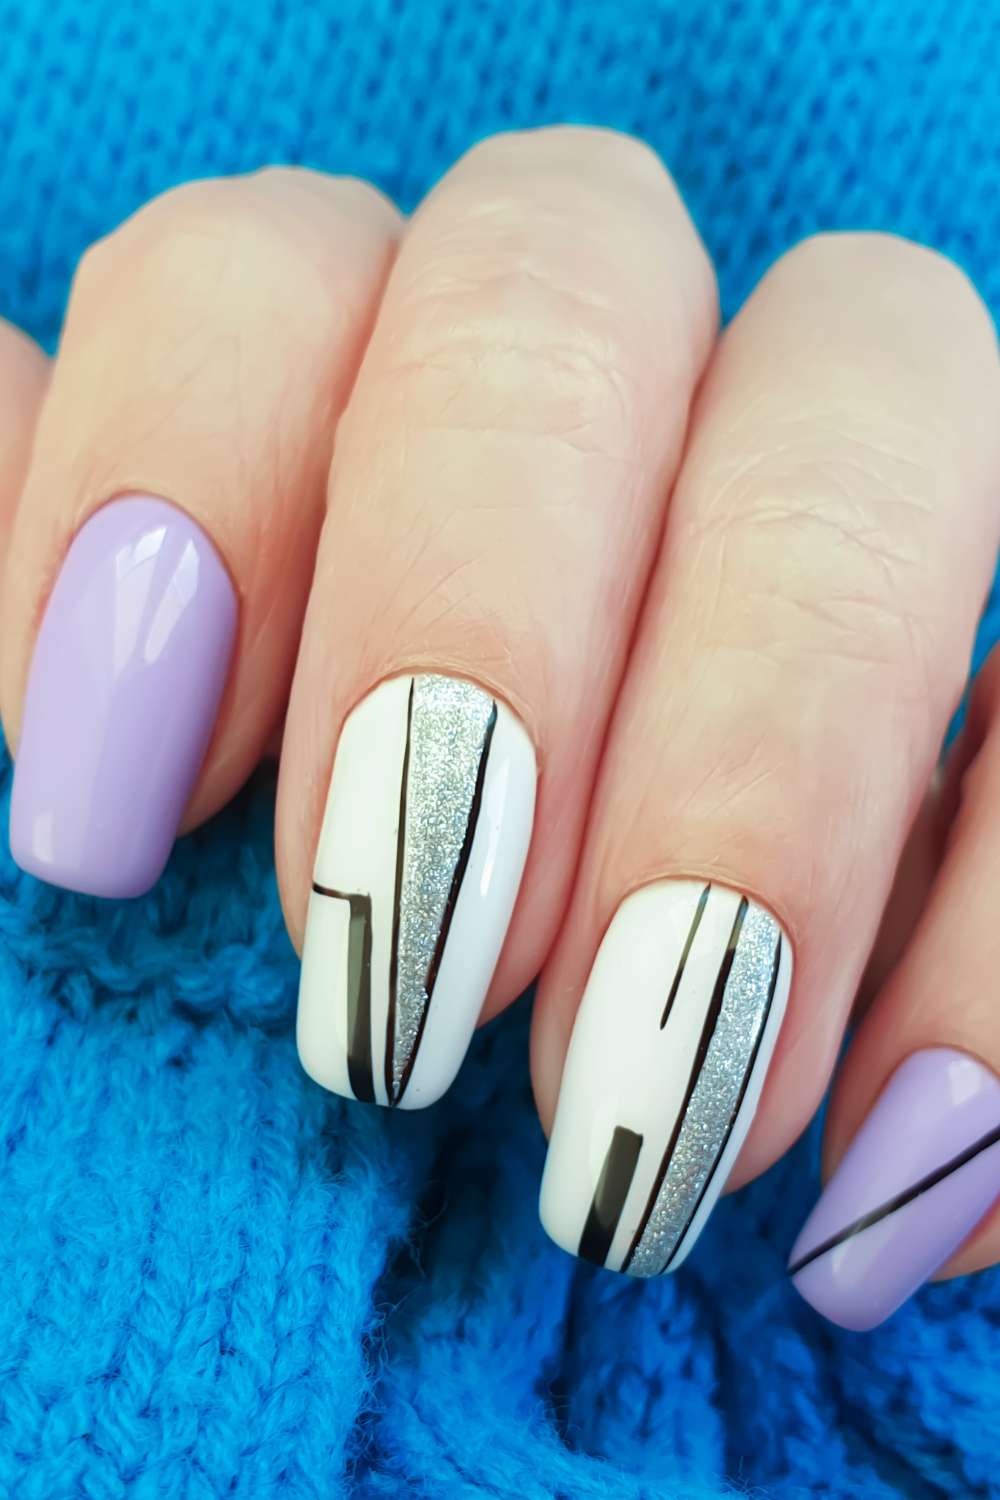
Nails art tool
You don’t need anything fancy to get creative.
- A dotting tool helps you make perfect dots and small details.
- A thin brush is great for lines and simple nails design.
- A toothpick can work just as well if you’re on a budget.
- Tape helps create clean lines and color-blocked nails design.
Simple tools can still create beautiful nails designs.
Cotton pads + nails polish remover
These are for cleaning up mistakes and removing old polish. Dip a small brush or cotton tip in remover to tidy up around the edges for a clean finish.
Cuticle oil
This is your final touch. After your nails are dry, apply cuticle oil to keep your nails and surrounding skin moisturized. It makes your manicure look healthier and more polished.
Proper Nails Prep (The Most Important Step)
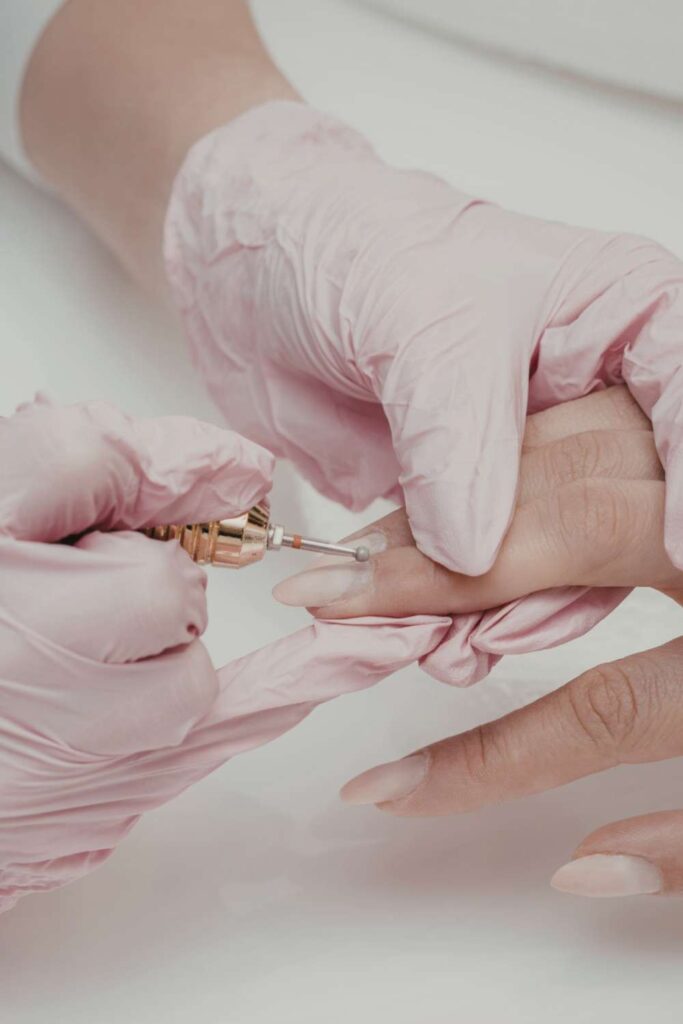
If your polish chips after a day or two, the problem usually isn’t the polish it’s the prep. Nails prep is what makes your manicure last. Think of it like prepping a wall before painting. If the surface isn’t clean and smooth, the paint won’t stick well.
Here’s the step by step for home nails design:
Remove Old Polish Completely
Start with a totally clean nails.
Even tiny bits of old polish left behind can cause your new polish to lift. Use a good nails polish remover and take your time. Check around the edges and near the cuticles that’s where leftover polish likes to hide.
If you’re wearing glitter or darker colors, make sure everything is fully off. Your nails should look completely bare and clean before you move on.
Trim and Shape Nails
Next, get your nails into shape.
Trim them to your desired length first. Then file them gently to smooth the edges. Try to file in one direction instead of going back and forth this helps prevent splitting.
Choose a shape that works for you. Slightly rounded or oval nails tend to chip less because they don’t catch on things as easily as sharp corners do.
Push Back Cuticles Gently
This step makes a big difference.
If polish sits on your cuticles or skin, it will lift faster. Gently push your cuticles back using a cuticle pusher or wooden stick. It helps to do this after a shower when your cuticles are softer.
Only remove dead skin don’t cut too much. The goal is just to clear the nails plate so your polish has space to stick properly.
Buff Lightly
Now lightly buff the surface of your nails.
You don’t need to file them down just remove the natural shine. A soft buffer is perfect for this. A slightly rough surface helps the base coat grip better.
Be gentle. Over-buffing can thin and weaken your nails. Just a few light strokes are enough.
Clean Nails to Remove Oils
This is the step many people skip and it’s a big mistake.
Your nails naturally produce oil. Even touching your face or hair transfers oil back onto your nails. Polish doesn’t stick well to oily surfaces.
After buffing, wipe each nail with nails polish remover or rubbing alcohol. This removes dust and oils. Try not to touch your nails afterward before applying base coat.
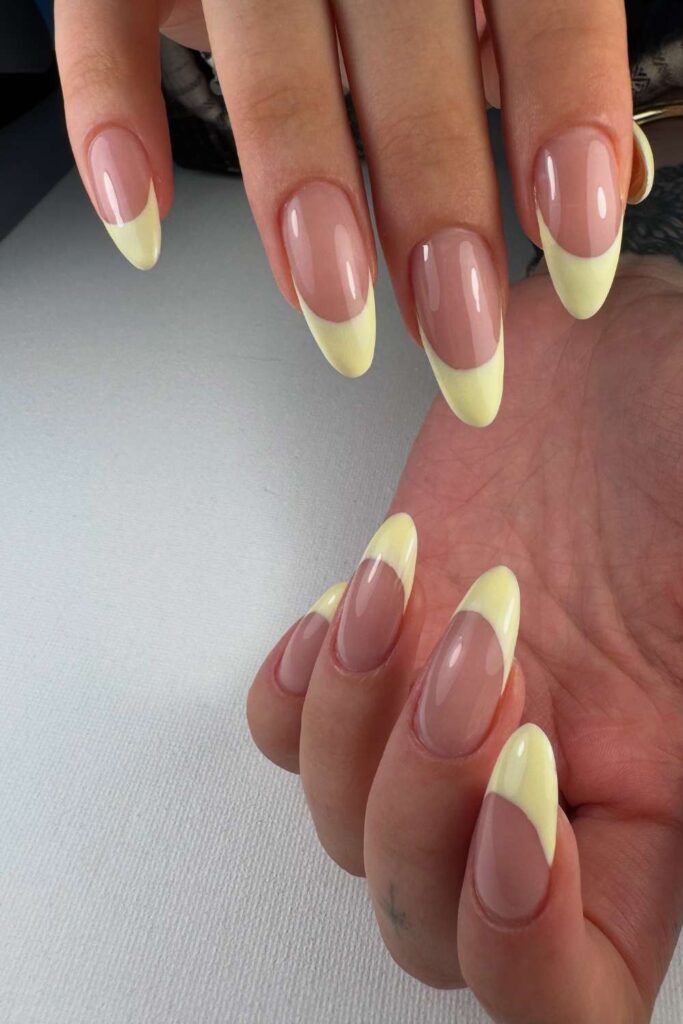
Choose the Right Nails Shape
Before you even think about polish, your nails shape sets the tone for your whole look. The shape can make your fingers look longer, slimmer, softer, or bolder. The good thing is ? There’s no “right” shape just what works best for you.
Round (great for short nails)
Round nails are simple and natural looking. If your nails are short or you use your hands a lot, this shape is practical and less likely to break. It also makes your manicure look clean and neat without much effort.
Square
Square nails have straight edges and a flat tip. They give a modern, bold look. This shape works well on medium to long nails, but if your nails are very thin, the corners may chip more easily.
Oval
Oval nails are soft and flattering. They make fingers look longer and slimmer. If you want something elegant but still natural, oval is a great choice.
Almond
Almond nails are similar to oval but slightly more pointed at the tip. They look classy and stylish, especially on longer nails. This shape works well for detailed nails art because you have more space to design.
Coffin (best for longer nails)
Coffin nails are long with a flat tip and tapered sides. They’re bold and trendy. This shape works best on acrylic or strong natural nails because it needs length and strength to hold up.
Apply Base Coat Correctly
I know it can be tempting to skip base coat. When you’re excited about a new color, you just want to get straight to it. But if you want your nails to look good and last, base coat is not the step to ignore.
Think of base coat as the foundation of your manicure. Just like you wouldn’t paint a wall without primer, you shouldn’t paint your nails without a base.
Why base coat matters

Base coat creates a smooth surface for your polish to stick to. It helps even out small ridges and gives your color something to grip onto. Without it, polish can slide, chip faster, or look uneven.
It may seem like a small step, but it makes a big difference in how professional your nails turn out.
Don’t miss this also: How to apply makeup as a beginner
How to design Simple acrylic nail for beginners at home.
Best beginners Tattoo Ideas for guys
How to make Gel Nail Style on Step by Step Guide for great looks.
How to make Step by Step Cornrow Style for ladies with Natural Hair.
Prevents staining
If you love dark colors like red, blue, green, or black, this is especially important. Dark polish can stain your natural nails, leaving them yellow or dull after you remove it.
A base coat acts like a protective barrier between your nails and the polish. It keeps your natural nails looking healthy and clean underneath.
Helps polish last longer
One of the biggest reasons people complain about chipped nails is skipping the base coat. It helps your polish stick better, which means fewer chips and longer wear.
If you want your manicure to last more than a day or two, don’t skip this step.
Let it dry properly
This part is important. Apply a thin layer not thick. Thick coats take longer to dry and can make your polish bubble later.
Give your base coat a few minutes to dry before applying color. It doesn’t need to be completely hard, but it shouldn’t be wet or slippery.
so grab your nail kit, clear a little space, and let’s turn your stay at-home manicure into something you’ll actually want to show off.