In this blog post I’m going to put you through on how to make step by step cornrow for ladies with natural hair.
If you have natural hair, and you find it difficult to decide a kind of hair to make that sometimes feels like a challenge. Some days you want something simple, something that will last for a while, and something that still makes you feel confident when you step out. That’s where cornrows come in.
Cornrows have always been one of my favorite go-to styles for natural hair. They’re neat, protective, and incredibly versatile. You can wear them for everyday errands, to work, to school, or even dress them up for special occasions. And the best part? Once they’re done well, they can last for days or even weeks with the right care.
If you’ve ever wondered how to create clean, beautiful cornrows yourself, you’re in the right place. In this post, I’m going to walk you through the step by step process I use to make simple cornrows for natural hair. Whether you’re braiding your own hair or helping a friend, these steps will help you create a style that looks neat, feels comfortable, and lasts longer.
Why Cornrows Are Great for Natural Hair
One of the reasons cornrows remain such a popular hairstyle for natural hair is that they do more than just look good they actually help protect your hair. When your hair is braided into cornrows, your strands are tucked away and less exposed to daily manipulation like constant combing, brushing, or styling. This can help reduce breakage and keep your natural hair healthier over time.
Another thing many people love about cornrows is how low-maintenance they are. Once your hair is neatly braided, you don’t have to spend a lot of time styling it every morning. For busy days when you just want to get up and go, cornrows make life a lot easier. A little scalp moisturizing and tying your hair with a satin scarf at night is usually enough to keep the style looking fresh.
Cornrows can also last for quite a while when they’re done properly. Depending on how well you care for them, they can stay neat for several days or even a couple of weeks. That makes them a great option if you’re looking for a hairstyle that doesn’t require constant attention.
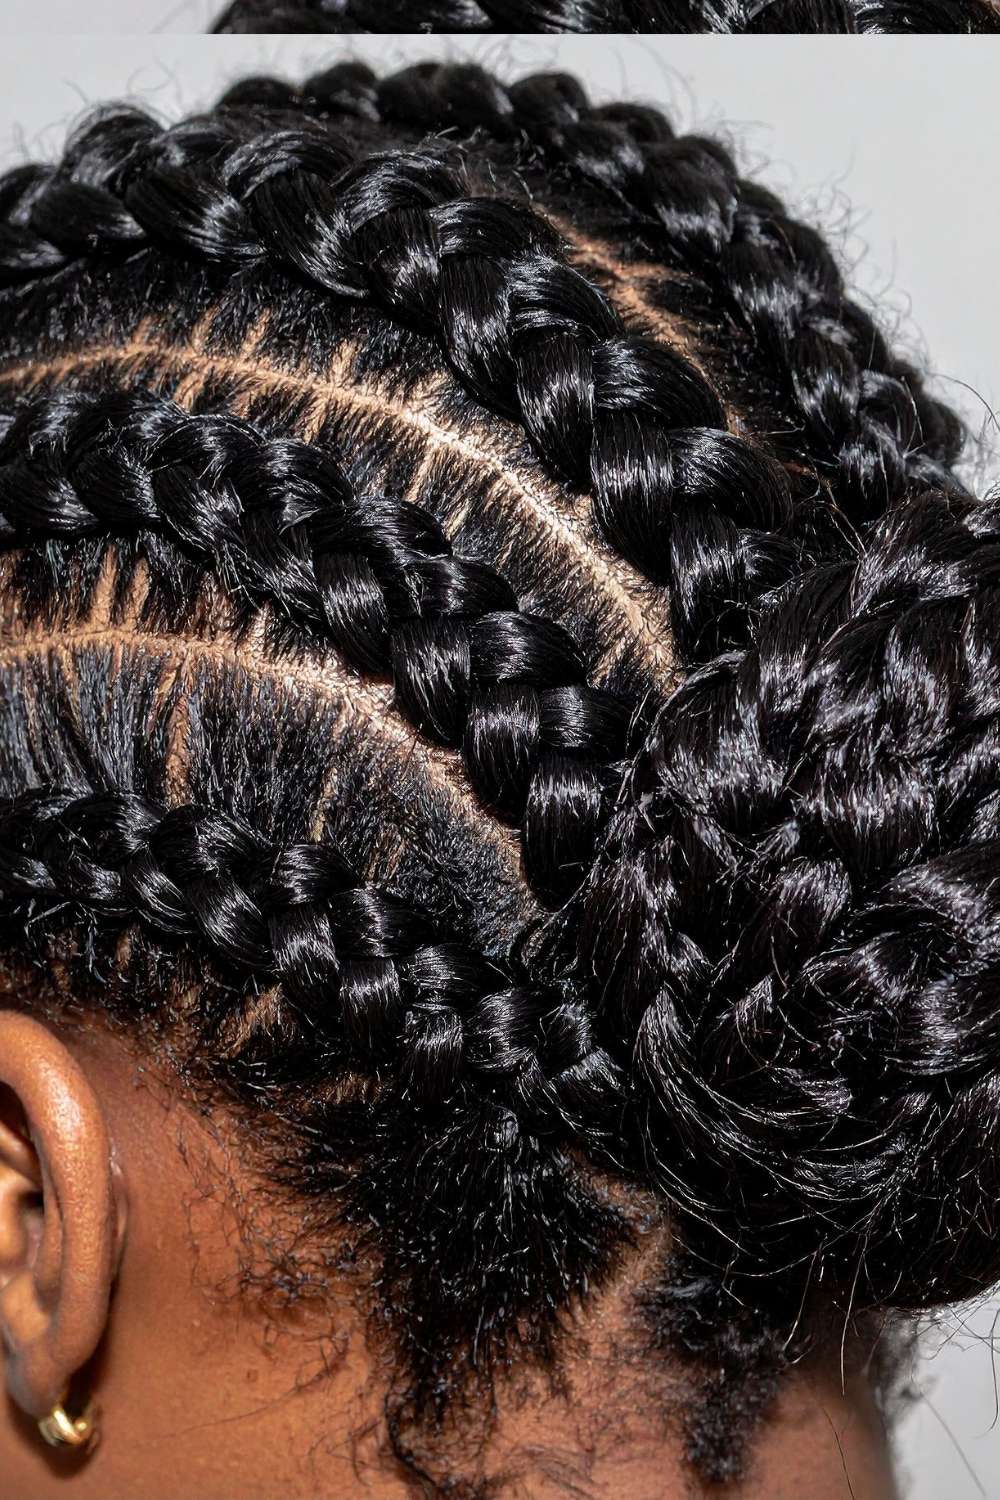
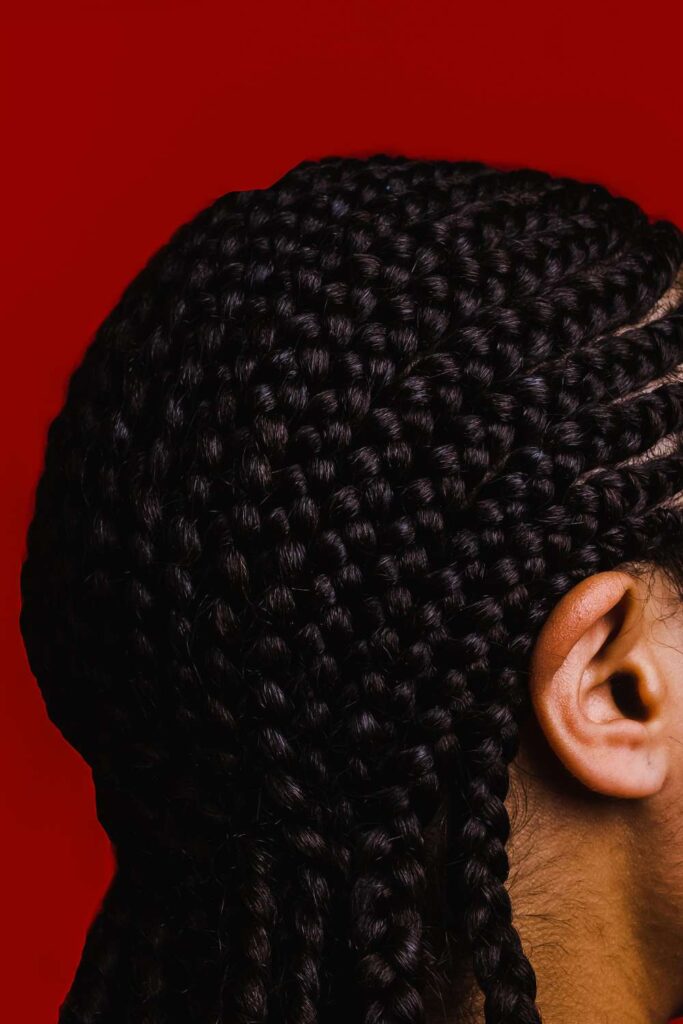
What I also love about cornrows is how versatile they are. They may look simple, but there are so many different patterns and designs you can create from straight-back rows to curved styles, zigzags, or even creative patterns that frame the face. Whether you want something clean and simple or a more detailed style, cornrows give you plenty of options to express your personal style while still protecting your natural hair.
Things You Need Before Starting
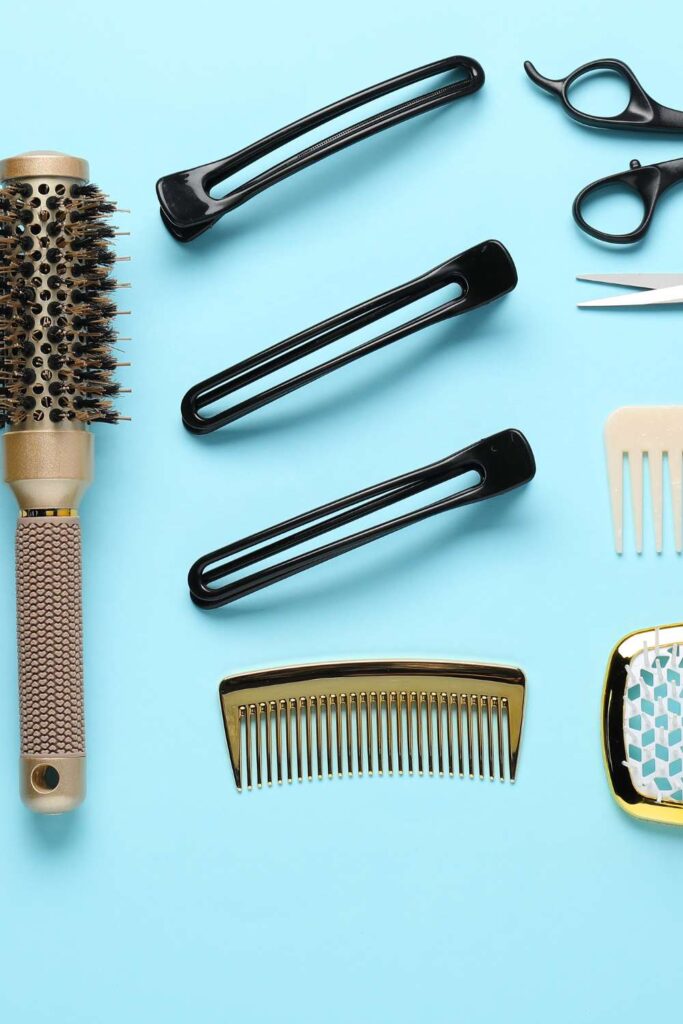
Before you begin braiding cornrows, it helps to gather a few basic tools and products. Having everything close by makes the process much easier and keeps you from stopping halfway through to search for something you need.
Wide-tooth comb
A wide-tooth comb is one of the most useful tools when working with natural hair. It helps you detangle the hair gently without pulling too hard on the strands. Natural hair can easily form knots, especially after washing, so using a comb with wider spaces between the teeth allows you to work through the hair more smoothly. Starting with well-detangled hair makes braiding easier and helps your cornrows come out neater.
Rat-tail comb (for neat parting)
If you’ve ever admired really clean and straight cornrows, a rat-tail comb is usually the secret behind it. The pointed end of the comb allows you to create precise parts in the hair, which helps each row look even and well defined. Taking a little time to part the hair carefully before you start braiding makes a big difference in how polished the final style looks.
Hair moisturizer or leave-in conditioner
Natural hair tends to thrive when it’s properly moisturized, and that’s especially important before braiding. Applying a leave-in conditioner or hair moisturizer helps soften the hair and makes it easier to handle while you braid. It also keeps the hair from feeling dry or brittle while it’s in the cornrow style.
Hair oil or hair cream
Adding a small amount of hair oil or cream can make the braiding process smoother. It helps give the hair a bit of slip so your fingers can move through the strands more easily. It also helps add shine and keeps the hair looking healthy instead of dull once the braids are finished.
Hair clips or bands for sectioning
Hair clips or bands are very helpful when you’re working on cornrows, especially if the hair is thick or full. They allow you to separate the hair into sections and keep the parts you’re not working on out of the way. This makes it easier to focus on one row at a time and keeps your parting from getting messy.
Edge control (optional)
Edge control isn’t absolutely necessary, but it can give your cornrows a more polished finish. Applying a small amount along the hairline can help smooth down the edges and make the style look more defined. If you like a sleek, tidy look around the front
Preparing the Hair for Cornrows
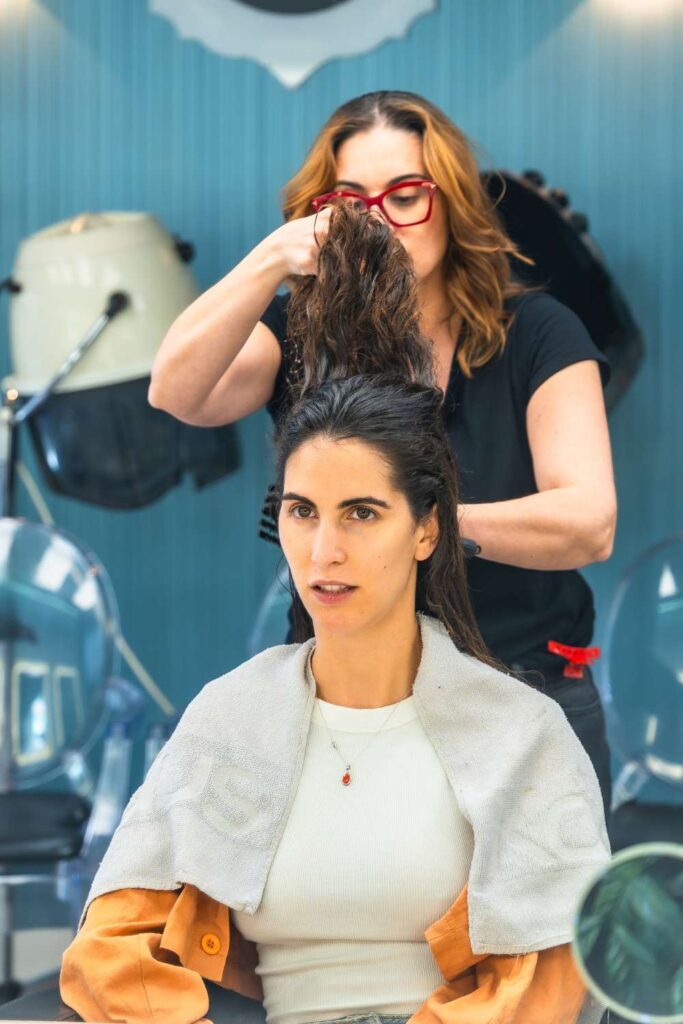
Taking a little time to prepare your hair before you start braiding can make a big difference in how your cornrows turn out. Proper preparation helps the braiding process go more smoothly and also helps the style last longer.
Wash and condition the hair
It’s always best to start with clean hair when making cornrows. Washing your hair removes product buildup, dirt, and excess oil from the scalp, which helps your braids look fresher and feel more comfortable. After shampooing, follow up with a good conditioner to soften the hair and make it easier to manage. Conditioned hair is usually more flexible and less likely to break while you’re braiding.
Detangle thoroughly
Once the hair is clean, the next step is to detangle it properly. Natural hair can easily form knots, so it’s important to remove any tangles before you start braiding. Using a wide-tooth comb or your fingers, gently work through the hair from the ends and slowly move up toward the roots. This helps prevent unnecessary pulling and makes the braiding process much easier.
Moisturize the hair
Before you begin making your cornrows, apply a good moisturizer or leave-in conditioner to your hair. Moisturizing helps keep the hair soft and prevents it from feeling dry while it’s in the braided style. You can also add a small amount of hair oil or cream to seal in the moisture and give the hair a healthy shine.
Stretch the hair slightly (optional but helpful)
Stretching the hair a little before braiding can make cornrows easier to create, especially if your natural hair shrinks a lot. This doesn’t mean you have to completely straighten the hair. You can simply stretch it by blow-drying on low heat, braiding it loosely, or using banding methods. Slightly stretched hair can make parting cleaner and help the braids look smoother and more even
Step-by-Step Guide to Making Cornrows
If you’ve never made cornrows before, the process might look a little complicated at first. But once you understand the basic steps and practice a few times, it becomes much easier. The key is to take your time and focus on one row at a time.
Read this next: how to style your natural hair for an interview.
How to design Simple acrylic nail for beginners at home.
Natural hairstyle with attachment for girls.
How to Apply Makeup for Beginners step by step.
Best beginners Tattoo Ideas for guys
Section the hair
Start by dividing the hair into sections so it’s easier to manage. You can use hair clips or bands to keep the sections you’re not working on out of the way. Working with smaller sections helps you stay organized and makes the braiding process feel less overwhelming.
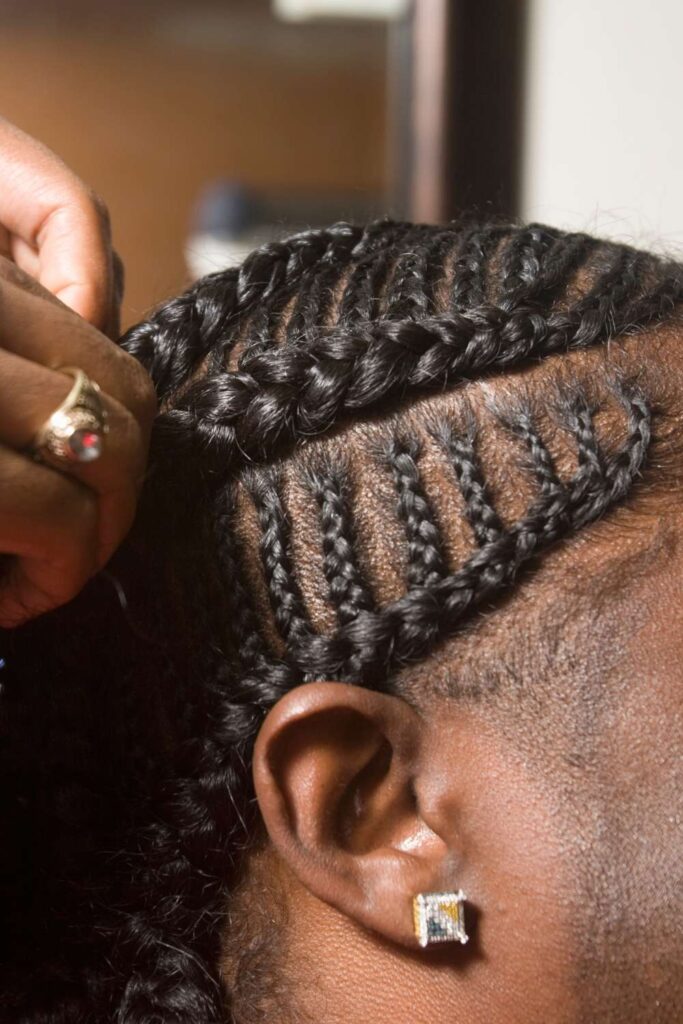
Create a clean part with a rat-tail comb
Using the pointed end of your rat-tail comb, create a straight part where you want the first cornrow to begin. This part will determine how neat your cornrow looks, so take your time to make it as clean and even as possible. Once the part is done, clip or tie the rest of the hair aside so it doesn’t mix with the section you’re braiding.
Divide the front of the section into three strands
At the beginning of the parted section, take a small portion of hair near the hairline and divide it into three equal strands. These three strands will form the base of your braid. Try to keep them balanced so the braid looks even as you continue.
Begin braiding close to the scalp
Start braiding the three strands just like a regular braid, but keep your fingers close to the scalp. The goal is to keep the braid flat against the head. As you braid, hold the strands firmly but avoid pulling too tightly, since tight braids can cause discomfort or stress on the scalp.
Gradually add hair as you braid backwards
As you continue braiding, begin adding small amounts of hair from the section into each strand before crossing it over. This is what creates the cornrow effect and keeps the braid attached to the scalp. Continue adding hair little by little as you move toward the back of the head.
Continue braiding until the end
Once you’ve reached the point where there is no more hair left to add to the braid, simply continue braiding the remaining length of hair like a regular three-strand braid until you reach the ends. You can secure the end with a small band if needed.
Repeat the process for the rest of the hair
After completing the first cornrow, move on to the next section and repeat the same process. Continue parting, braiding, and working your way across the head until all the hair has been braided. With each row, your technique will become more comfortable.
Common Mistakes to Avoid
When learning how to make cornrows, it’s normal to make a few mistakes along the way. Even people who braid regularly sometimes run into small issues. Being aware of these common mistakes can help you avoid them and make your cornrows look neater and feel more comfortable.
Braiding too tightly
One of the most common mistakes is braiding the hair too tightly. While it might seem like tighter braids will last longer, they can actually cause discomfort and put too much tension on the scalp. This can lead to headaches, irritation, or even breakage around the hairline. When braiding cornrows, try to keep a firm grip but avoid pulling the hair too hard. The style should feel secure but still comfortable.
Skipping detangling
It can be tempting to start braiding right away, especially when you’re in a hurry, but skipping the detangling step can make the process much harder. Tangled hair can cause uneven braids, unnecessary pulling, and frustration while you’re working. Taking a few extra minutes to gently detangle the hair before you begin will make the braiding process smoother and help your cornrows come out more even.
Uneven parting
The way you part the hair plays a big role in how neat your cornrows look. If the parts are uneven or messy, the braids may end up looking crooked or inconsistent. Using a rat-tail comb and taking your time with the parting can make a big difference. Clean, straight parts create a more polished style and help each cornrow stand out clearly.
Not moisturizing the hair
Braiding dry hair is another mistake that can affect both the look of the style and the health of the hair. Natural hair tends to lose moisture easily, and braiding it without adding any moisture can make it feel brittle. Applying a leave-in conditioner, moisturizer, or a small amount of oil before braiding helps keep the hair soft and protected while it’s in the cornrow style.
Conclusion
Learning how to make cornrows can take a little patience at first, especially if you’re new to braiding natural hair. Your first few attempts might not come out perfectly neat, and that’s completely normal. Like most hair styling techniques, cornrowing is a skill that improves with practice. The more you do it, the more comfortable your hands will become with the braiding pattern and the easier it will be to create clean, even rows.