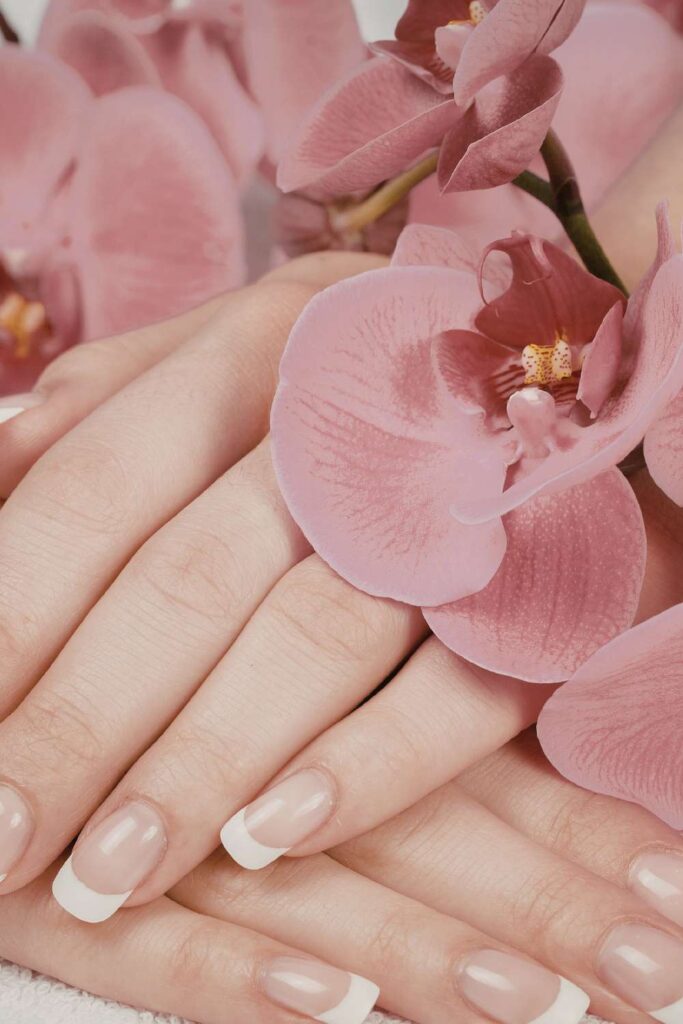
There’s something satisfying about having beautifully polished nails, especially when they look smooth, glossy, and long-lasting. That’s one of the reasons gel nails have become so popular. Unlike regular nail polish that can chip after a few days, gel nails are known for their durability and shiny finish that can last much longer without losing their look.
The good news is that you don’t always have to visit a nail salon to achieve this style. With the right tools, a little patience, and the proper steps, you can create neat and stylish gel nails right from home. Learning how to do it yourself can also save you money and give you the freedom to experiment with different colors and designs whenever you want.
In this guide, I’ll walk you through a simple step-by-step process for creating gel nails. From preparing your nails to applying and curing the gel polish properly, these steps will help you achieve a smooth, salon-like finish that looks polished and lasts longer.
What Are Gel Nails?
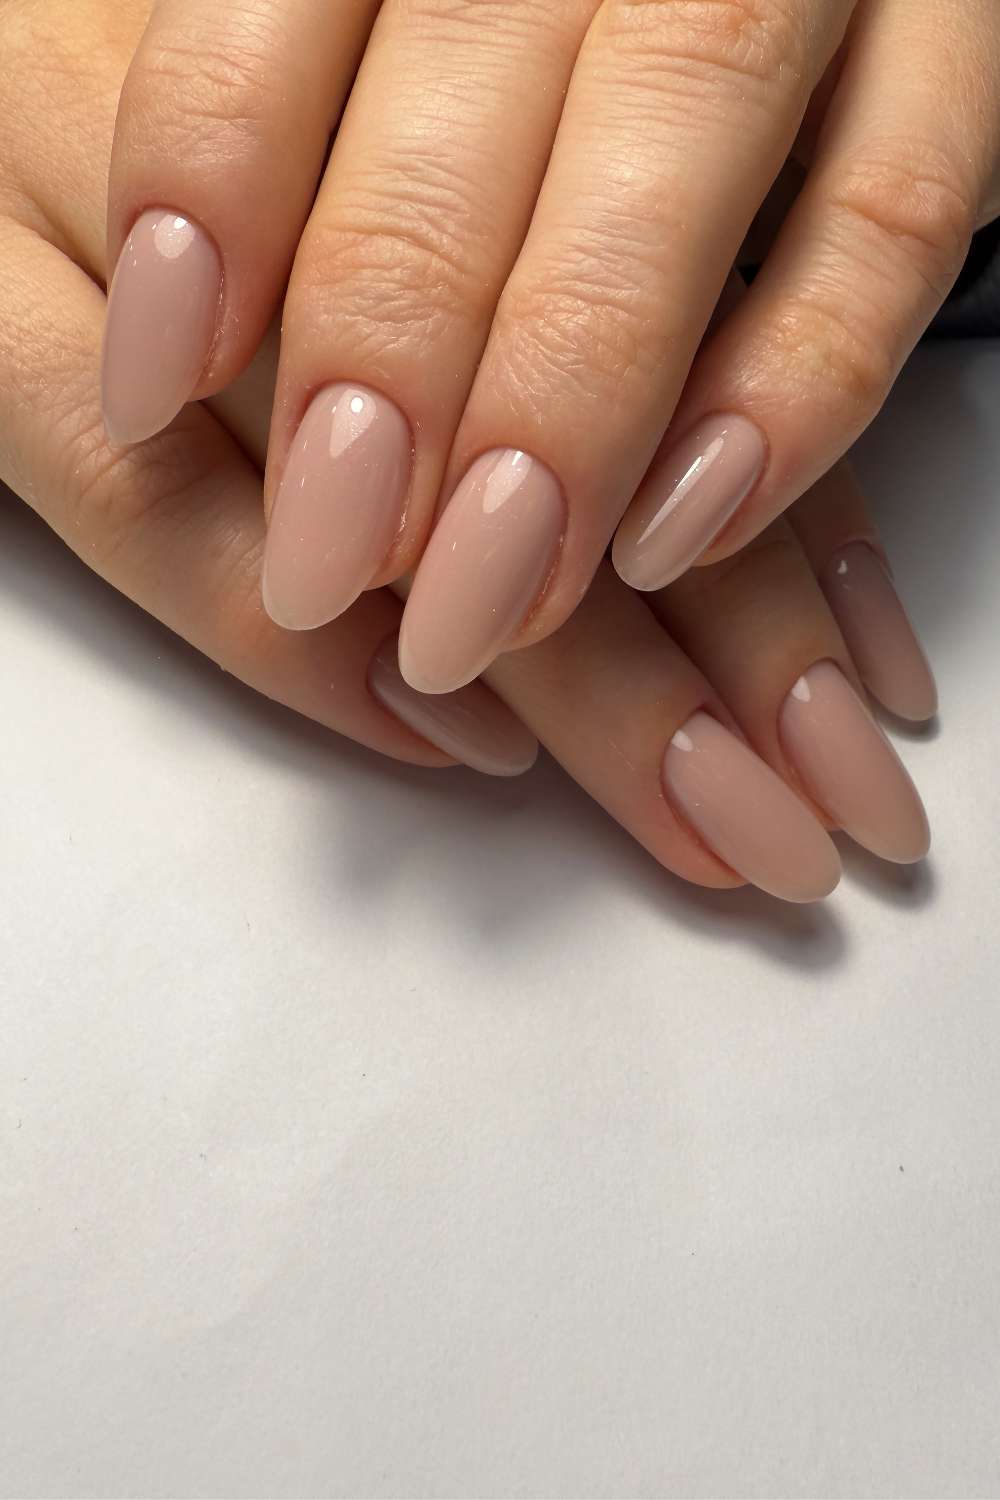
Gel nails are a type of nail polish that is designed to last longer and maintain a glossy, freshly-done look for an extended period of time. Unlike traditional nail polish, gel polish has a thicker consistency and is specially formulated to harden when exposed to UV or LED light. This process helps the polish set firmly on the nail, creating a smooth and durable finish that can last for weeks without chipping easily.
One of the main differences between gel nails and regular nail polish is how they dry. Regular nail polish dries naturally when exposed to air, which can take several minutes and sometimes leads to smudging if the nails aren’t completely dry. Gel nail polish works differently. Instead of air drying, each layer of gel polish needs to be cured under a UV or LED lamp. This light activates the ingredients in the gel polish and helps it harden quickly.
Because of this curing process, gel nails tend to be more durable than regular polish. They are less likely to chip, peel, or lose their shine after a few days. This is why many people prefer gel nails when they want a manicure that stays neat and glossy for a longer time without constant touch-ups.
Tools and Products You Need
Before you begin creating gel nails, it helps to gather all the tools and products you’ll need. Having everything ready makes the process smoother and prevents interruptions once you start working on your nails.
Nail file and buffer
A nail file is used to shape your nails and smooth the edges before applying any polish. You can shape them however you prefer square, round, or almond. After shaping, a nail buffer is used to gently smooth the surface of the nails. Lightly buffing removes shine and helps the gel polish stick better, which can make your manicure last longer.
Cuticle pusher
A cuticle pusher helps move the cuticles away from the nail plate so that the gel polish can be applied neatly. Pushing the cuticles back creates more space on the nail and prevents the polish from sitting on the skin, which can cause lifting later on. You can use either a metal or wooden cuticle pusher for this step.
Nail cleanser or alcohol wipes
Before applying gel polish, the nails need to be clean and free from oil, dust, or leftover product. Nail cleanser or alcohol wipes are used to wipe the nail surface after filing and buffing. This step ensures that nothing interferes with the gel polish sticking properly to the nail.
Base coat gel polish
The base coat is the first layer applied before the colored gel nail polish. It acts as a foundation that helps the gel polish adhere to the nail surface. A good base coat also helps protect your natural nails and creates a smooth layer for the color polish to sit on.
Gel nail color polish
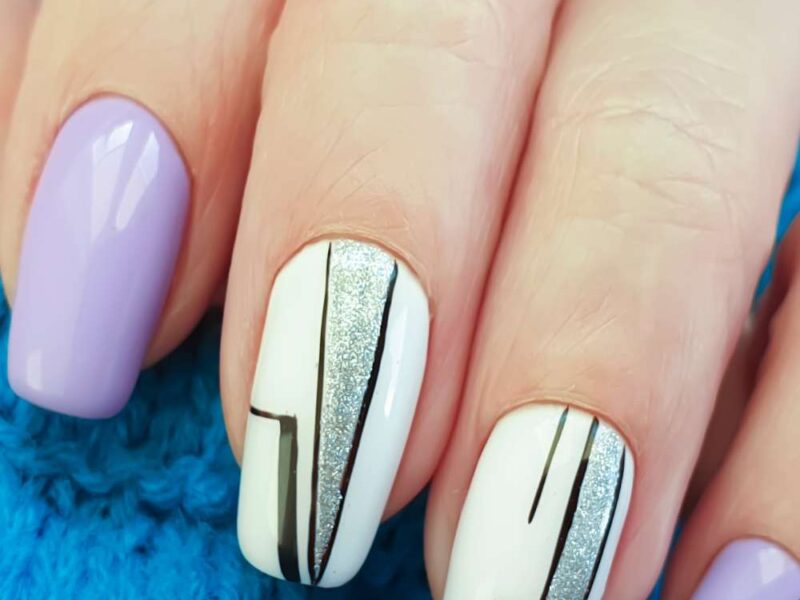
This is the colored gel polish that gives your nails their final look. Gel color polish comes in a wide variety of shades and finishes, from simple neutral tones to bold, vibrant colors. Usually, two thin coats are applied to achieve an even and fully pigmented look.
Top coat gel polish
The top coat is the final layer applied after the color polish. It seals in the color and gives the nails that smooth, glossy finish gel manicures are known for. The top coat also helps protect the polish from chipping and keeps the manicure looking fresh for longer.
UV or LED nail lamp
A UV or LED nail lamp is essential for curing gel polish. Each layer of gel polish—base coat, color, and top coat—needs to be placed under the lamp so it can harden properly. Without this curing process, the gel polish will remain soft and won’t set correctly.
Lint-free wipes (optional but helpful)
Lint-free wipes are often used at the end of the manicure to remove any sticky residue left on the nails after curing the top coat. Unlike regular cotton pads, these wipes don’t leave behind small fibers on the nails, which helps keep the finish clean and smooth.
Preparing Your Nails for Gel Polish
Before applying gel polish, it’s important to prepare your nails properly. This step might seem simple, but it makes a big difference in how neat your gel nails look and how long they last. Taking a few extra minutes to prepare your nails helps the polish stick better and gives you a smoother, more professional-looking finish.
Remove old nail polish
Start by removing any old nail polish from your nails. Even if there is only a small amount left, it’s best to start with a completely clean surface. You can use regular nail polish remover and a cotton pad to wipe everything off. This step ensures that nothing interferes with the gel polish when you begin applying it.
Trim and shape the nails
Once your nails are clean, the next step is to trim and shape them. Use a nail clipper if your nails are too long, then follow up with a nail file to shape the edges. You can choose whatever shape you prefer, whether that’s round, square, or slightly oval. Filing the nails also helps smooth rough edges so the final manicure looks more polished.
Push back the cuticles
After shaping your nails, gently push back the cuticles using a cuticle pusher. Cuticles are the thin layer of skin that grows at the base of the nail. If they’re left covering part of the nail plate, the gel polish may not apply evenly. Gently pushing them back creates a cleaner nail surface and helps the polish sit better on the nail.
Buff the nail surface lightly
Next, lightly buff the surface of each nail using a nail buffer. This step removes the natural shine from the nail and creates a slightly rough surface that helps the gel polish adhere better. You don’t need to buff aggressively just a few light strokes are enough.
Clean the nails to remove oils
Finally, wipe your nails with alcohol wipes or a nail cleanser to remove any dust, oils, or residue left from filing and buffing. Natural oils from your fingers can prevent gel polish from sticking properly, so cleaning the nails ensures a fresh surface before you begin applying the base coat.
Step-by-Step Guide to Applying Gel Nails
The key to getting smooth, long-lasting gel nails is to apply thin layers and cure each step properly. Taking your time during this process will help your nails come out neat, glossy, and durable.
Shape and Prep the Nails
Start by washing and drying your hands thoroughly. Remove any old nail polish using a gentle remover. Use a nail clipper and nail file to trim and shape your nails to your desired length and style (square, round, almond, etc.).
Gently push back the cuticles with a cuticle pusher and trim any excess cuticle if necessary. Lightly buff the surface of each nail using a nail buffer to remove shine and create a slightly rough surface—this helps the gel adhere better. Finally, wipe each nail with alcohol or a nail cleanser to remove dust and oils.
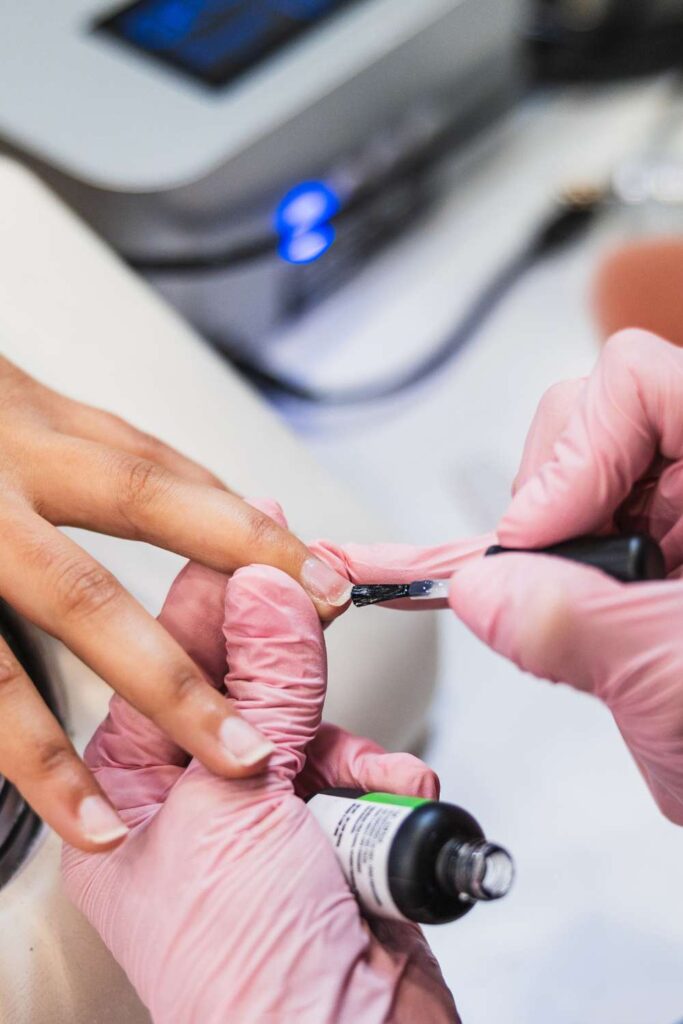
Apply a Thin Layer of Gel Base Coat
Apply a very thin layer of gel base coat to each nail. Make sure the coat is even and avoid touching the cuticles or skin, as this can cause lifting later. The base coat helps the gel polish bond properly to the natural nail and protects the nail from staining.
Cure the Base Coat Under the UV/LED Lamp
Place your hand under a UV or LED nail lamp and cure the base coat according to the lamp and product instructions (usually about 30–60 seconds for LED lamps or 2 minutes for UV lamps). This process hardens the gel and prepares the nail for color application.
Apply the First Layer of Gel Color
Apply the first thin layer of your chosen gel nail polish color. Use smooth, even strokes starting from the base of the nail and moving toward the tip. Keep the layer thin to prevent wrinkling or uneven curing.
Cure the Polish Again
After applying the first coat of color, place your hand back under the UV/LED lamp to cure the polish. Follow the recommended curing time provided by the gel polish brand.
Apply a Second Coat for Better Color
Apply a second thin layer of the gel polish to deepen the color and ensure even coverage. If needed, you can add a third coat for very light or sheer colors, but usually two coats are sufficient.
Cure Again Under the Lamp
Cure the second coat of gel polish under the UV/LED lamp. Make sure each layer is fully cured to prevent chipping or peeling later.
Apply the Gel Top Coat
Apply a thin layer of gel top coat to seal in the color. The top coat adds shine, protects the color from chipping, and gives the nails a smooth, professional finish. Be sure to “cap” the free edge of the nail (run the brush along the tip) to improve durability.
Explore more: on how to apply makeup step by step for beginners
How to design Simple acrylic nail for beginners at home.
How to design nails at home step by step-guide
Natural hairstyle with attachment for girls.
Easy Realistic Daily Routine for productivity as a College Student.
Final Curing for a Glossy Finish
Place your hand under the lamp one final time to cure the top coat completely. After curing, if the top coat leaves a sticky residue (called the inhibition layer), wipe the nails gently with a lint-free wipe and nail cleanser or alcohol.
Tips for Perfect Gel Nails
Getting beautiful gel nails isn’t only about following the steps. it’s also about paying attention to small details that can make a big difference in the final result. These simple tips can help your gel manicure look smoother, last longer, and feel more professional.
Apply thin layers of polish
One of the most important things to remember when applying gel polish is to keep the layers thin. It might seem like applying a thick layer will save time, but thick coats often don’t cure properly under the lamp. This can lead to uneven polish, wrinkles, or peeling after a short time. Thin, even layers cure much better and give your nails a smoother finish.
Avoid touching the cuticles with gel
Try to keep the gel polish slightly away from the cuticles and the skin around the nails. When gel polish spreads onto the cuticles, it can cause the manicure to lift or peel earlier than expected. Taking a little extra care while applying the polish will help the gel stay neatly on the nail surface where it belongs.
Cure each layer properly
Proper curing is what makes gel nails strong and long-lasting. Each layer whether it’s the base coat, color polish, or top coat needs enough time under the UV or LED lamp to harden fully. If a layer isn’t cured properly, the polish may remain soft and could smudge, peel, or lose its shine sooner.
Use quality products for better results
The quality of the products you use can also affect how your gel nails turn out. Using reliable gel polish, a good base coat, and a strong top coat can help your manicure look smoother and last longer. A good UV or LED lamp also ensures the polish cures properly, which is essential for achieving that glossy, salon-like finish.