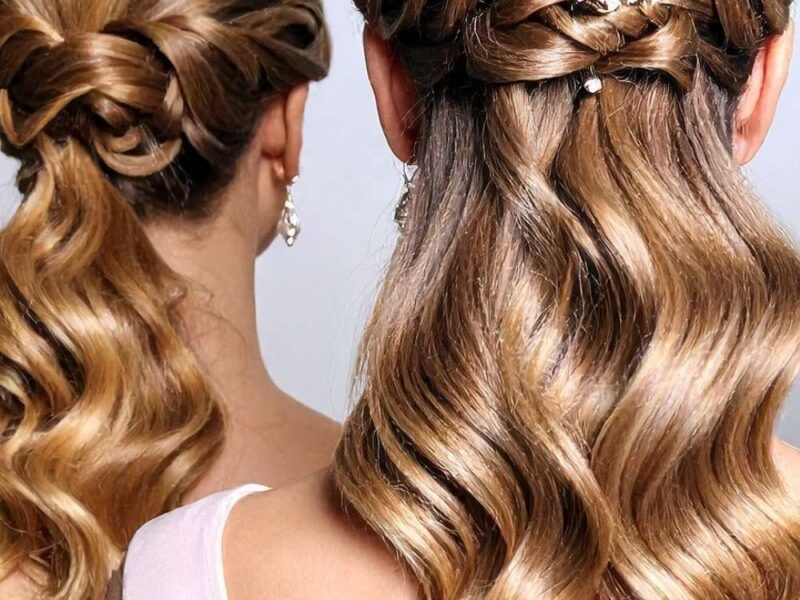
Let’s be honest there’s something about a neat, sleek hairstyle that just makes you feel instantly put together. You know that smooth, shiny look that frames your face so well? That’s exactly what a packing gel hairstyle can give you and the best part is, you don’t need to be a professional to achieve it.
If you’re new to styling your hair by yourself, the idea of trying a packing gel hairstyle might feel a little intimidating at first. Maybe you’ve seen others rock it effortlessly and wondered how they got it so smooth and laid. I’ve been there too! But trust me, once you understand the basics, it becomes one of the simplest and most reliable hairstyles you can do anytime.
A packing gel hairstyle is perfect for beginners because it’s quick, affordable, and works for so many occasions whether you’re heading to work, school, church, or even a casual outing. It’s that go-to style when you want to look clean and confident without spending hours in front of the mirror.
In this post, I’m going to show you just how easy it is to create your own packing gel hairstyle from scratch. No stress, no complicated steps just a simple, beginner-friendly guide to help you get that sleek look you’ve always admired.
What is a Packing Gel Hairstyle?
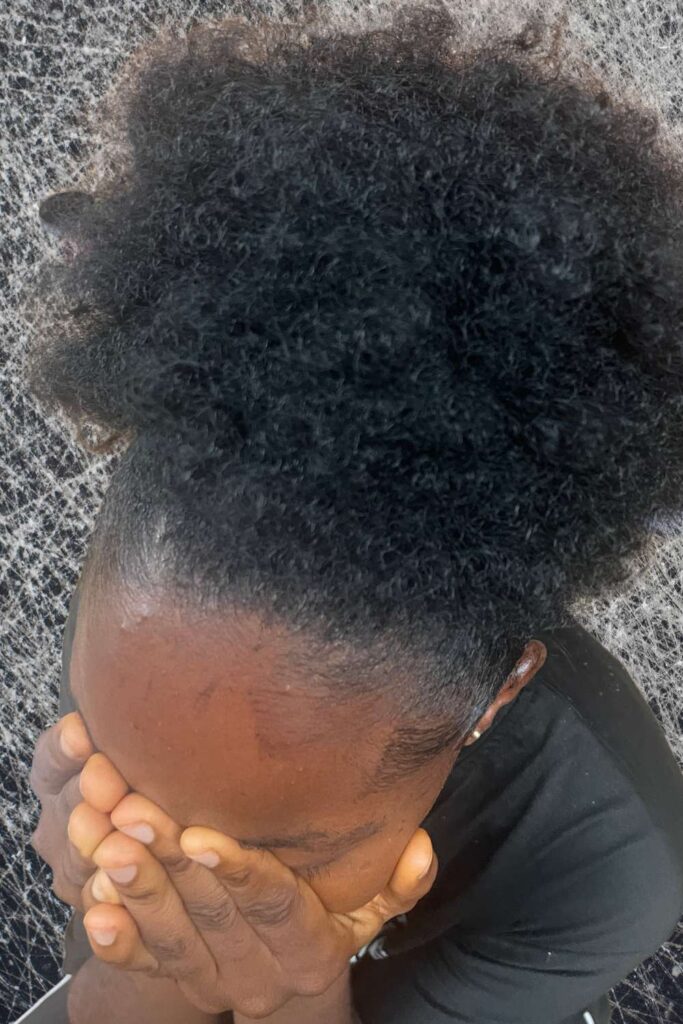
A packing gel hairstyle is a simple way of styling your hair using gel to make it look smooth, neat, and well-arranged. It usually involves brushing your hair back, upward, or to the side, then gathering it into a bun, puff, or ponytail while using gel to keep everything in place.
Benefits of Packing Gel Hairstyles
Packing gel hairstyles are popular for a reason they’re simple, practical, and perfect for everyday styling. Here are some of the main benefits in a very easy-to-read way:
Quick and Easy to Do
You don’t need to spend a lot of time on your hair. Once you get used to it, you can style your hair in just a few minutes, even if you’re in a hurry.
Budget-Friendly
No need to visit the salon all the time. With just gel, a brush, and a hair band, you can achieve a neat look at home and save money.
Suitable for Many Occasions
This hairstyle works for almost anywhere school, work, church, or casual outings. It always gives you a clean and tidy appearance.
Keeps Hair Neat and Controlled
If your hair can be hard to manage, gel helps smooth it down and keep everything in place. It reduces flyaways and makes your hair look well-arranged.
Perfect for Beginners
You don’t need special skills to get started. It’s one of the easiest hairstyles to learn, and you’ll get better with practice.
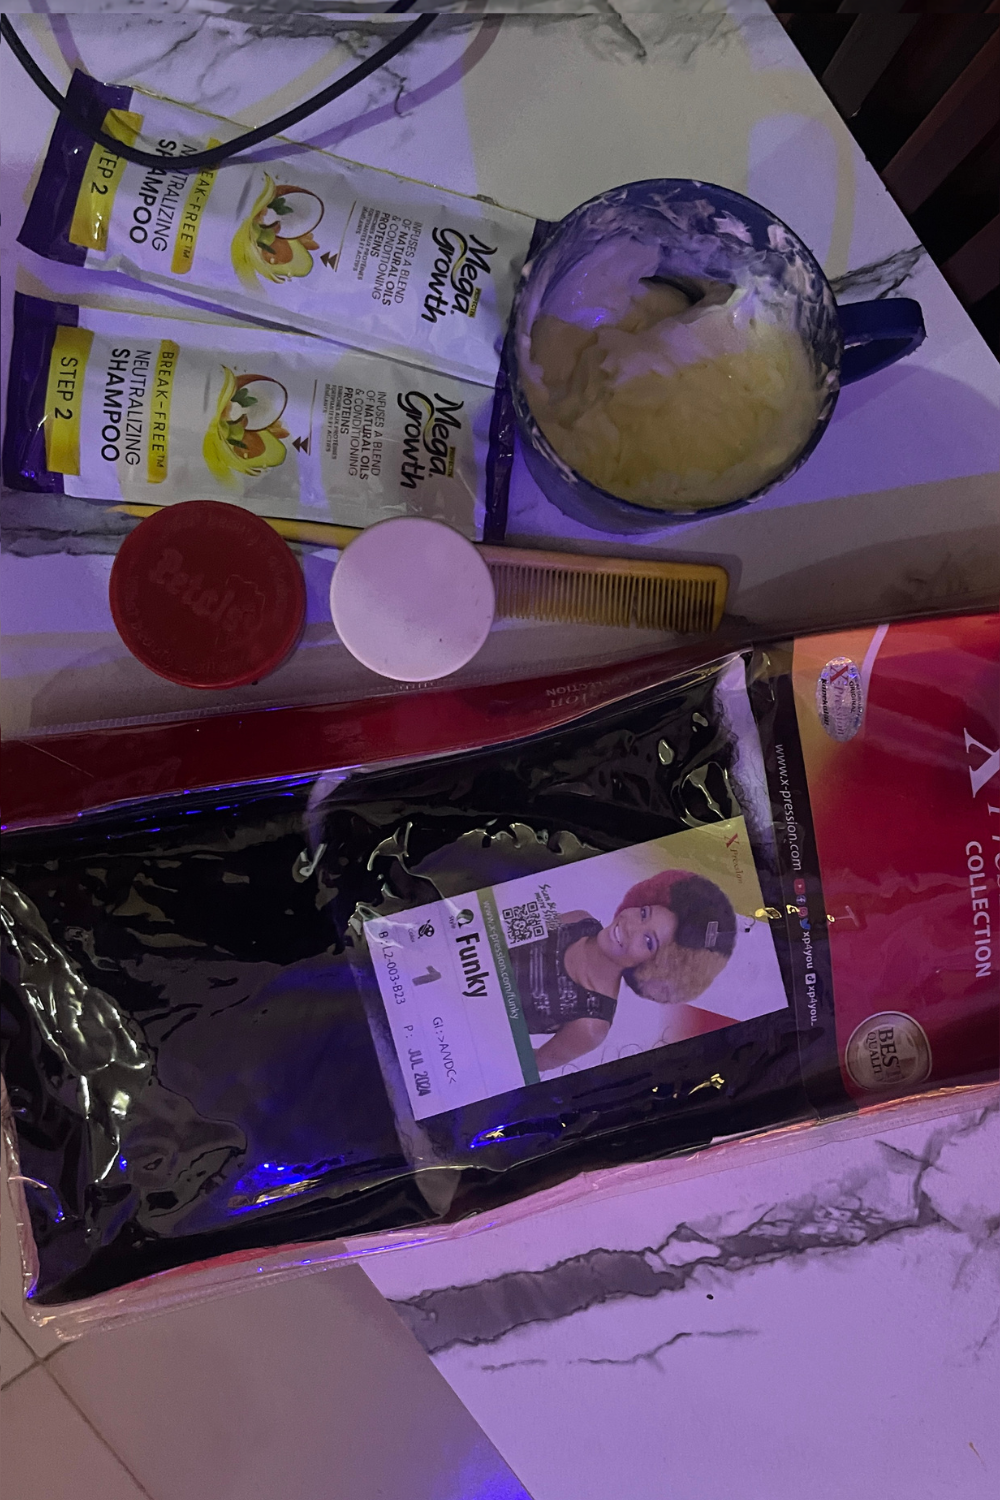
Tools and Materials You’ll Need
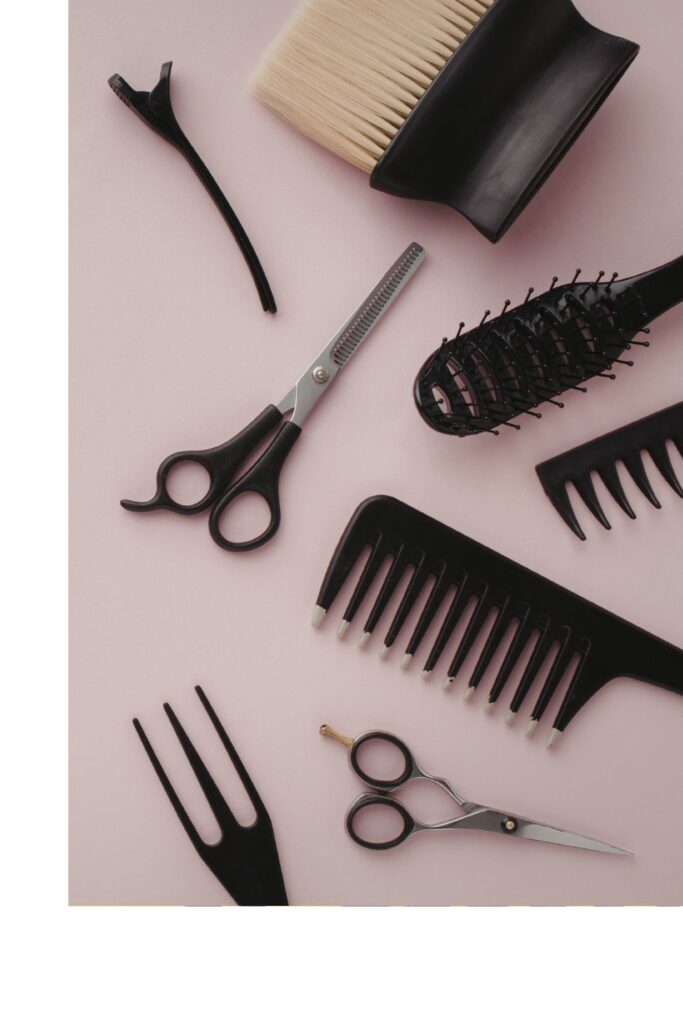
Before you start your packing gel hairstyle, it’s important to have the right tools ready. Don’t worry you don’t need anything fancy. Just a few basic items will do the job perfectly.
Hair Gel
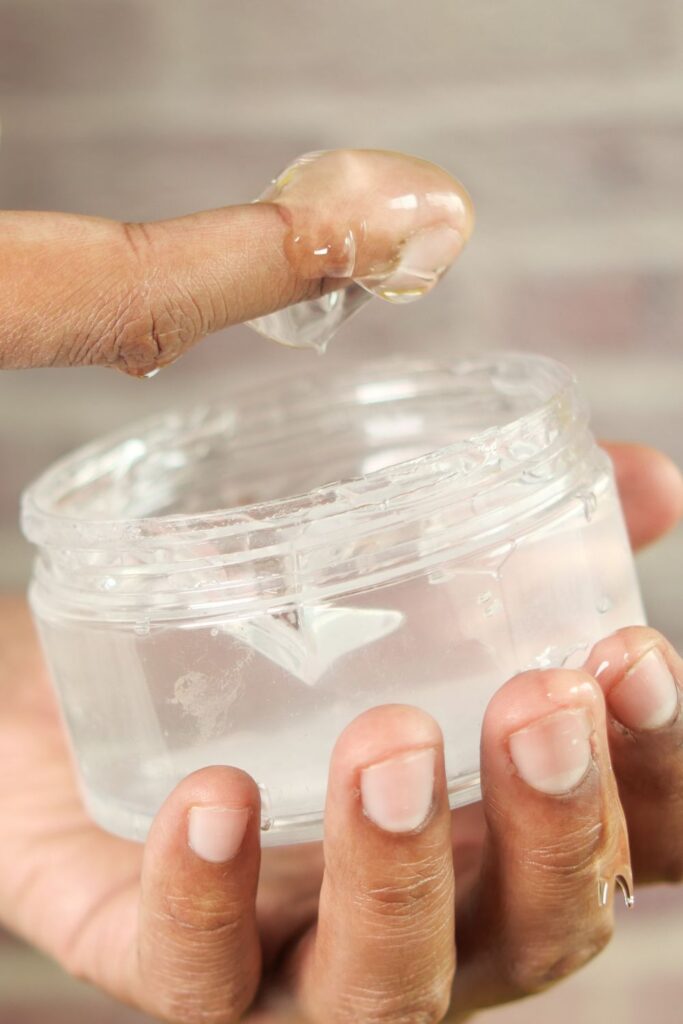
This is the most important product for this style. It helps smooth your hair and keep it in place.
You can choose from different types, depending on your hair:
- Strong hold gel: Keeps your hair firm and laid all day
- Medium hold gel: Gives a softer, more natural look
- Moisturizing gel: Good if your hair gets dry easily
Hair Brush (Hard or Soft)
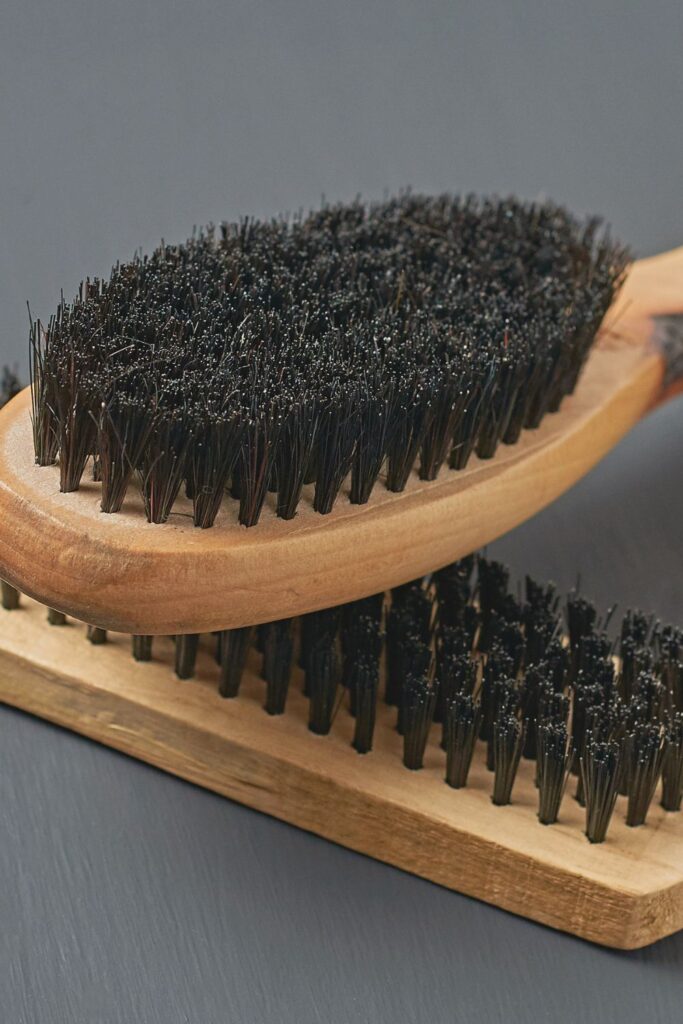
A brush helps you smooth your hair properly:
- Hard brush: Best for thick or stubborn hair
- Soft brush: Good for gentle styling and finishing touches
Comb
A comb is useful for:
- Detangling your hair before styling
- Creating a neat part if you want a side or middle style
Hair Band or Thread
You’ll need this to hold your hair in place after brushing it:
- Hair band: Easy and quick to use
- Thread (rubber thread): Gives a firmer hold, especially for thicker hair
Edge Brush or Toothbrush
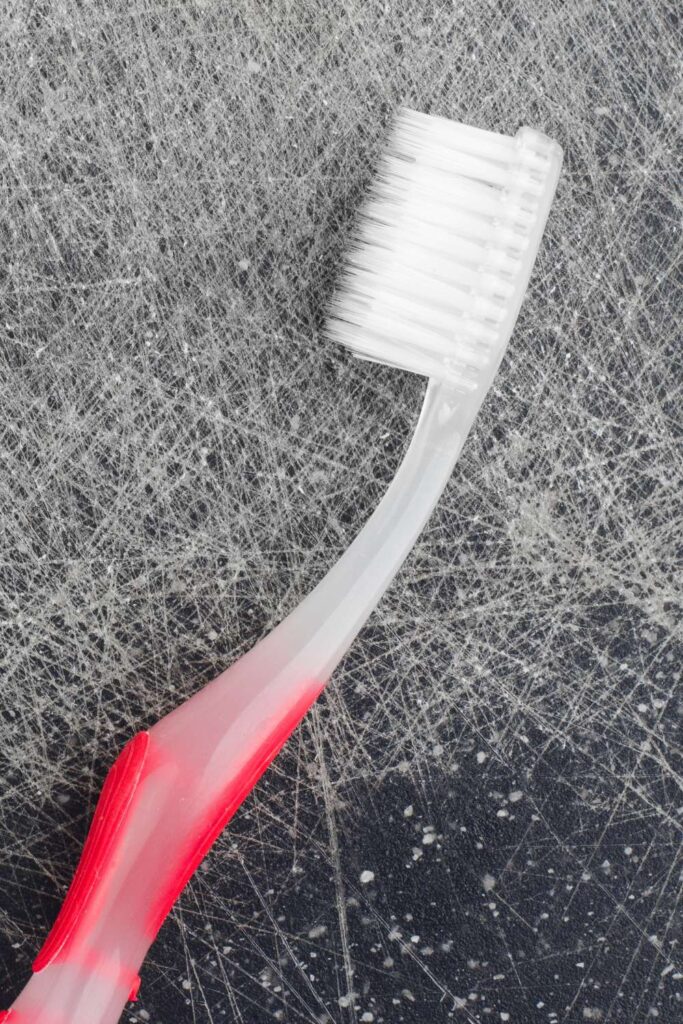
This is used to style your edges (baby hairs) and give your hairstyle a clean finish.
If you don’t have an edge brush, a clean toothbrush works just fine.
Optional Items
These are not compulsory, but they can make your hairstyle look even better:
- Hair spray: Helps hold the style longer
- Scarf: Used to tie your hair for a few minutes to make it smoother
- Water: Helps soften your hair and makes it easier to brush
Step-by-Step Guide to Creating a Simple Packing Gel Hairstyle
Don’t worry if you’ve never tried this before just follow these simple steps, and you’ll get a neat result. Take it one step at a time.
Retouch Your Hair
Start by checking your hair. If it looks rough, dry, or scattered, lightly fix it first. You can apply a little oil or cream to make it softer and easier to manage.
Start with Clean or damped hair by washing
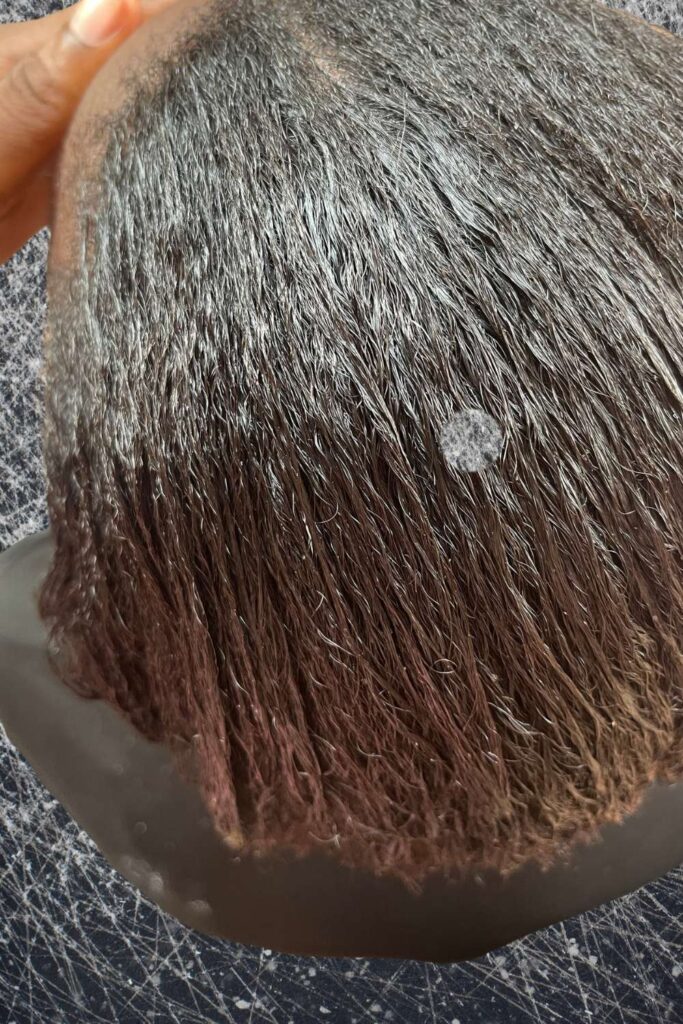
Your hair doesn’t have to be freshly washed, but it should be clean.
If it feels too dry, lightly dampen it with water. This helps the gel spread better and makes brushing easier.
Detangle Your Hair
Use a comb to gently remove knots and tangles.
This step is important because tangled hair will make it harder to get that smooth, sleek look.
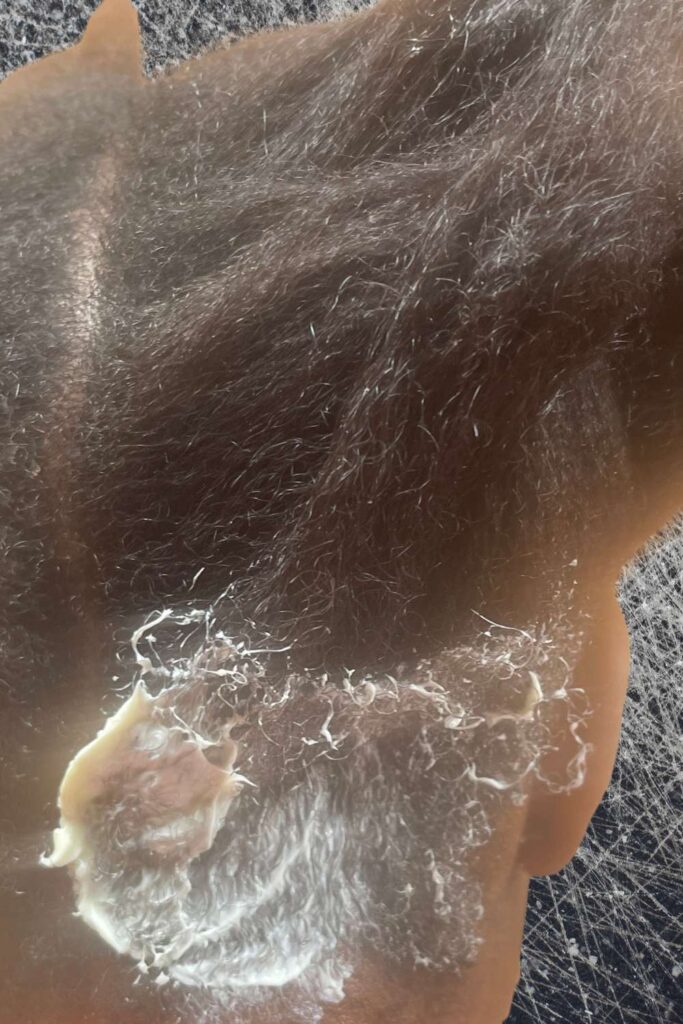
Apply Gel Evenly
Take a small amount of gel and apply it across your hair.
Make sure you spread it evenly, especially around the front and sides where you want it to look very neat.
Brush Hair Upward or Backward
Use your brush to smooth your hair in the direction you want—either upward (for a puff) or backward (for a bun).
Brush gently but firmly to lay the hair down nicely.
Pack (Gather) the Hair
As you brush, start gathering your hair together into one place.
This could be at the top, middle, or back of your head, depending on the style you want.
Secure with Band or Thread
Use a hair band or thread to hold your hair in place.
Make sure it’s firm enough to stay, but not too tight to avoid pain or breakage.
Lay Your Edges
Use a small brush or toothbrush to style your edges (baby hairs).
Add a little gel and gently shape them to give your hairstyle a clean, finished look.
Tie a Scarf for a Smooth Finish
Wrap a scarf around your hair and leave it on for a few minutes.
This helps everything set properly and gives you that smooth, sleek finish.
Tips for a Smooth and Neat Finish
Getting a clean packing gel hairstyle is not just about the steps it’s also about how you do them. These simple tips will help your hair look smoother, last longer, and stay healthy.
Don’t Use Too Much Gel
It might be tempting to apply a lot of gel, but too much can make your hair look heavy, sticky, or even cause white flakes.
Start with a small amount and add more only if needed.
Brush in Sections for Better Results
Instead of brushing all your hair at once, try working in sections.
This helps you smooth each part properly and gives you a more even, polished look.
Use a Scarf to Lay the Hair Properly
After styling, tie a scarf around your hair for a few minutes.
This helps the gel set well and keeps your hair flat, smooth, and neat.
Moisturize Your Hair Before Applying Gel
Always make sure your hair is not too dry before using gel.
You can apply a little oil, leave-in conditioner, or water to keep your hair soft and healthy.
Be Gentle to Avoid Breakage
While brushing and packing your hair, avoid pulling too hard.
Be gentle, especially around your edges, to prevent hair breakage or damage.
Common Mistakes to Avoid
Even though packing gel hairstyles are simple, beginners sometimes make small mistakes that can affect how neat the style looks. Here are the most common ones and how to avoid them:
Applying Gel on Dry, Tangled Hair
If you put gel on hair that hasn’t been detangled or is too dry, it won’t spread evenly.
Tip: Always detangle first and lightly dampen your hair if needed.
Using Too Much Product
Adding too much gel can make your hair stiff, sticky, or cause white flakes.
Tip: Start with a small amount and only add more where necessary.
Pulling Hair Too Tight
Pulling your hair too tightly when gathering or securing it can hurt your scalp and cause breakage over time.
Tip: Keep it snug but comfortable.
Skipping Edge Styling
Not styling your edges can make the hairstyle look unfinished or messy.
Tip: Use a small brush or toothbrush to lay your baby hairs neatly.
Not Securing the Style Properly
If the hair band or thread isn’t secure, the style may fall apart quickly.
Tip: Make sure your bun, puff, or ponytail is firmly held, but avoid over-tightening.
How to style Natural hair for an interview
Natural hairstyle with attachment
How to make step by step cornrow style for ladies with natural hair
How to Maintain Your Packing Gel Hairstyle
Once you’ve done all the hard work to get your hair sleek and neat, the next step is keeping it looking great. Here are some easy ways to maintain your packing gel hairstyle:
Cover Hair with a Scarf or Bonnet at Night
Sleeping with a silk or satin scarf or bonnet protects your hairstyle from frizz and keeps it smooth overnight.
Tip: Make sure it’s snug but not too tight, so your hair stays laid without getting flattened uncomfortably.
Avoid Touching Hair Too Often
The more you touch or play with your hair, the more it can frizz or lose its shape.
Tip: Try to keep your hands off as much as possible to maintain that sleek look.
Reapply Gel Lightly if Needed
If your hairstyle starts to loosen or fly aways appear, you can add a small amount of gel to touch it up.
Tip: Use only a little too much can make it heavy or flaky.
Conclusion
Packing gel hairstyles are a fantastic option if you want a neat, polished look without spending hours at the salon. If you’re a beginner, don’t be intimidated everyone starts somewhere, and with a little practice, it will become second nature.
Remember, the more you try, the faster and easier it gets. Soon, creating a sleek bun, puff, or ponytail will feel like a quick and simple part of your routine.
So grab your gel, brush, and scarf, and give it a try you’ve got this! With patience and practice, you’ll be rocking that smooth, put-together hairstyle confidently in no time.
So grab your gel, brush, and scarf, and give it a try—you’ve got this! With patience and practice, you’ll be rocking that smooth, put-together hairstyle confidently in no time.